
Prizm L4-108 1.8L DOHC VIN 8 MFI (1998)
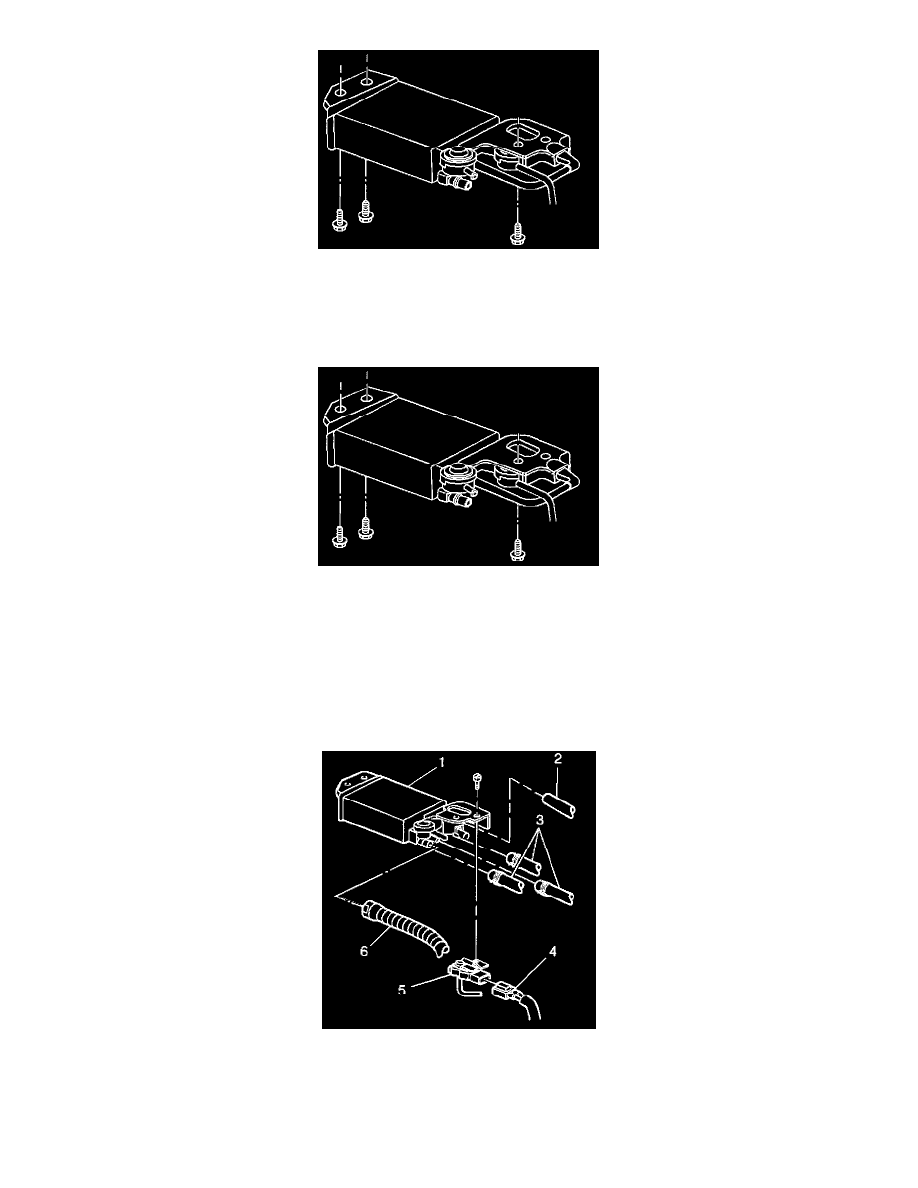
10. Remove the three EVAP canister hold down bolts.
11. Remove the EVAP canister from the vehicle.
12. Inspect the EVAP purge system for carbon particle contamination before replacing the EVAP canister.
Installation Procedure
1. Install the EVAP canister to the vehicle underbody and secure with the three bolts.
Notice: Refer to Fastener Notice in Cautions and Notices.
2. Tighten the EVAP canister bracket support bolts.
Tighten
Tighten the EVAP canister bolts to 18 N.m (13 lb ft).
3. Connect the three EVAP hoses (3) to the EVAP canister (1).
4. Connect the drain hose (2) to the EVAP canister vacuum pipe.
5. Connect the FLVV hose (6) to the EVAP canister (1).
6. Connect the electrical connector (4) to the fuel tank pressure sensor (5).
7. Connect the EVAP pressure switching solenoid electrical connector.
8. Lower the vehicle.