
S10/T10 Blazer 2WD V6-4.3L VIN X (2003)
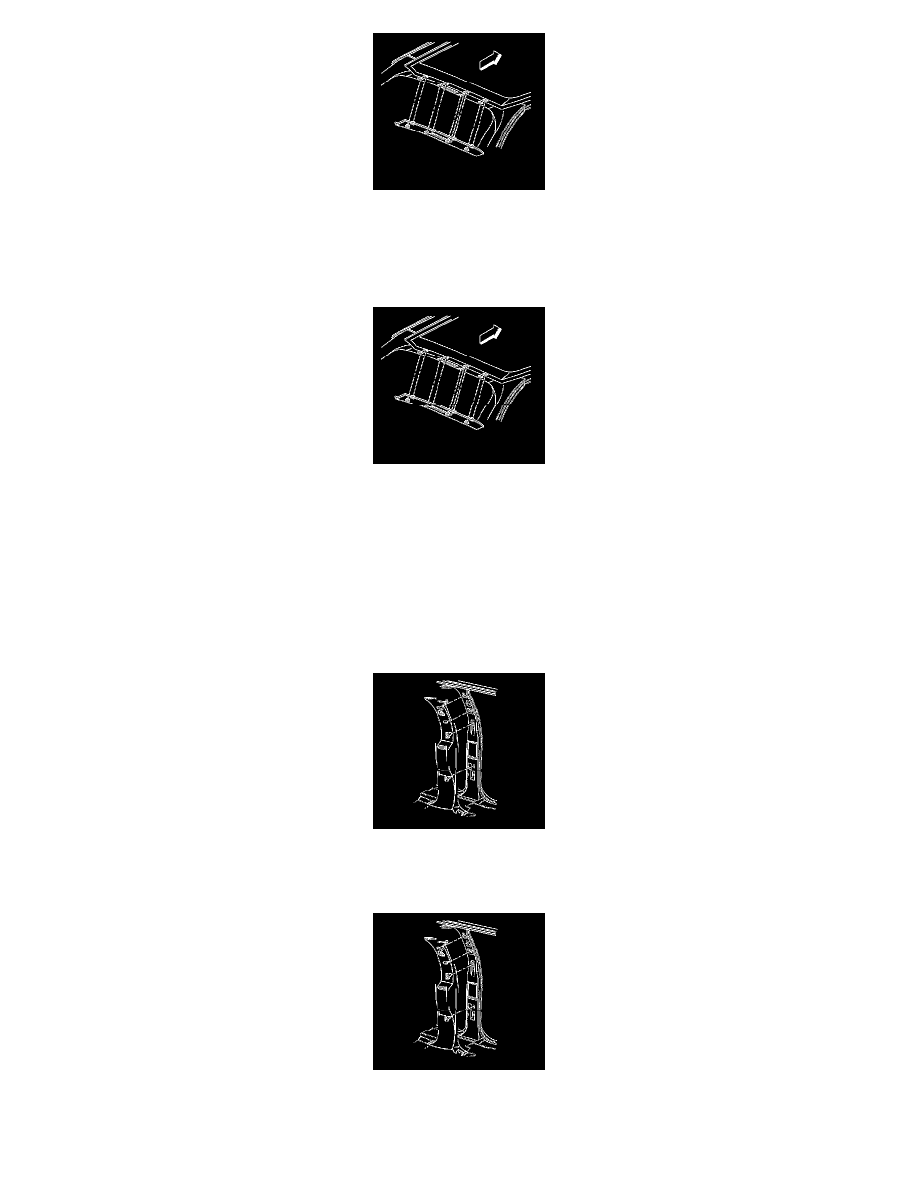
1. Use the J 38778 in order to remove the rear header garnish molding.
Insert the J 38778 and work along the front edge of the trim panel from one end to the other.
2. Remove the cargo lamp from the roof rear header garnish molding.
Installation Procedure
1. Install the cargo lamp from the roof to the rear header garnish molding.
2. install the roof rear header garnish molding to the vehicle.
Garnish Molding Replacement - Side Door Lock Pillar (CF5)
Garnish Molding Replacement - Side Door Lock Pillar (CF5)
Removal Procedure
1. Remove the front and rear door sill trim plates.
2. Remove the upper and lower front seat belt anchor bolts.
3. Remove the front side door lock pillar garnish molding from the vehicle. Feed the seat belt through the garnish molding.
Installation Procedure
1. Install the front side door lock pillar garnish molding to the vehicle. Feed the seat belt through the garnish molding.
Notice: Refer to Fastener Notice in Service Precautions.