
S10/T10 Blazer 2WD V6-4.3L VIN X (2003)
Crankshaft Main Bearing Seal: Service and Repair
Crankshaft Rear Oil Seal Replacement
^
Tools Required
-
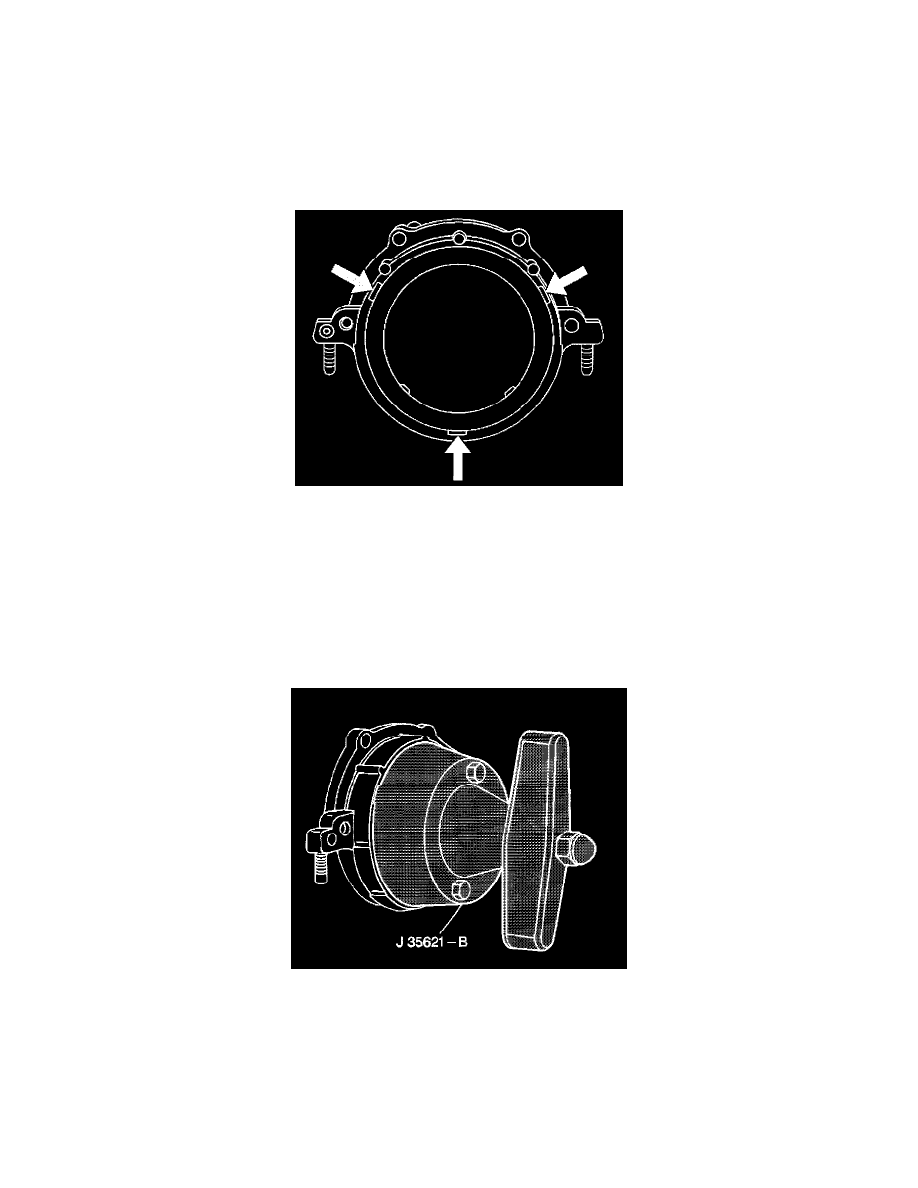
J 35621-B Rear Main Seal Installer
Removal Procedure
1. Remove the transmission assembly.
2. Remove the engine flywheel.
3. Remove the crankshaft rear oil seal from the crankshaft rear oil seal housing. Insert a suitable tool into the access notches and then carefully pry
the crankshaft rear oil seal from the crankshaft rear oil seal housing.
4. Discard the crankshaft rear oil seal.
5. Clean off any dirt or rust in the area.
Installation Procedure
1. Apply a small amount (2 to 3 drops) of clean engine oil to the bore of the crankshaft rear oil seal housing.
2. Apply a small amount (2 to 3 drops) of clean engine oil to the outside diameter of the engine flywheel pilot flange.
3. Apply a small amount (1 drop) of clean engine oil to the outside diameter of the flywheel locator pin.
4. Apply a small amount (2 to 3 drops) of clean engine oil to the crankshaft seal surface.
5. Inspect the J 35621-B flange for imperfections that may damage the crankshaft rear oil seal. Minor imperfections may be removed with a fine
grade emery cloth.
Important: DO NOT allow oil or any other lubricants to contact the seal lip surface of the crankshaft rear oil seal.
6. Remove the sleeve from the crankshaft rear oil seal.
7. Apply a small amount (2 to 3 drops) of clean engine oil to the outside diameter of the crankshaft rear oil seal.
8. Install the crankshaft rear oil seal onto the J 35621-B.
9. Install the J 35621-B onto the rear of the crankshaft and hand tighten the tool bolts until snug.