
S10/T10 Blazer 2WD V6-4.3L VIN X (2003)
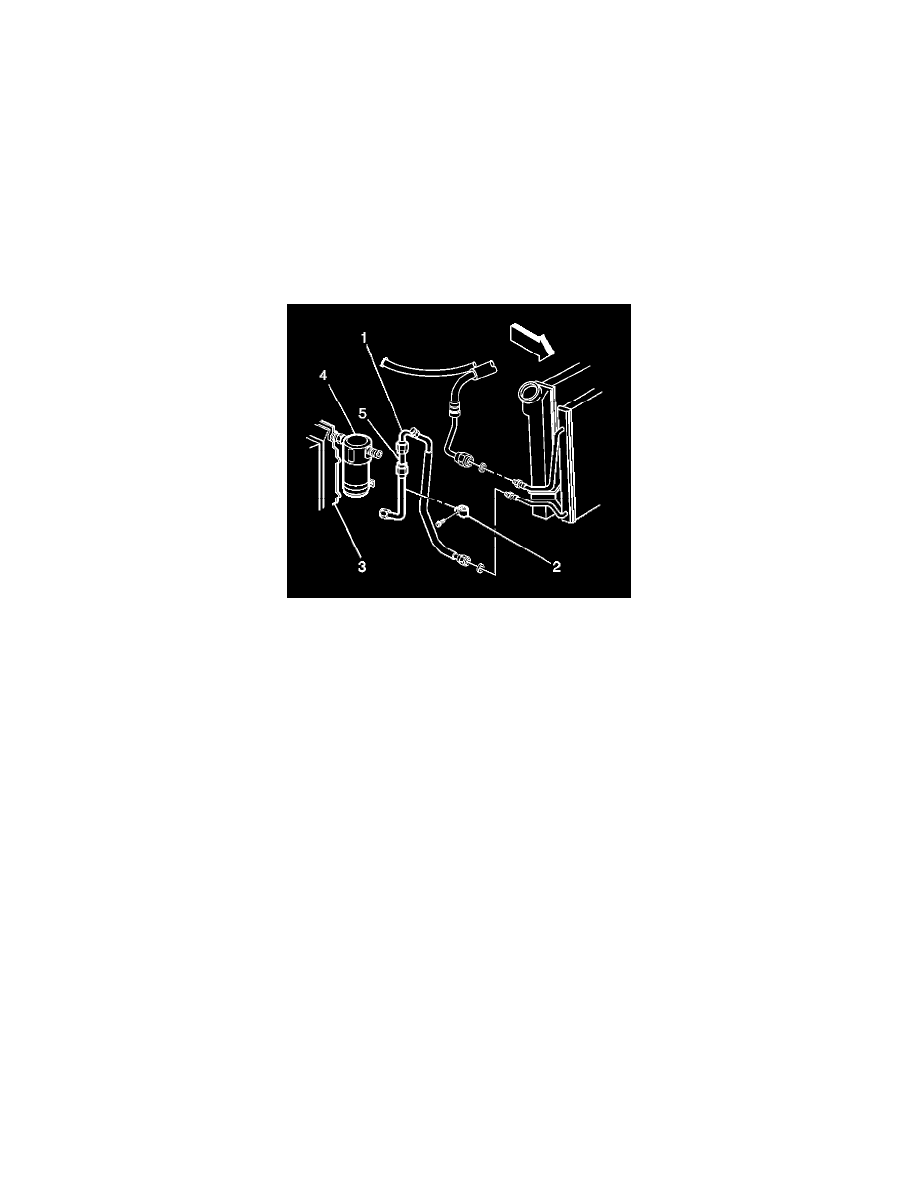
12. Install the A/C refrigerant filter (1) to the evaporator tube with the flow arrow pointing towards the evaporator.
13. Install the nuts (4) to the A/C refrigerant filter (1).
NOTE: Refer to Fastener Notice in Service Precautions. See: Heating and Air Conditioning/Service Precautions/Vehicle Damage Warnings
Tighten
Tighten the nuts to.................15 N.m (11 lb ft).
14. Remove the nuts (4) from the A/C refrigerant filter (1).
15. Coat the O-ring seals (3) with 525 viscosity refrigerant oil.
16. Install the O-rings (3) to the evaporator tube.
17. Install the nuts (4) to the A/C refrigerant filter (1).
Tighten
Tighten the nuts to.........................15 N.m (11 lb ft).
18. Install accumulator (4) to the evaporator (3).
19. Tighten the accumulator nut at the evaporator.
Tighten
Tighten the nut to..........................15 N.m (11 lb ft).
20. Position the accumulator bracket 60 mm (2.36 in) toward the high side access port.
21. Evacuate and recharge the A/C system. Refer to Refrigerant Recovery and Recharging.
22. Leak test the fittings component using the J 39400-A.
23. Install the engine coolant reservoir.
24. Install the PCM.