
S10/T10 Blazer 4WD V6-173 2.8L VIN B 2-bbl (1983)
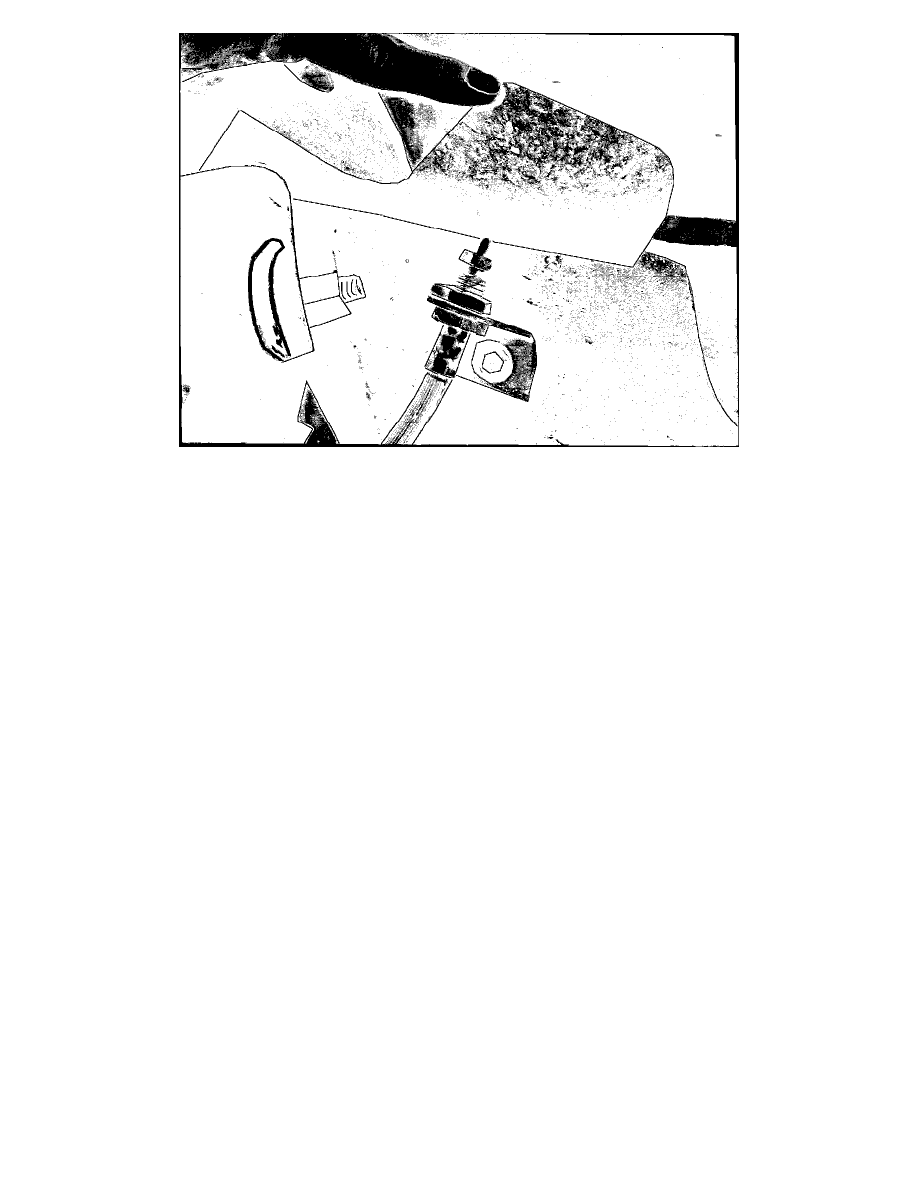
FIGURE 2 - BRAKE PIPE LOCATED BEHIND FENDER SKIRT
If the brake pipe is located behind the fender skirt as in Figure 2, or is contacting the fender skirt, the brake pipe must be replaced according to the
service procedure in this bulletin.
^
Service Procedure
1.
Unbolt four clips supporting brake pipe (two on front crossmember and one on each frame rail).
2.
Disconnect brake pipe from tee fitting visible from LH fenderwell.
3.
Disconnect brake pipe at bracket visible from RH fenderwell.
4.
Remove brake pipe and install four clips from old pipe on new pipe.
5.
Using a large screwdriver or tire iron, gently pry the RH inner fender inward toward the frame. Make sure there is adequate clearance between
the inner fender and the brake pipe when installed.
6.
Position new brake pipe and start threads of LH end in tee and RH end in hose.
7.
Bolt four locating clips in place and torque to 10-15 ft.lbs. (14-20 N-m).
8.
Tighten brake pipe ends to 13-18 ft.lbs. (18-25 N-m).
9.
Bleed brakes following the procedure in the appropriate service manual.
10.
Install campaign identification label.
PARTS INFORMATION
Parts required to complete this campaign are to be ordered by the dealer from the warehousing and Distribution Division of General Motors (WDDGM).
Very few pipes will require replacement on vehicles inspected.
To ensure that these parts will be obtained as soon as possible, they should be ordered from WDDGM on a C.I.O. order with no special instruction code
but on an advise code (2).
Number :
84C06
Section :
5
Page No.:
5
PARTS INFORMATION (CONT'D)