
S10/T10 Blazer 4WD V6-4.3L VIN W (1997)
Ignition Coil: Service and Repair
Ignition Coil Replacement
Description
Description
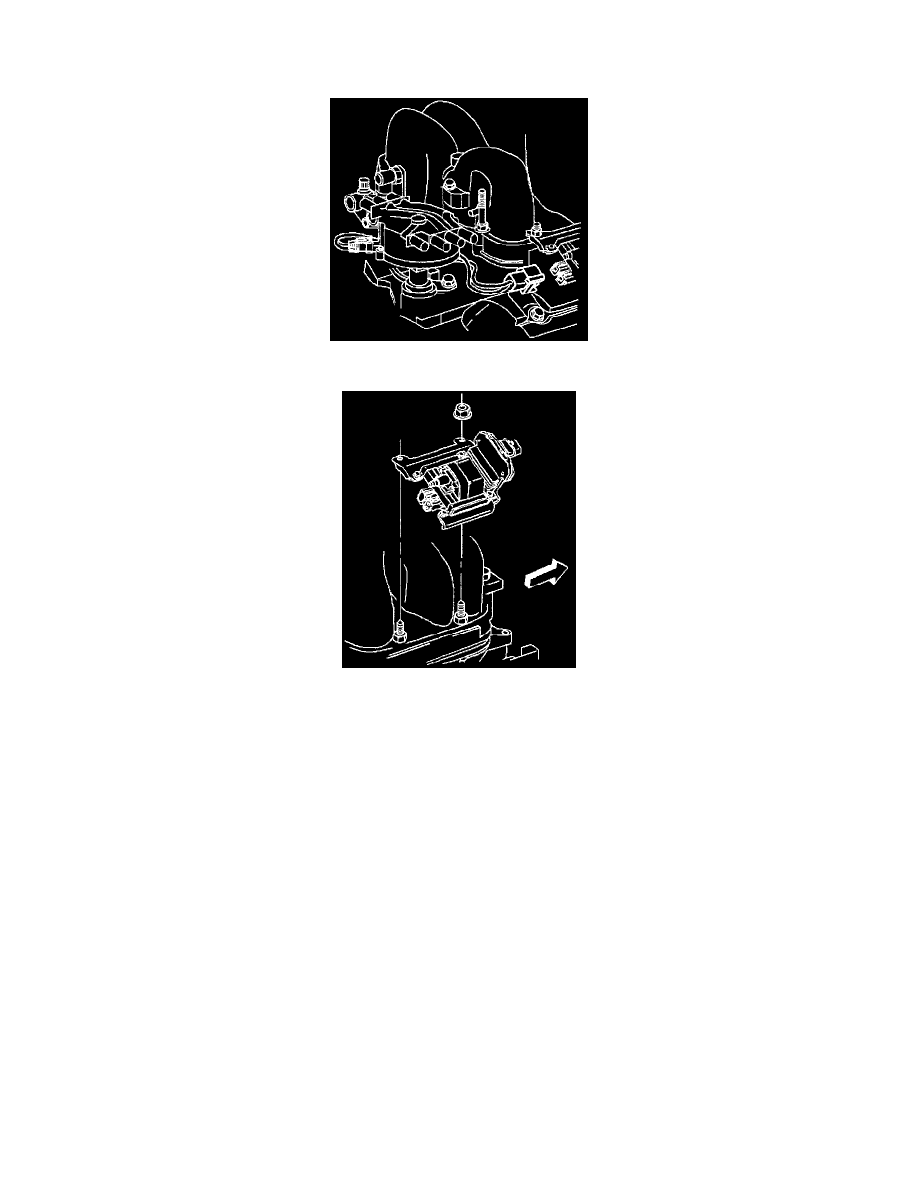
Removal Procedure
1. Turn OFF the ignition switch.
2. Disconnect the wiring connectors from both sides of the ignition coil assembly.
3. Disconnect the ignition coil high tension wire to the distributor.
4. Remove the two nuts holding the ignition coil assembly bracket to the engine inlet manifold.
5. Remove the ignition coil bracket and coil assembly.
6. Drill and punch out the two rivets holding the ignition coil assembly to the bracket.
7. Remove the ignition coil assembly from the bracket.
Installation Procedure
1. Connect the new ignition coil assembly to the bracket. Use the two screws from the replacement kit.
2. Install the ignition coil and bracket assembly to the engine inlet manifold with the two nuts.
Tighten
^
Tighten the ignition coil assembly bracket nuts to 27 Nm (20 lb. ft).
3. Reconnect the ignition coil high tension wire.
4. Reconnect the wiring connectors to both sides of the ignition coil assembly.