
S10/T10 Blazer 4WD V6-4.3L VIN W (1997)
Starter Motor Replacement: Removal Procedure
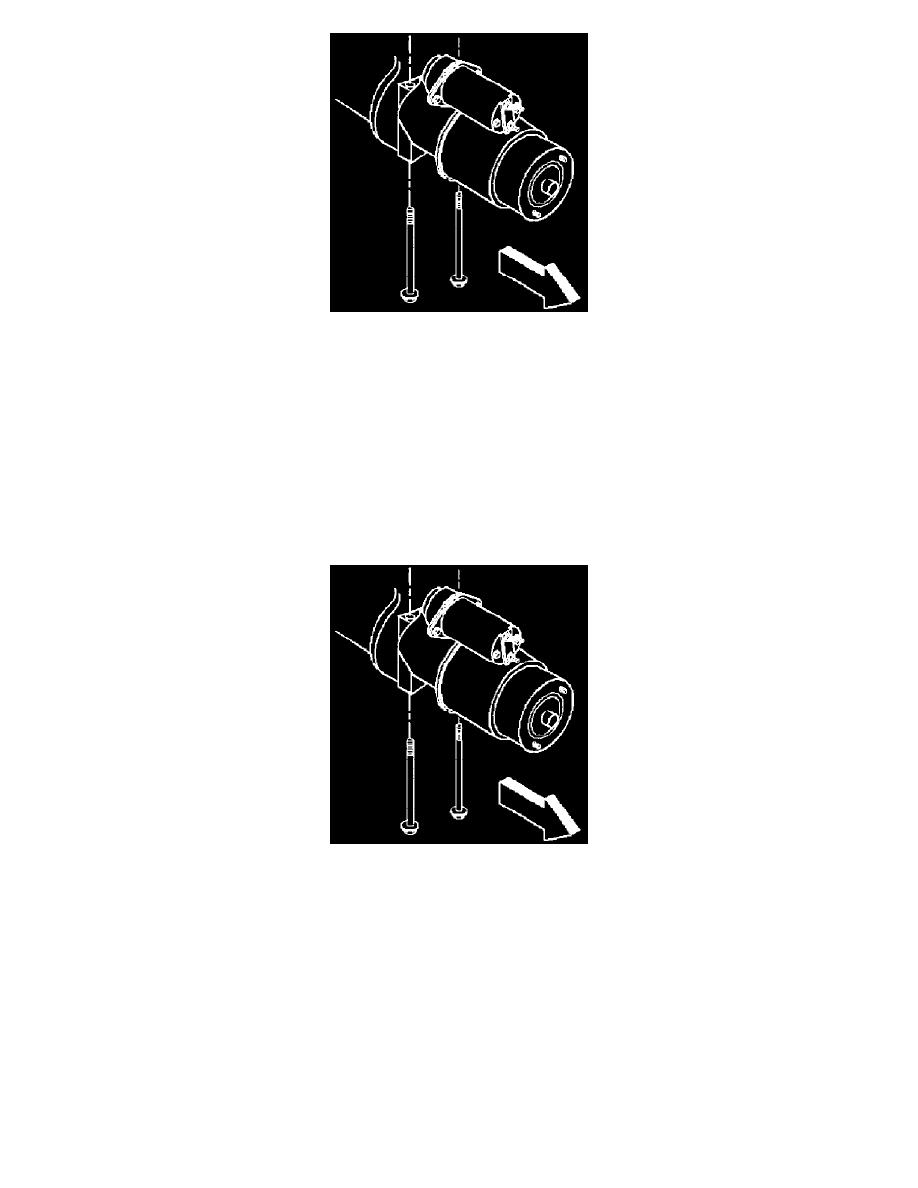
3. Install the inboard starter mounting bolt. Do not tighten.
4. Install the starter shims and the outboard starter mounting bolt.
Tighten
Tighten the starter mounting bolts to 43 N.m (32 lb ft).
5. Lower the engine assembly onto the mounts.
-
Connect the transmission mount.
-
Connect the engine mounts.
6. Connect the negative battery cable.
STARTER MOTOR REPLACEMENT (4WD Utility)
REMOVAL PROCEDURE
Starter Motor Replacement: Removal Procedure
1. Place the vehicle on a hoist.
2. Disconnect the negative battery cable.
3. Disconnect the starter solenoid wiring.
4. Raise the vehicle on the hoist.
5. Remove the transfer case shield.
6. Remove the bolts and the two brackets holding the brake pipe to the transmission crossmember.
7. Remove the transmission crossmember attaching bolts, three bolts per side.
8. Remove the transmission mount bolts.
9. Support the transmission assembly.
10. Slide the transmission crossmember out of the way.
11. Remove the bracket that holds the transmission fluid cooler lines to the flywheel housing.
12. Remove the brace rod to the flywheel housing.
13. Remove the lower flywheel housing.