
S10/T10 Blazer 4WD V6-4.3L VIN W (1997)
Part 4 Of 4
Locating Fluid Leaks
1. With the vehicle's engine off, wipe the complete power steering system dry (gear, pump, hoses, and connections).
2. Check the oil level in the pump's reservoir and adjust as directed. Refer to "Fluid Level Adjustment."
3. Start the engine and turn the steering wheel from stop to stop several times. Do not hold the wheel against the stops as this may damage the pump.
4. Locate the exact area of the leak.
-
Return tube fitting--Tighten hose clamp if loose. If the fitting is deformed, replace it, apply Loctite 75559 solvent and Loctite 290 adhesive (or
equivalent) to the tube-housing connection.
-
Pressure hose fitting--Tighten the fitting to 28 Nm (21 ft. lbs.). If leakage persists, replace the seal.
-
Ball seat leak--Seat the ball in the housing with a blunt punch. Following the manufacturer's directions, apply Loctite 75559 solvent and
Loctite 290 adhesive (or equivalent) to the area.
-
Drive shaft seal--Replace the drive shaft seal. Make sure that the drive shaft is clean and free of pitting in the seal area.
-
Housing plug seal--Seat the plug in the housing. Following manufacturer's directions apply Loctite 75559 solvent and Loctite 290 adhesive (or
equivalent) to plug-housing area.
-
Housing seal--Replace the seal.
-
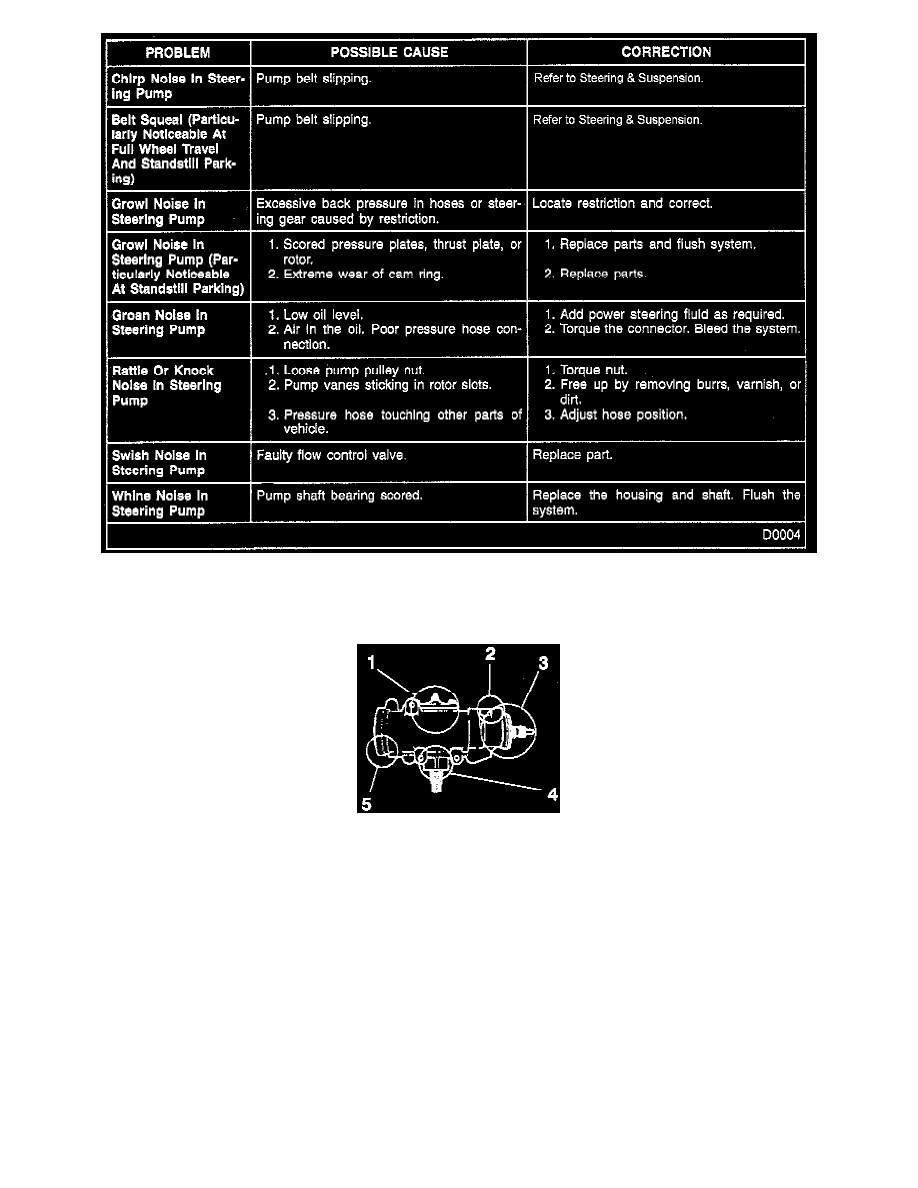
Side cover leak (1)--Tighten side cover bolts to 60 Nm (45 ft. lbs.).
-
Replace the side cover seal if the leakage persists.
-
Adjuster plug seal (3)--Replace the adjuster plug seals.
-
Pressure line fitting (2)--Tighten the hose fitting nut to 28 Nm (21 ft. lbs.). If leakage persists, replace the seal.
-
Pitman shaft seals (4)--Replace the seals.