
S10/T10 Blazer 4WD V6-4.3L VIN W (1997)
Clutch Master Cylinder: Service and Repair
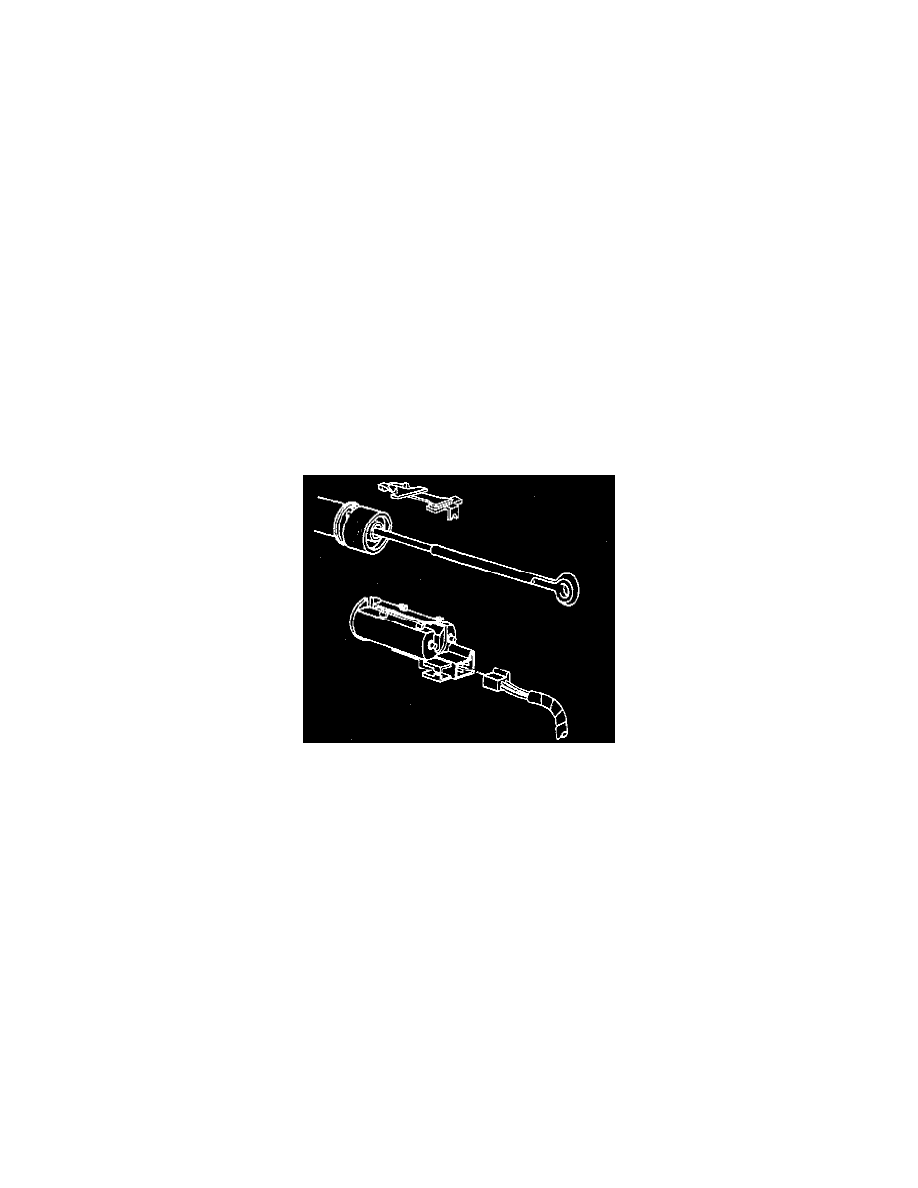
Hydraulic Clutch Bleeding
Clutch System Bleeding
Important: Never use fluid that you have bled from a system to fill the reservoir. The fluid may be aerated or contaminated.
1. Fill the reservoir with new brake fluid. Use Delco Supreme 11 Brake Fluid or equivalent.
2. Depress the clutch pedal (hold the pedal down).
3. Open the bleed screw on the concentric slave cylinder in order to expel the air.
4. Close the bleed screw and release the clutch pedal.
Important: Ensure no air is drawn into the clutch system.
5. Repeat steps 2, 3, and 4 until all the air is out of the clutch system.
-
Check and refill the reservoir as needed while bleeding.
-
After bleeding, pump the clutch pedal several times. If the clutch engagement is not satisfactory, repeat the bleeding procedure.
6. If the previous procedures are unsuccessful, perform the following steps.
-
Remove the reservoir cap.
-
Pump the clutch pedal very fast for 30 seconds.
-
Stop pumping and let the air escape.
-
Repeat this procedure as necessary.
Clutch Start Switch
REMOVAL PROCEDURE
1. Remove the plastic retainer tabs from the clutch start switch.
2. Remove the clutch start switch from the push rod.
3. Remove the connector from the switch.
INSTALLATION PROCEDURE
1. Install the connector to the clutch start switch.
2. Install the clutch start switch to the pushrod with the plastic tabs.
3. Install the push rod to the clutch pedal.
Clutch Assembly
-
Tools Required:
-
J 33169 Clutch Alignment Tool
REMOVAL PROCEDURE
1. Raise and support the vehicle.
2. Remove the transmission.
3. Mark the flywheel, cover plate, and pressure plate for installation alignment.