
S10/T10 P/U 4WD L4-151 2.5L (1985)
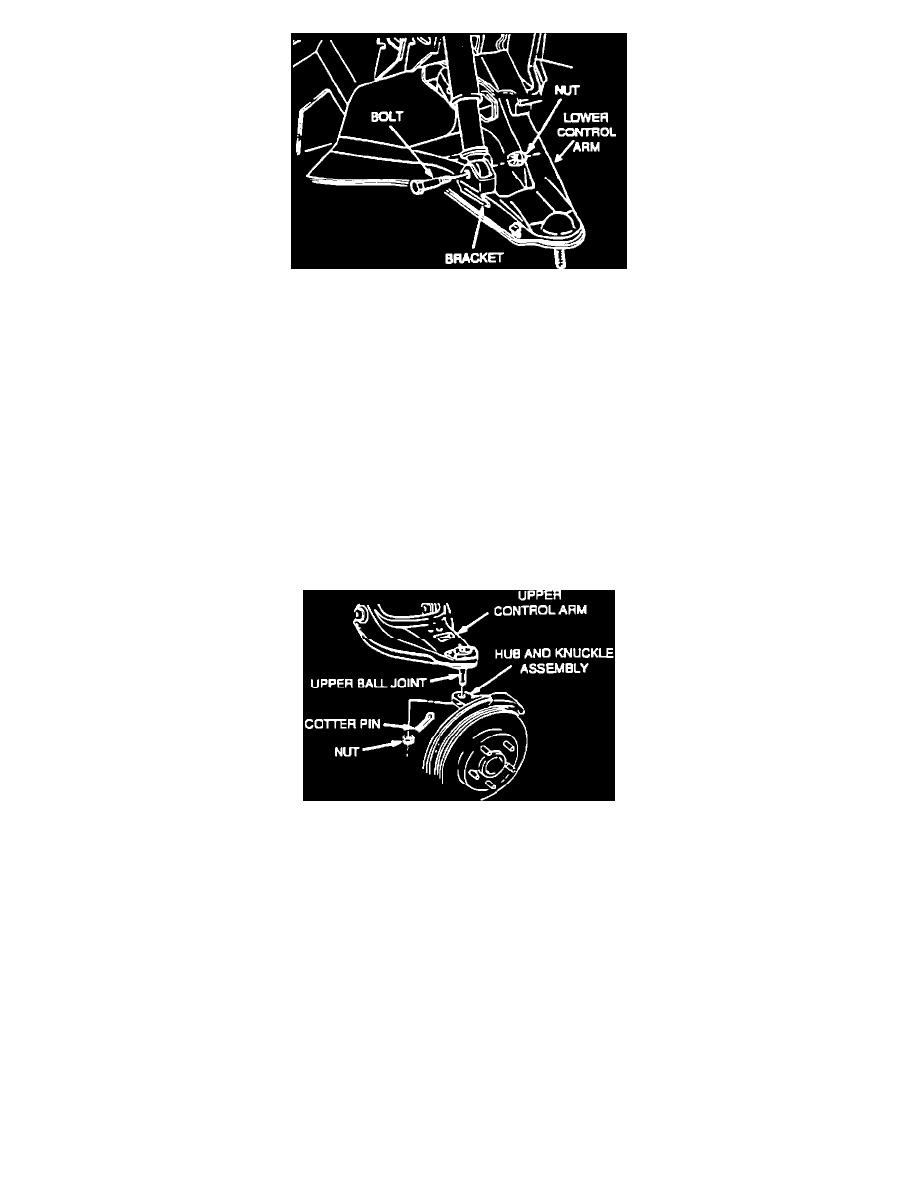
Figure 6 - Disconnecting Lower Shock Mount
10.
Remove the lower shock mounting nut and bolt (Figure 6).
11.
Collapse the shock absorber.
12.
Move the shock absorber up, away, and secure.
13.
Depending on the type of hoist, it may be required to position floor stand between the spring seats and the lower control arm ball joint for
miximum leverage. The weight of the vehicle is used to relieve the spring tension on the upper control arm.
Caution:
The floor jack or stand must remain under the control arm spring seat while servicing the halfshaft to maintain spring and control arm
position. Failure to do so could result in personal injury.
14.
Disconnect the cotter pin.
15.
Remove the stud nut from the upper ball joint.
Figure 7 - Ball Joint from Knuckle Separation
16.
Loosen the stud using J34026 and move away from the knuckle (Figure 7).