
S10/T10 P/U 4WD V6-262 4.3L VIN Z (1992)
Evaporator And Blower Case Replacement
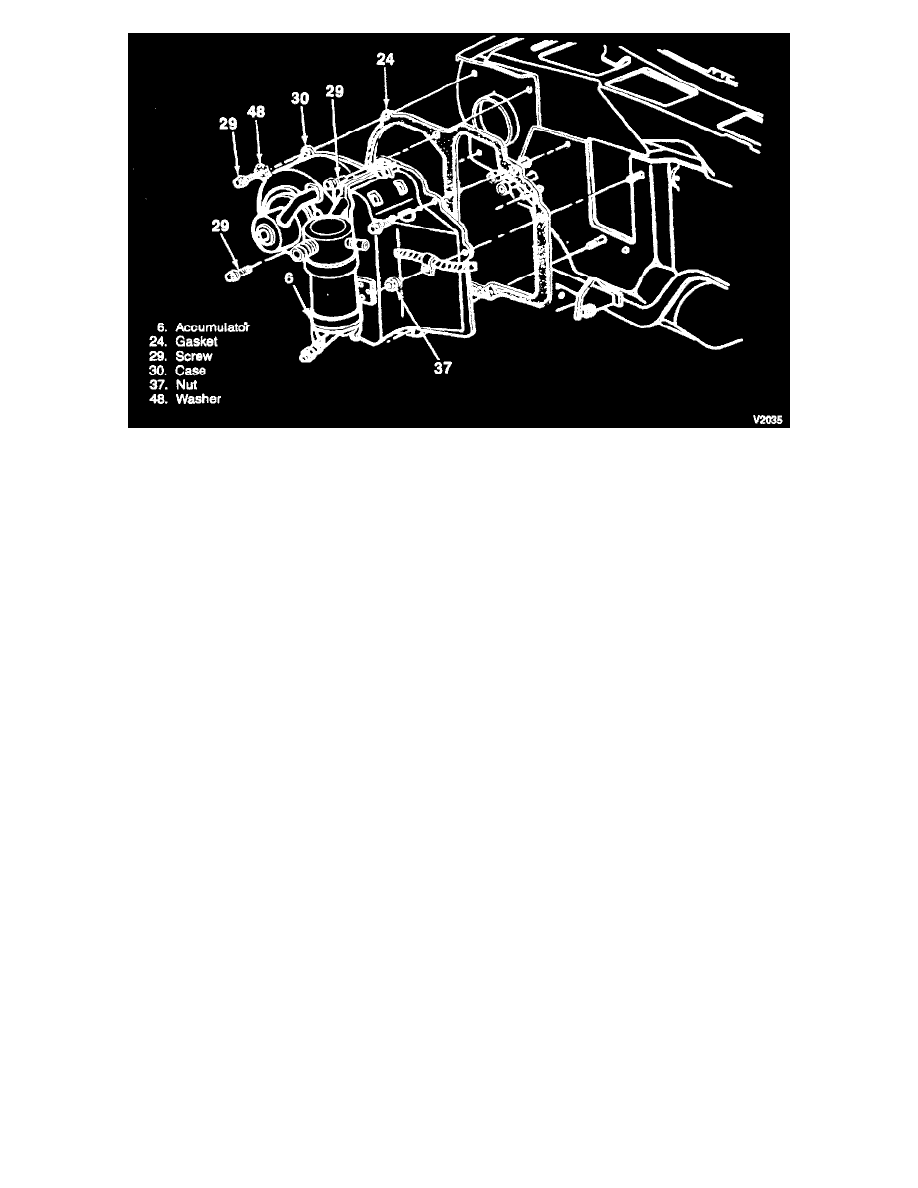
The accumulator assembly has a service replacement kit which includes two seals (O-rings) for the inlet and outlet connections. The desiccant is NOT
serviced separately-it is part of the sealed accumulator assembly. Refer to A/C System Oil Charge Replenishing / "Refrigerant Oil Distribution" for
presence of refrigerant oil and service conditions when removing the accumulator from the vehicle to measure the oil. See: Service and Repair
Replace the accumulator when:
1. A physical perforation produces a leak.
2. The (orifice) screen experiences continued or repeated plugging.
REMOVE OR DISCONNECT
1. Discharge and recover refrigerant from the system.
2. Evaporator (10) from accumulator (6) (figure 36).
3. Compressor hose assembly (3) from accumulator (6).
4. O-rings.
-
Cap or plug the open lines.
5. Electrical connections, as necessary.
6. Screw (38) and bracket (40).
7. Accumulator (6).
-
Install sealing caps if accumulator is not being replaced.
INSTALL OR CONNECT
1. Accumulator (6). Refer to A/C System Oil Charge Replenishing / "Refrigerant Oil Distribution" if replacing accumulator. See: Service and
Repair
NOTICE: Refer to "Fasteners" under "Vehicle Damage Warnings."
2. Bracket (40) and screw (38) (figure 36).