
S10/T10 P/U 4WD V6-4.3L VIN X (1996)
5. Inside lock lever rod (3) from lock assembly.
6. Outside lock cylinder rod (2) from lock assembly.
7. Power actuator wiring connector (If applicable).
8. Lock screws.
9. Lock assembly from the door.
Install or Connect
1. Lock assembly to the door.
2. Lock bolts.
Tighten
^
Lock mounting bolts to 9 N.m (80 lb. in.) on pickup models.
3. Power actuator wiring connector (If applicable).
4. Outside lock cylinder rod (2) from lock assembly.
5. Inside lock lever rod (3) from lock assembly.
6. Outside handle rod (1) from lock assembly.
7. Inside handle rod (4) from lock assembly.
8. Water deflect9r.
9. Trim panel.
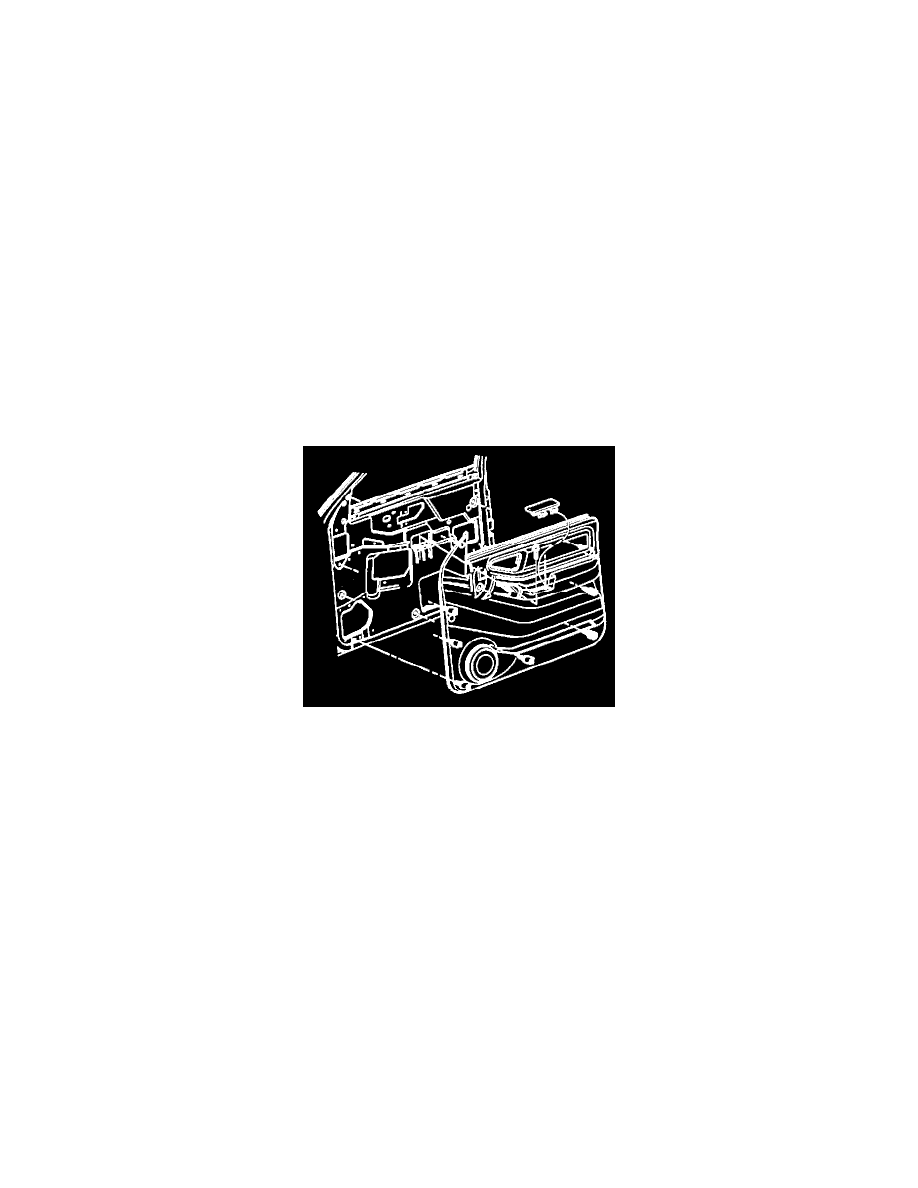
Door Trim Panel Replacement
Front Door Trim Panel
Tool Required:
J 38778 Trim Panel Remover
Remove or Disconnect
1. Door handle bezel.
2. Window regulator handle (if equipped).
3. Power accessory switch mounting panel (it equipped with power accessories).
4. Handle bezel screw.
^
Carefully pry off trim panel armrest screw cover with a flat blade tool to access screw.
5. Trim panel from the door.
^
Pry the retainers from their seats using J 38778.
Install or Connect
1. Trim panel to the door.
2. Window regulator handle (if equipped).
3. Power accessory switch mounting panel (if equipped with power accessories).
4. Handle bezel screw.
Tighten
^
Trim panel armrest screw to 5 N.m (44 lb. in.).