
S10/T10 P/U 4WD V6-4.3L VIN X (1996)
Attach Hose At Accumulator-Figure 46
Attach Hose At Condenser-Figure 48
REMOVE OR DISCONNECT (Figure 42)
1. Negative battery cable.
2. Recover refrigerant from the system.
3. Compressor and condenser hose bolt and washer (figure 44).
4. Compressor and condenser hose from compressor.
5. Sealing washers.
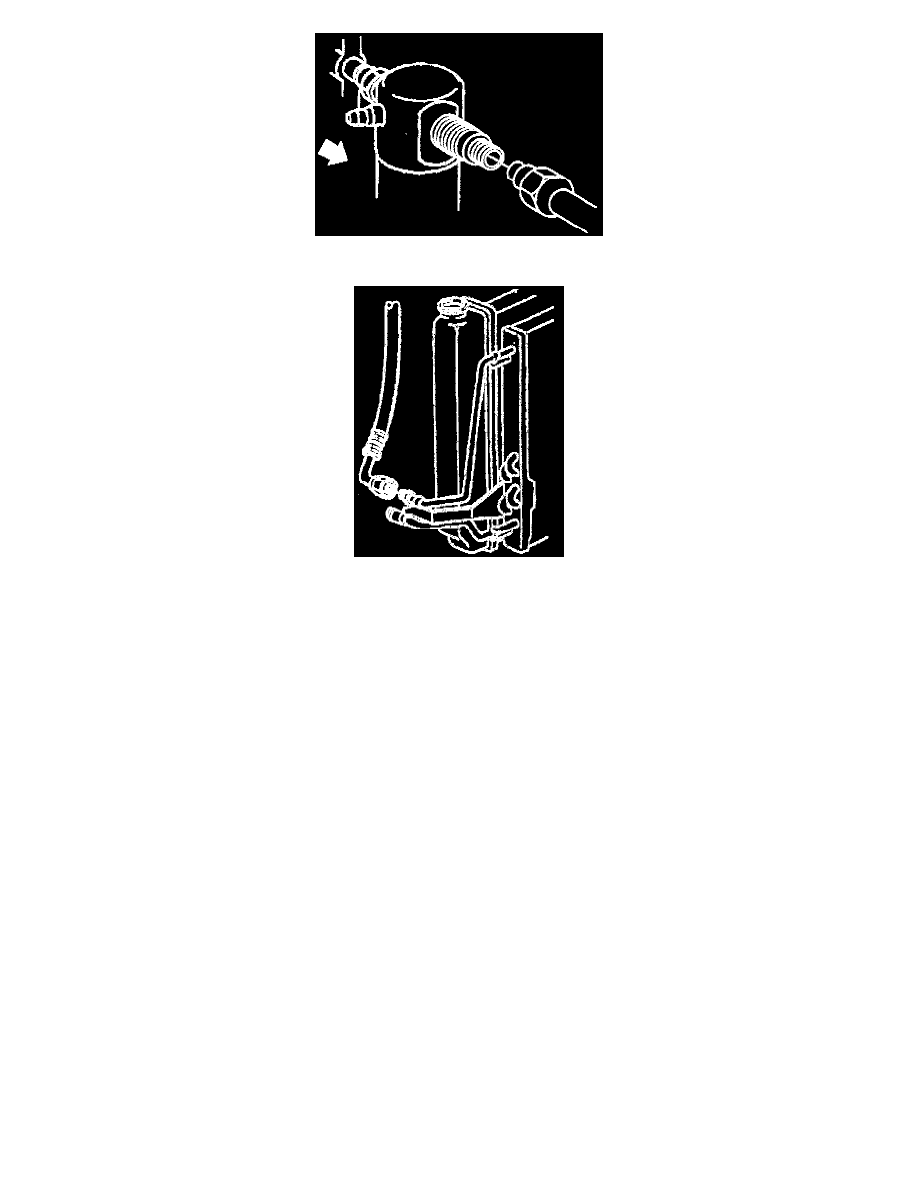
6. Compressor and condenser hose from accumulator (figure 46).
7. O-ring seal.
8. Compressor and condenser hose from condenser (figure 48).
9. O-ring seal.
-
Cap or plug all open connections.
INSTALL OR CONNECT (Figure 42)
NOTICE: For steps 2, 4, and 7, refer to "Fasteners" under "Vehicle Damage Warnings."
1. New O-ring seal.
-
Coat O-ring seal with 525 viscosity refrigerant oil.
2. Compressor and condenser hose to condenser (figure 48).