
Silverado 1500 2WD V6-4.3L (2007)
7. If one of the pistons fails to be removed from the brake caliper, perform the following steps.
1. Reposition the piston that has been removed back into the brake caliper.
2. Using a small block of wood and a C-clamp, slowly tighten the C-clamp until the piston is half way into the brake caliper. It does not have to
be fully seated.
3. Position a second block of wood in front of the piston that remains in the brake caliper.
4. Cover the brake caliper with a shop towel.
5. Apply filtered, non-lubricated compressed air into the brake hose inlet fitting port of the brake caliper.
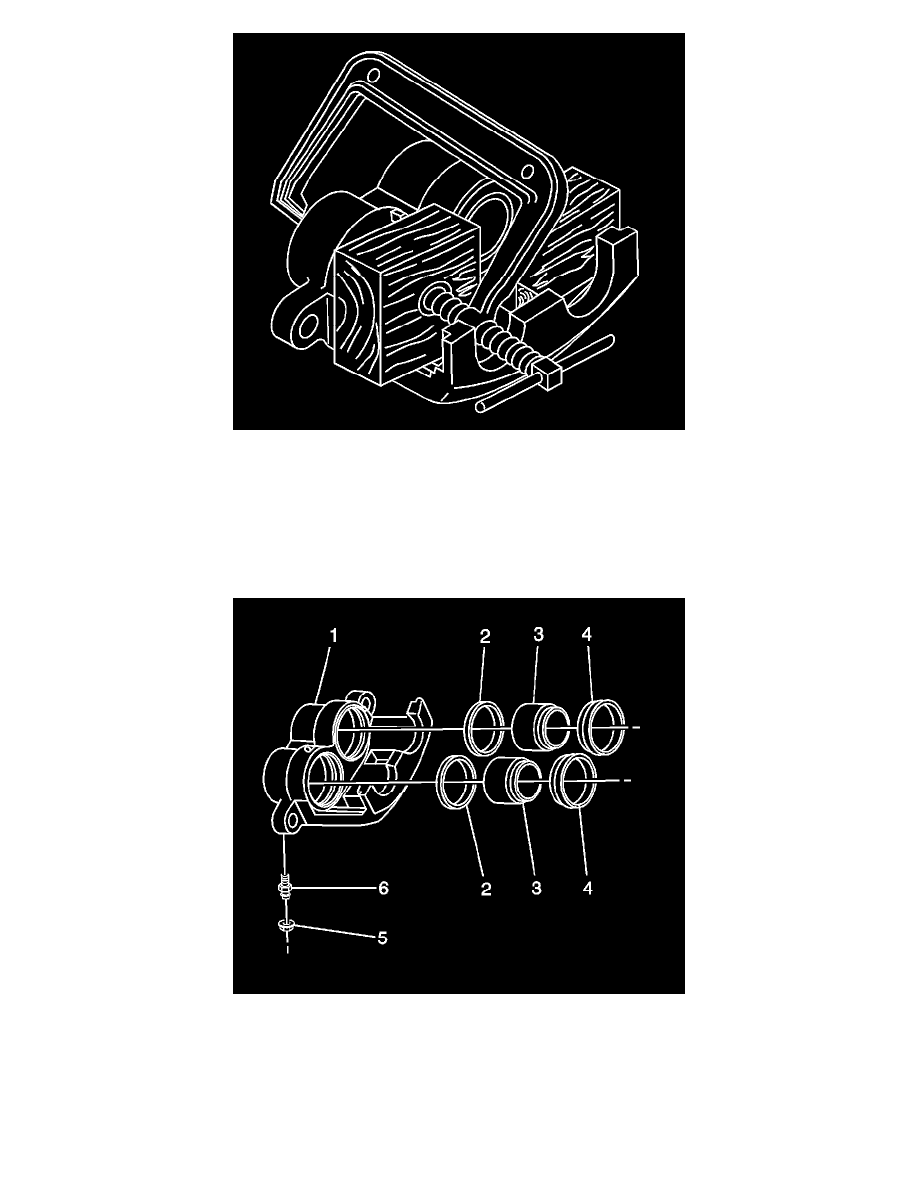
8. Remove the pistons (3) from the caliper bores.
9. Remove the boots (4) from the caliper bores. Do not scratch the caliper bores.
10. Remove the piston seals (2) from the caliper bores. Do not use a metal tool.
11. Remove the bleeder valve cap (5).
12. Remove the bleeder valve (6) from the caliper housing (1).
13. Clean the bleeder valve, the caliper bores, the caliper passages and the pistons with denatured alcohol. Dry the parts and blow out the brake fluid
passages using filtered, non-lubricated compressed air.
14. Replace the pistons or the caliper if any of the following conditions exist: