
Silverado 1500 2WD V6-4.3L (2007)
4. Align the keyway of the crankshaft balancer with the crankshaft balancer key.
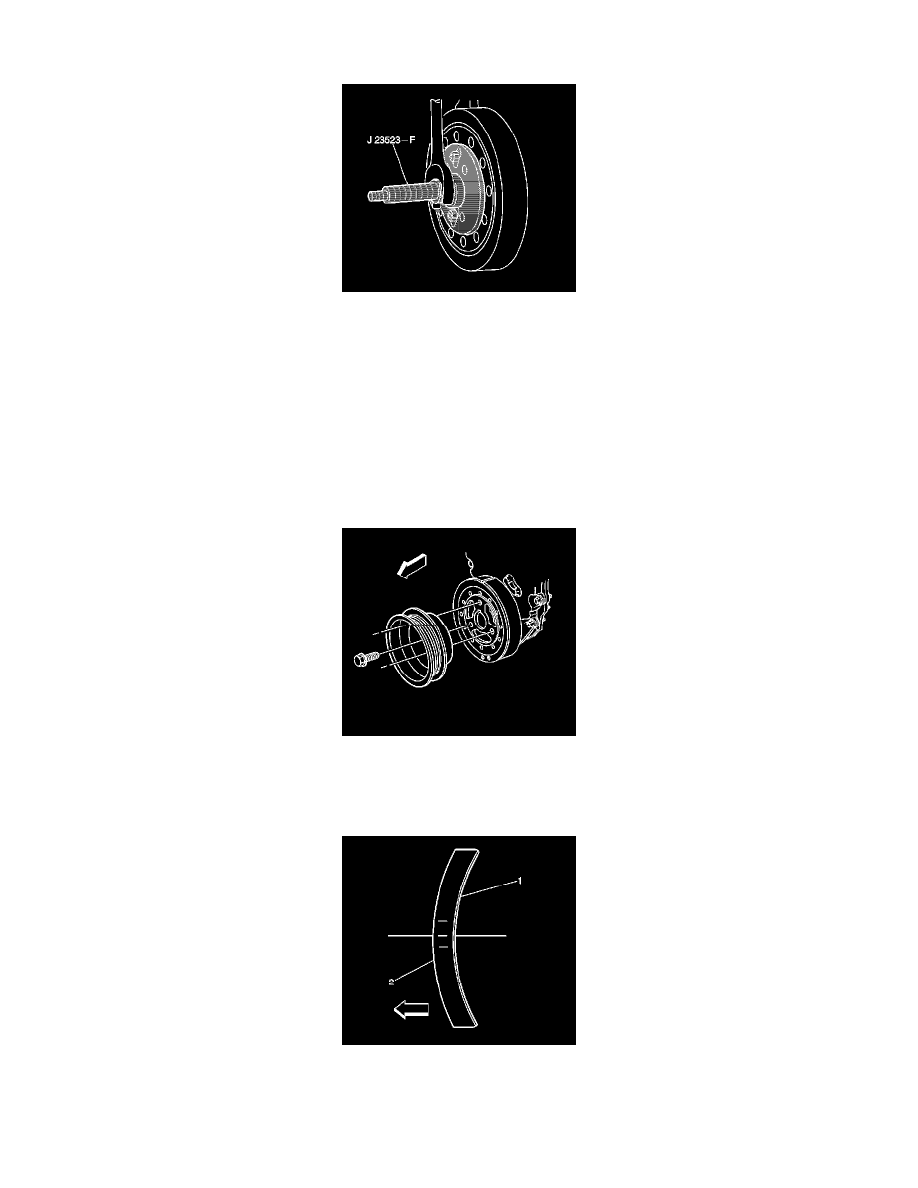
5. Install the crankshaft balancer onto the end of the crankshaft.
6. Using J 23523-F, press the crankshaft balancer onto the crankshaft.
Notice: Refer to Fastener Notice.
1. Install the J 23523-F plate and bolts onto the front of the crankshaft balancer.
Tighten the bolts to 25 N.m (18 lb ft).
2. Install the J 23523-F forcing screw into the end for the crankshaft.
3. Install the J 23523-F bearing, the washer, and the nut onto the forcing screw.
4. Rotate the J 23523-F nut clockwise until the crankshaft balancer hub is completely seated against the crankshaft position sensor reluctor ring.
7. Remove the J 23523-F.
8. Install the crankshaft pulley and bolts. Finger tighten all bolts until snug in order to fully seat the pulley.
9. Tighten the bolts.
Tighten the bolts to 58 N.m (43 lb ft).
10. Ensure that the crown of the crankshaft balancer washer (2) is faced away from the engine.