
Silverado 1500 2WD V6-4.3L (2007)
3. Disconnect the vent valve pipe quick connect from the canister.
4. Either cut the existing valve vent pipe and leave the remaining section of pipe in the vehicle or remove along with the valve.
5. Push in the retainer and remove the existing canister vent valve from the fuel tank clip or mounting bracket.
6. Cut back the existing canister pipe approximately 51 mm (2 in) and retain the pipe for use with new valve.
7. Connect the canister pipe quick connect to the canister.
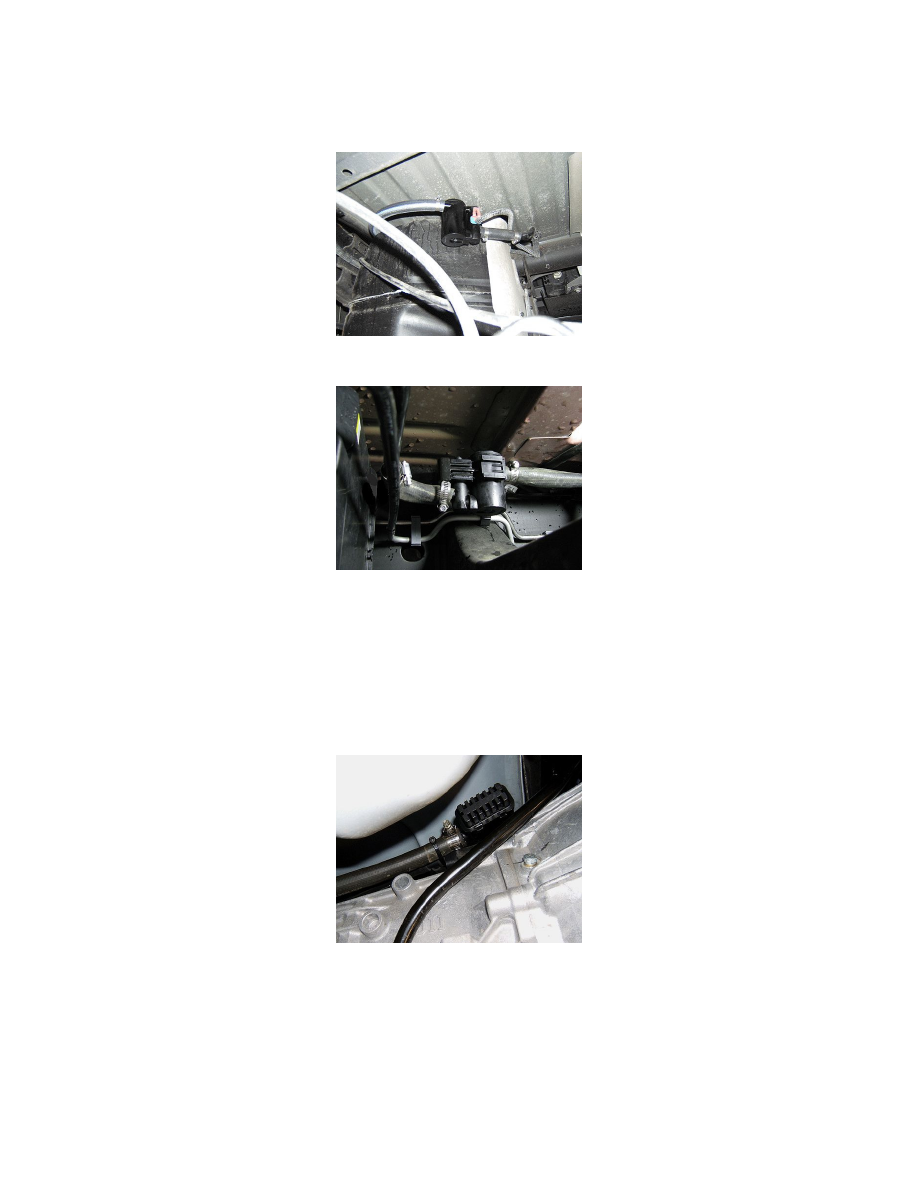
2500 Crew Cab Short Box Shown Below, Other Configurations Similar
1500 Extended Cab Short Box Shown Below, Other Configurations Similar
8. Install the new canister vent valve solenoid to the fuel tank clip or mounting bracket as shown above. The valve port closest to the electrical
connector must point towards the canister.
9. Cut bulk 5/8" heater hose to a length of approximately 76 mm (3 in). Install the hose between the solenoid and the canister pipe and secure using
clamps.
10. Attach bulk 5/8" heater hose to the vent port and secure using a clamp. Run a length as needed along the frame rail routing to the passenger side
area above the transmission.
11. Cut the hose to determined length and install the supplied filter box. Secure using a clamp.
12. Remove the transmission heat shield, if necessary.
13. Remove the transmission support and lower the transmission assembly as necessary to allow for access to the new filter box location.
14. Secure the filter box to the transmission vent hose just forward of the hose tee-section using a tie strap. DO NOT pinch or restrict the transmission
vent hose. The filter box opening should be pointing downward.
15. Raise the transmission and reinstall the transmission support.
16. Reinstall the transmission heat shield.
17. Connect the EVAP canister vent valve electrical connector.
18. Tie strap the hose as needed along the frame rail in order to keep the hose away from pinch-points and heat sources.
19. Lower the vehicle.
Parts Information