
Silverado 1500 2WD V6-4.3L (2007)
6. Using the J 45722 and a long breaker bar, rotate the lock ring clockwise unlocking the fuel tank module lock ring.
7. Remove the J 45722.
8. Remove the fuel tank module lock ring.
Notice: Do Not handle the fuel sender assembly by the fuel pipes. The amount of leverage generated by handling the fuel pipes could damage the
joints.
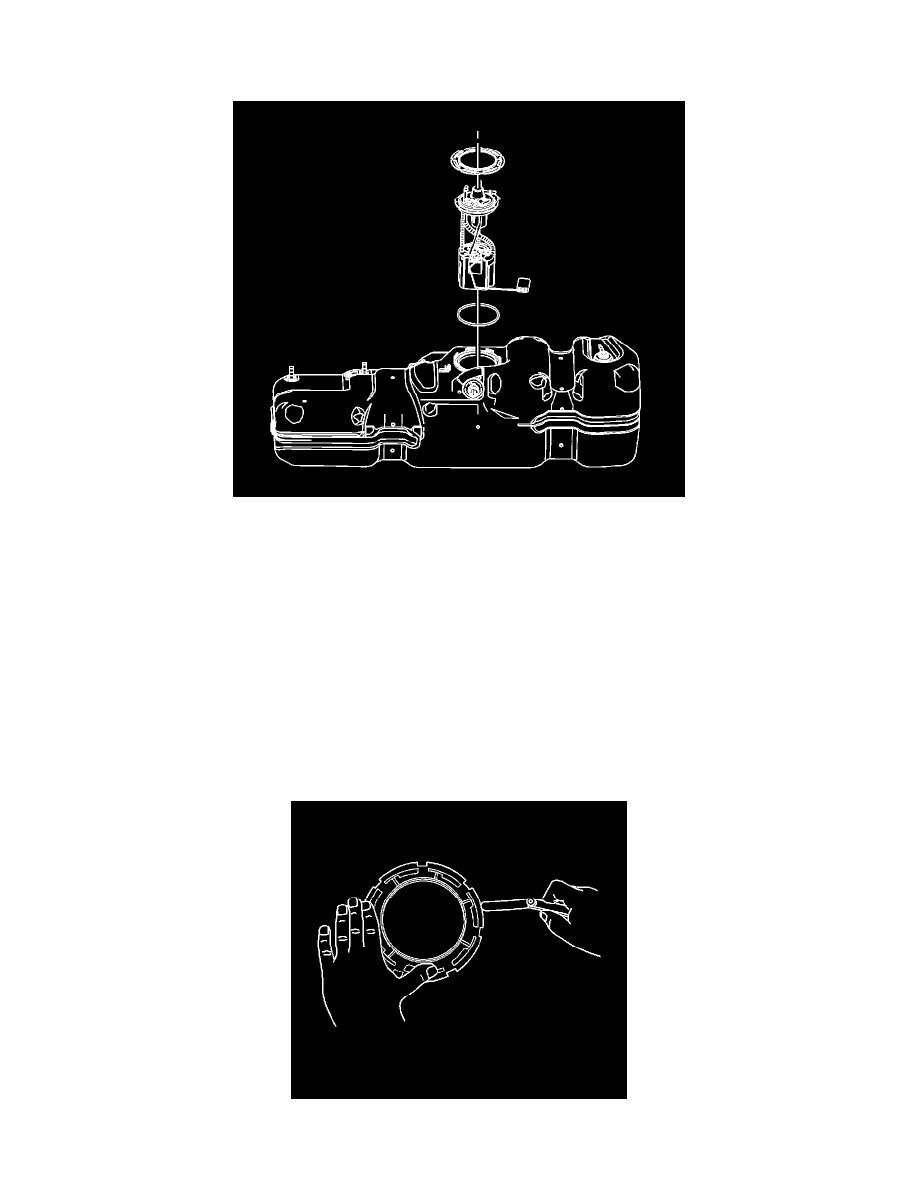
9. Slowly raise the module until the fuel level sensor float arm is just visible.
Important: When removing the module from the fuel tank, be aware that the module reservoir bucket is full of fuel. The module must be
tipped slightly during removal to avoid bending the fuel level sensor float arm.
10. Tilt the module toward the rear of the fuel tank to allow the level sensor float arm to clear the tank opening. Remove the module from the tank.
11. Carefully discard the fuel in the module reservoir bucket into an approved fuel container.
Important: DO NOT reuse the old fuel tank module O-ring seal.
12. Remove and discard the fuel tank module O-ring seal.
Important:
*
Some lock rings were manufactured with "DO NOT REUSE" stamped into them. These lock rings may be reused if they are not