
Silverado 1500 2WD V6-4.3L (2007)
Tie Rod: Service and Repair
Steering Linkage (Non-Rack & Pinion)
Steering Linkage Inner Tie Rod Replacement
Tools Required
J 34028 Inner Tie Rod Wrench
Removal Procedure
1. Remove the engine shield, if equipped.
2. Remove the steering linkage outer tie rod.
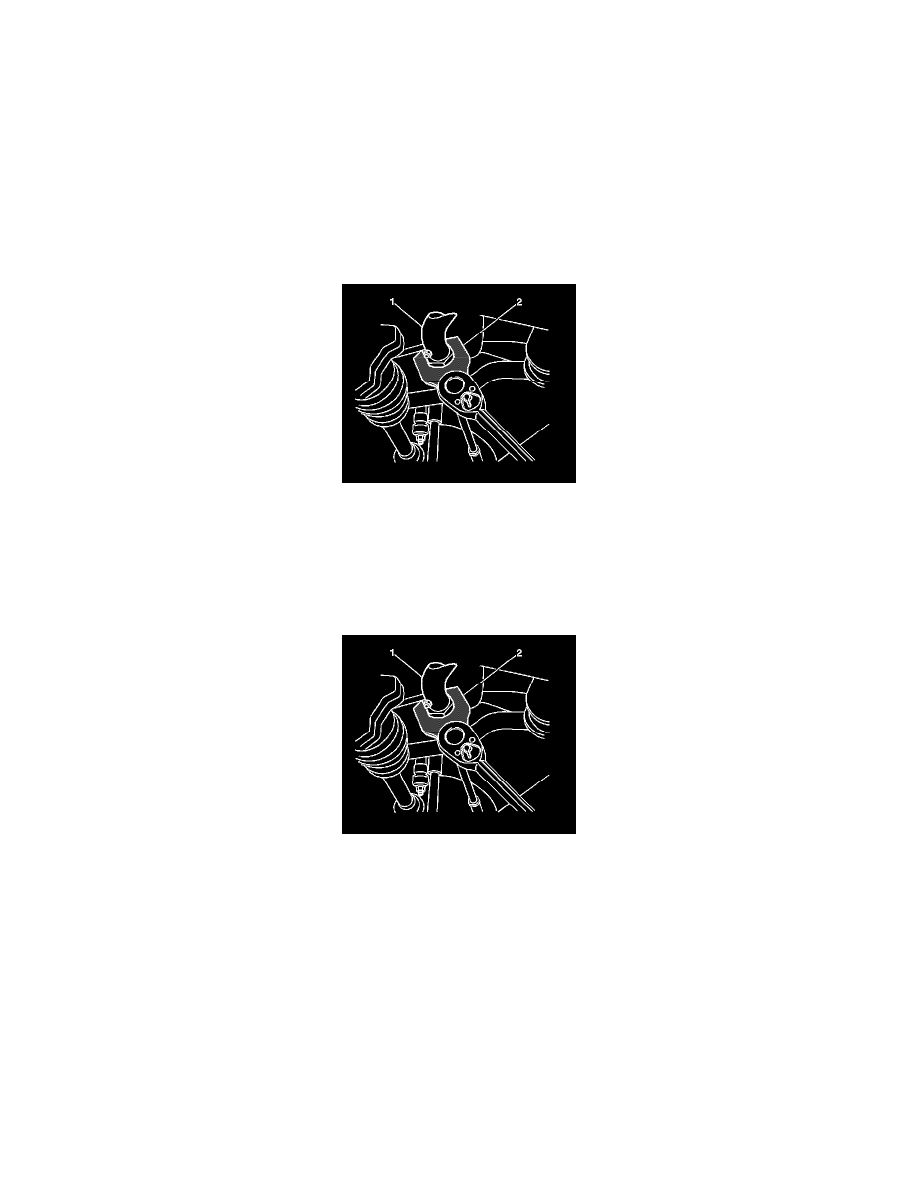
3. Remove the steering linkage inner tie rod (1) from the relay rod using wrench J 34028 (2).
Installation Procedure
1. Remove all traces of oil, grease, or other contaminants.
2. Clean the threads of the steering linkage inner tie rod with denatured alcohol or the equivalent and allow to dry.
3. Apply red LOCTITE(TM) threadlocker, GM P/N 12345493 (Canadian P/N 10953488) to the threads of the steering linkage inner tie rod.
Notice: Refer to Fastener Notice.
4. Install the steering linkage inner tie rod (1) to the relay rod using wrench J 34028 (2).
Tighten the steering linkage inner tie rod to 100 N.m (74 lb ft).
5. Install the steering linkage outer tie rod.
6. Install the engine shield, if equipped.
7. Adjust the front toe.