
Silverado 1500 2WD V6-4.3L (2007)
Output Yoke: Service and Repair
Output Flange/Yoke Replacement
Removal Procedure
1. Place the transmission in the Park (P) selector position.
Caution: Apply the parking brake and block the drive wheels before performing this procedure in order to prevent bodily injury.
2. Apply the parking brake and chock the wheels to prevent vehicle movement.
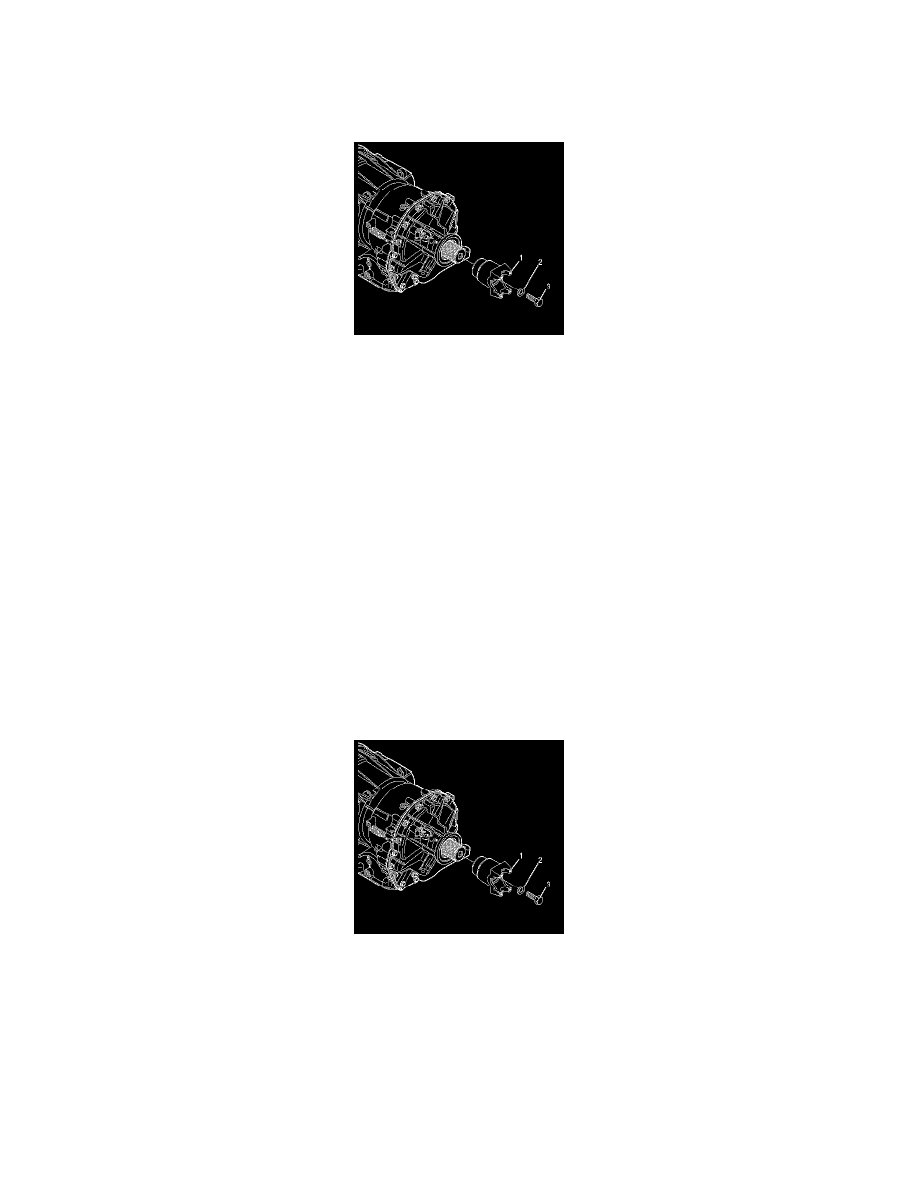
3. Remove the vehicle driveline from the transmission yoke assembly (1).
Remove the bolt (3) and seal-ring washer (2).
4. Remove the yoke assembly (1).
Important: Do the following prior to installation of the yoke assembly:
*
Be sure the yoke, output shaft and retaining hardware are clean.
*
Verify the output seal is free of tears or cuts.
*
DO NOT attempt to remove scratches from the output seal journal on the yoke assembly. Repair may produce machine lead and
leakage.
Inspect the yoke assembly and replace it whenever there are nicks or scratches on the seal journal or on the lead-in chamfer just ahead of the seal
journal.
Installation Procedure
1. Lubricate the internal splines and the rear seal journal of the yoke assembly with clean transmission fluid.
2. Install the yoke assembly (1) onto the transmission output shaft.
Notice: Refer to Fastener Notice.
3. Install the bolt (3) and seal-ring washer (2).
Tighten the bolt to 123 N.m (91 lb ft).
4. Attach the vehicle driveline to the transmission yoke assembly. Refer to Transmission Replacement.
5. Be sure the selector is in the Park (P) position.