
Silverado 1500 2WD V6-4.3L VIN X (2004)
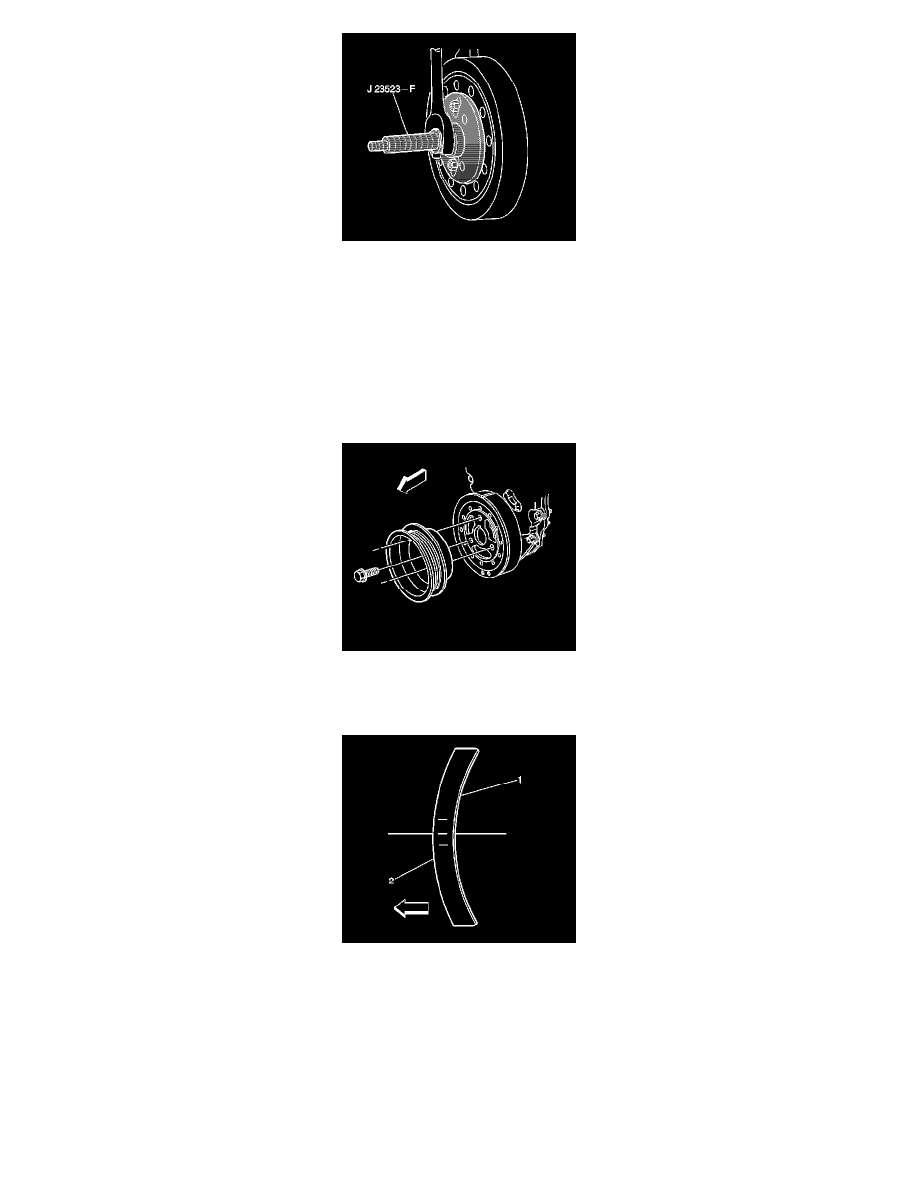
6. Using J 23523-F, press the crankshaft balancer onto the crankshaft.
Notice: Refer to Fastener Notice in Service Precautions.
1. Install the J 23523-F plate and bolts onto the front of the crankshaft balancer.
^
Tighten the bolts to 25 Nm (18 ft. lbs.).
2. Install the J 23523-F forcing screw into the end for the crankshaft.
3. Install the J 23523-F bearing, the washer, and the nut onto the forcing screw.
4. Rotate the J 23523-F nut clockwise until the crankshaft balancer hub is completely seated against the crankshaft position sensor reluctor ring.
7. Remove the J 23523-F.
8. Install the crankshaft pulley and bolts. Finger tighten all bolts until snug in order to fully seat the pulley.
9. Tighten the bolts.
^
Tighten the bolts to 58 Nm (43 ft. lbs.).
10. Ensure that the crown of the crankshaft balancer washer (2) is faced away from the engine.