
Silverado 1500 2WD V8-4.8L VIN V (2006)
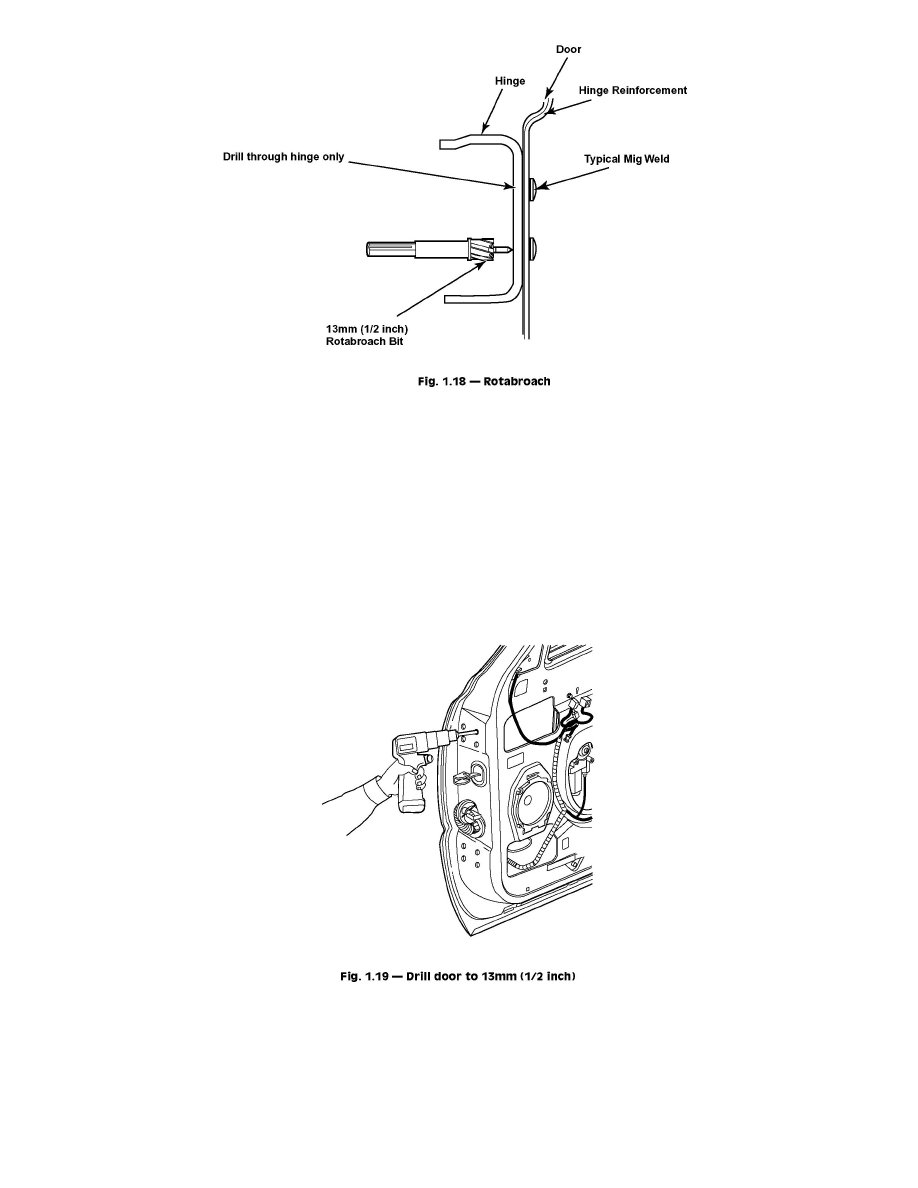
NOTE: Do NOT drill into the door -drill through hinge ONLY (Fig.1.18). If necessary, use a chisel to separate the hinge from door.
5. At each punch location, drill through hinge base only using a 13 mm (1/2 inch) rotabroach saw, or equivalent. (Fig.1.18)
6. Remove all remaining weld from door surface to ensure a flush fit of service hinge.
INSTALL OR CONNECT
1. Repair any damage done to door during drilling or removal.
2. Clean and prepare hinge and backing plate mounting surfaces to ensure a flush fit of the service hinge.
3. Position the service template on door using 3M Repositionable Adhesive (part #6091), or equivalent.
4. Center punch each hole location on the door according to the template.
5. Drill a 3 mm (1/8 inch) pilot hole at each center punch location.
6. Using pilot hole as guide, drill a 13 mm (1/2 inch) hole through door at pilot locations (Fig.1.19).
7. Clean and prepare all surfaces, as necessary for refinish.
IMPORTANT: Prior to refinishing, refer to GM P/N 4901.M-D Refinish Manual for recommended products.
8. Apply approved anti-corrosion primer.
9. Apply full-bodied caulk to the entire hinge mounting surface to ensure a proper seal.