
Silverado 1500 2WD V8-4.8L VIN V (2006)
Brake Rotor/Disc: Service and Repair
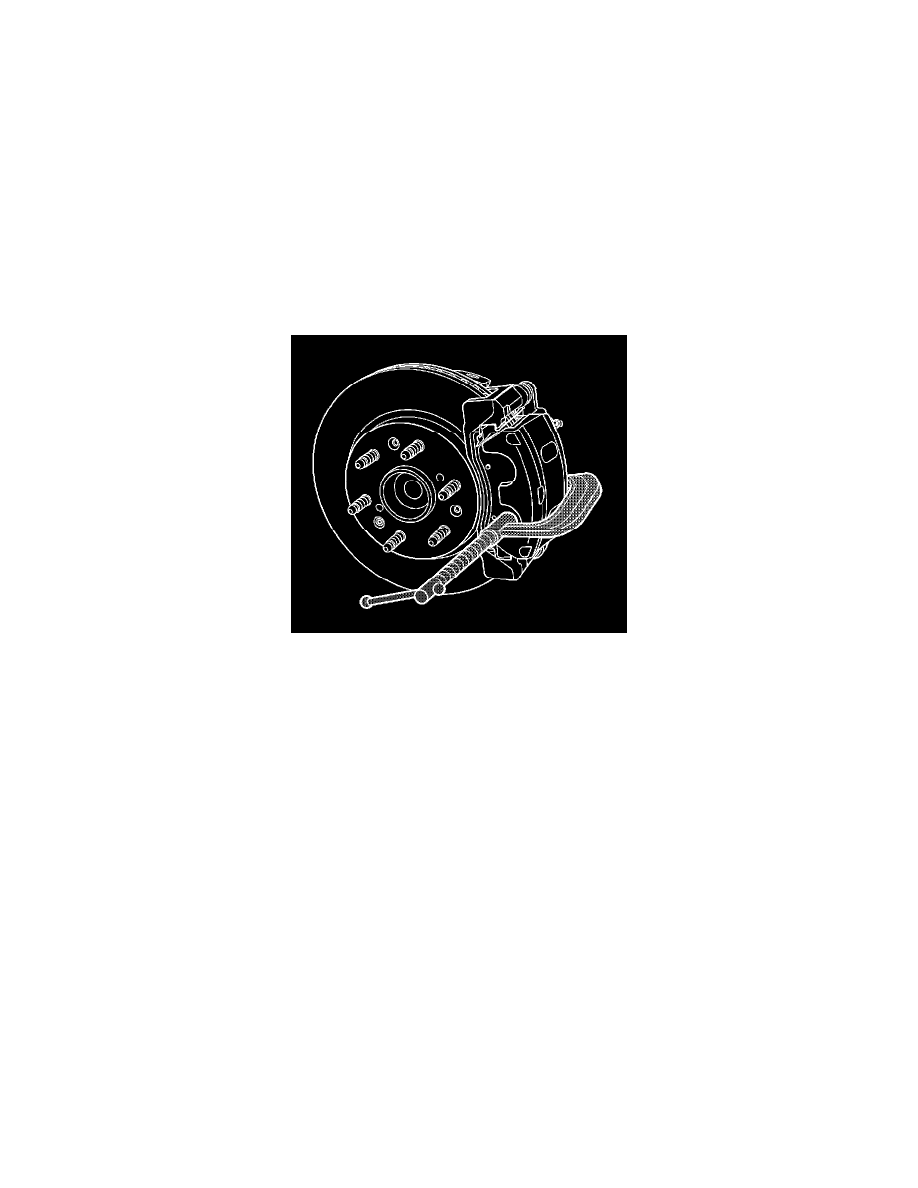
Brake Rotor Replacement - Front
Brake Rotor Replacement - Front (1500 Series)
^
Tools Required
-
J 41013 Rotor Resurfacing Kit
-
J 42450-A Wheel Hub Resurfacing Kit
Caution: Refer to Brake Dust Caution in Service Precautions.
Removal Procedure
Notice: Any new rotor must have the protective coating removed from the friction surfaces before being placed in service. Remove the protective
coating using denatured alcohol or an equivalent, and wipe the surface clean with clean cloths. Do not use gasoline, kerosene, or other oil base
solvents which may leave an oily residue. This residue is damaging to the brake lining and is flammable.
1. Inspect the fluid level in the brake master cylinder reservoir.
2. If the fluid level is midway between the maximum - full point, and the minimum allowable level, no fluid needs to be removed from the reservoir
before proceeding.
3. If the fluid level is higher than midway between the maximum - full point, and the minimum allowable level, remove fluid to the midway point
before proceeding.
4. Remove the tire and wheel assembly.
5. Mark the relationship of the rotor to the hub.
6. Compress the brake caliper pistons.
1. Install 2 large C-clamps over the top of the caliper housing and against the back of the outboard pad.
2. Slowly tighten the C-clamps until the pistons are pushed completely into the caliper bores.
3. Remove the C-clamps from the caliper.