Silverado 1500 2WD V8-4.8L VIN V (2006)

4. Position the J 41364-A onto the PNP switch. Ensure that the two slots on the switch where the manual shaft is inserted are lined up with the lower
two tabs on the tool.
5. Rotate J 41364-A until the upper locator pin on the tool is lined up with the slot on the top of the switch.
^
Tighten the bolts to 25 Nm (18 ft. lbs.).
Notice: Refer to Fastener Notice in Service Precautions.
6. Remove J 41364-A from the PNP switch. If installing a new switch, remove the positive assurance bracket at this time.
7. Install the control lever to the manual shaft with the nut.
8. Install the manual shaft nut.
^
Tighten the nut to 25 Nm (18 ft. lbs.).
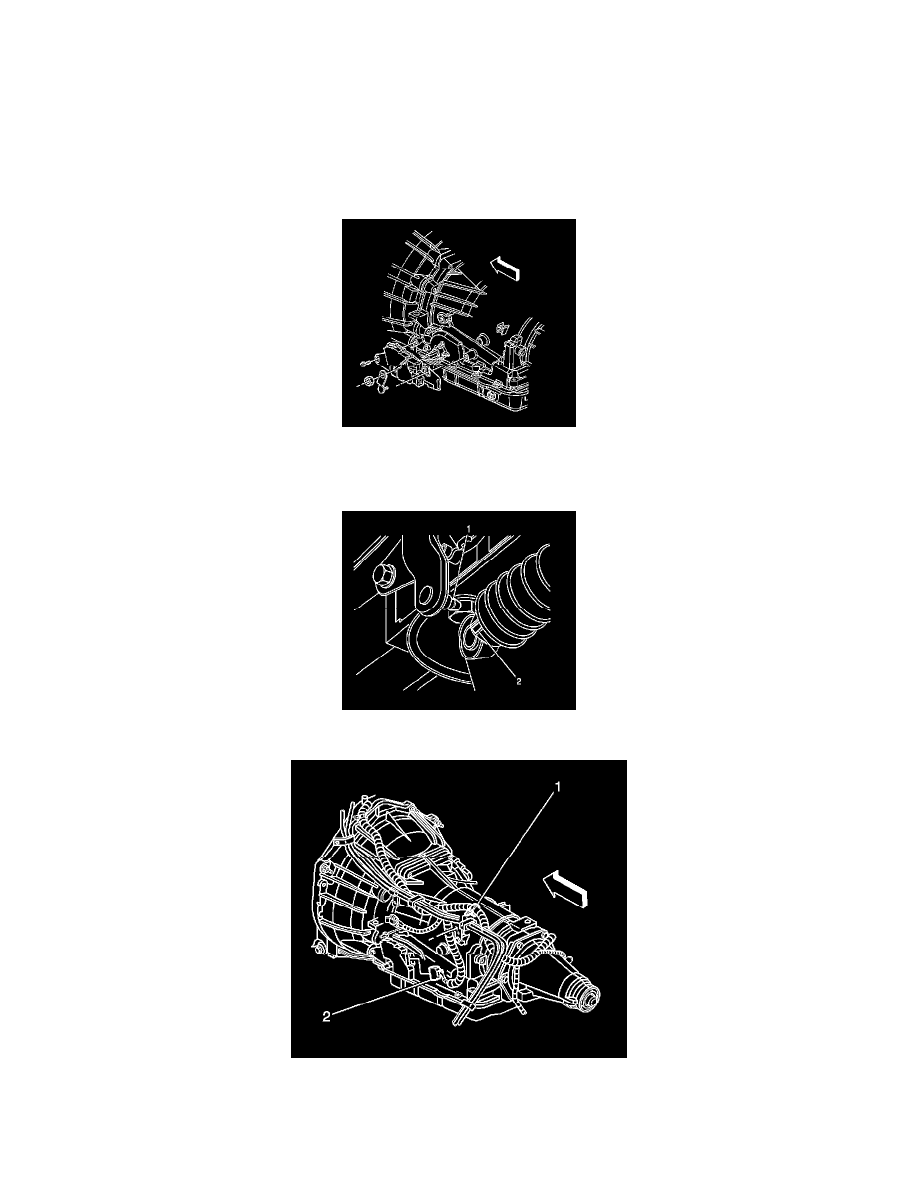
9. Install the range selector cable end (2) to the range selector lever ball stud (1).
10. Connect the PNP switch electrical connector (2).
11. If equipped with 4WD, install the front propeller shaft.
12. Lower the vehicle.
13. Check the PNP switch for proper operation. The engine must start in the park (P) or neutral (N) positions only. If proper operation of the switch
