Silverado 1500 2WD V8-5.3L VIN Z Flex Fuel (2006)

15. Install the HO2S sensor connector to the bracket.
16. Install the fuel pipe bracket to the bellhousing stud.
17. Install the fuel pipe bracket nut.
Tighten the nut to 10 N.m (89 lb in).
18. Lower the vehicle.
19. Remove the caps from the fuel rail and EVAP lines.
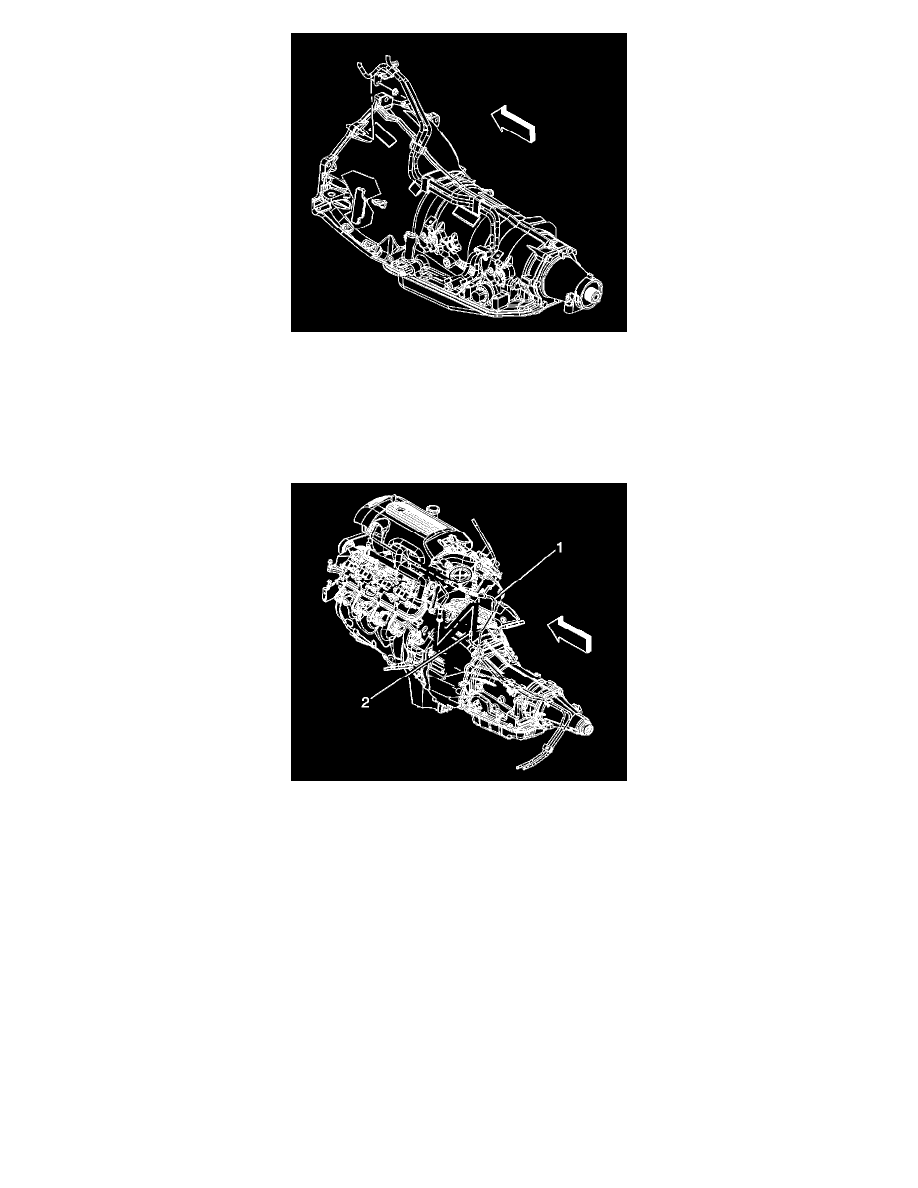
20. Connect the EVAP canister purge tube (2) fitting.
21. Connect the fuel feed line (1) fitting at the engine.
22. Install the fuel fill cap.
23. Connect the negative battery cable.
24. Use the following procedure in order to inspect for leaks:
1. Turn the ignition ON, with the engine OFF, for 2 seconds.
2. Turn the ignition OFF for 10 seconds.
3. Turn the ignition ON, with the engine OFF.
4. Inspect for fuel leaks.
Evaporative Emission (EVAP) Hoses/Pipes Replacement - Engine
EVAPORATIVE EMISSION (EVAP) HOSES/PIPES REPLACEMENT - ENGINE
REMOVAL PROCEDURE
IMPORTANT: Clean the evaporative emission (EVAP) line connections and surrounding areas prior to disconnecting the fittings in order to avoid
possible system contamination.
