
Silverado 1500 2WD V8-6.0L (2010)
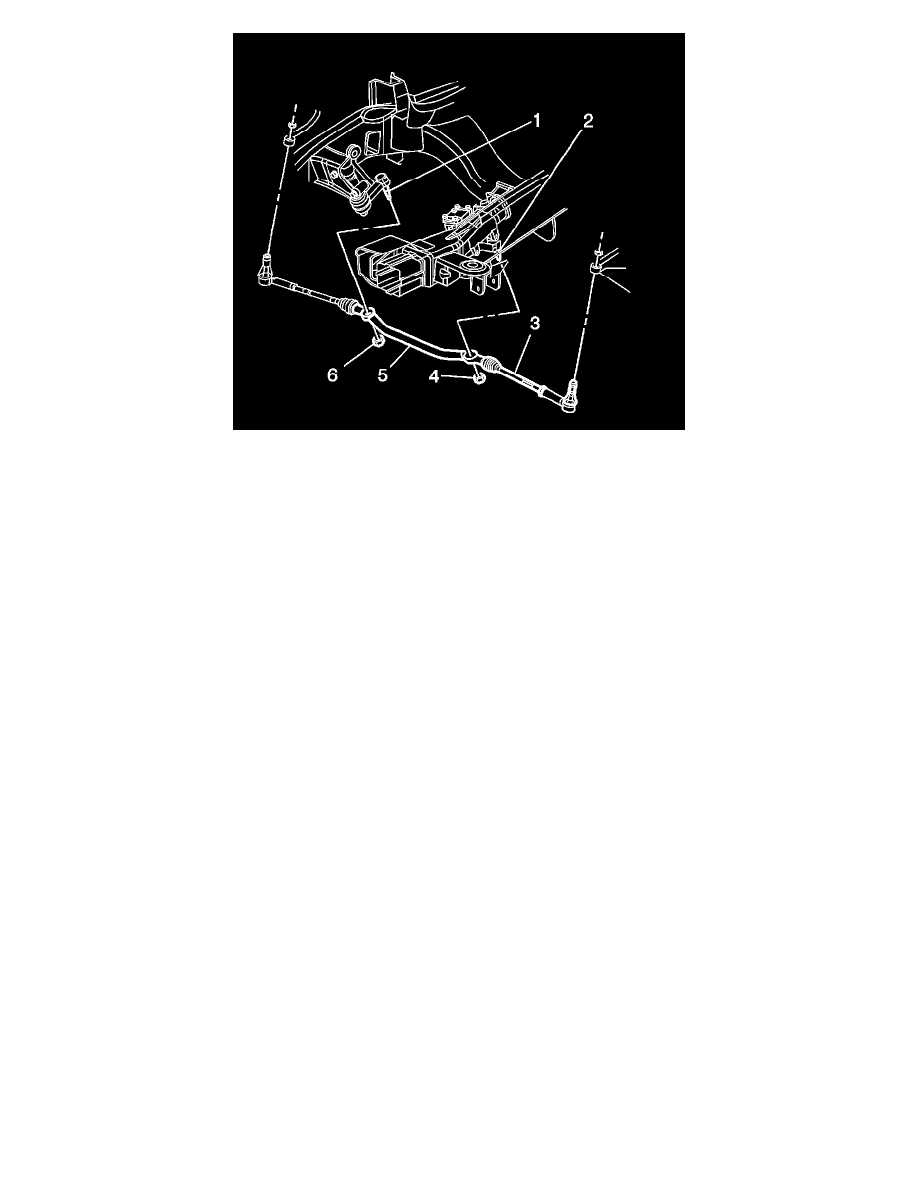
1. Position the relay rod (5) in the vehicle.
2. Install the pitman arm (2) to the relay rod (5).
3. Install the idler arm (1) to the relay rod.
Caution: Refer to Fastener Caution (See: Service Precautions/Vehicle Damage Warnings/Fastener Caution).
4. Install a NEW pitman arm nut (4) and tighten to 62 Nm (46 lb ft).
5. Install a NEW idler arm nut (6) and tighten to 62 Nm (46 lb ft).
6. Install the steering linkage outer tie rods. Refer to Steering Linkage Outer Tie Rod Replacement (See: Tie Rod/Service and Repair/Steering
Linkage Outer Tie Rod Replacement).
7. Install the steering linkage shock absorber to the relay rod, if equipped. Refer to Steering Linkage Shock Absorber Replacement (See: Steering
Damper/Service and Repair).
8. Install the engine shield, if equipped. Refer to Engine Shield Replacement (See: Body and Frame/Frame/Skid Plate/Service and Repair/Engine
Shield Replacement).
9. Measure the wheel alignment. Refer to Wheel Alignment Measurement (See: Alignment/Service and Repair/Wheel Alignment Measurement).
10. Adjust the front toe. Refer to Wheel Alignment - Steering Wheel Angle and/or Front Toe Adjustment (See: Alignment/Service and Repair/Wheel
Alignment - Steering Wheel Angle and/or Front Toe Adjustment).