
Silverado 1500 2WD V8-6.0L (2010)
2. Install the 2-4 servo.
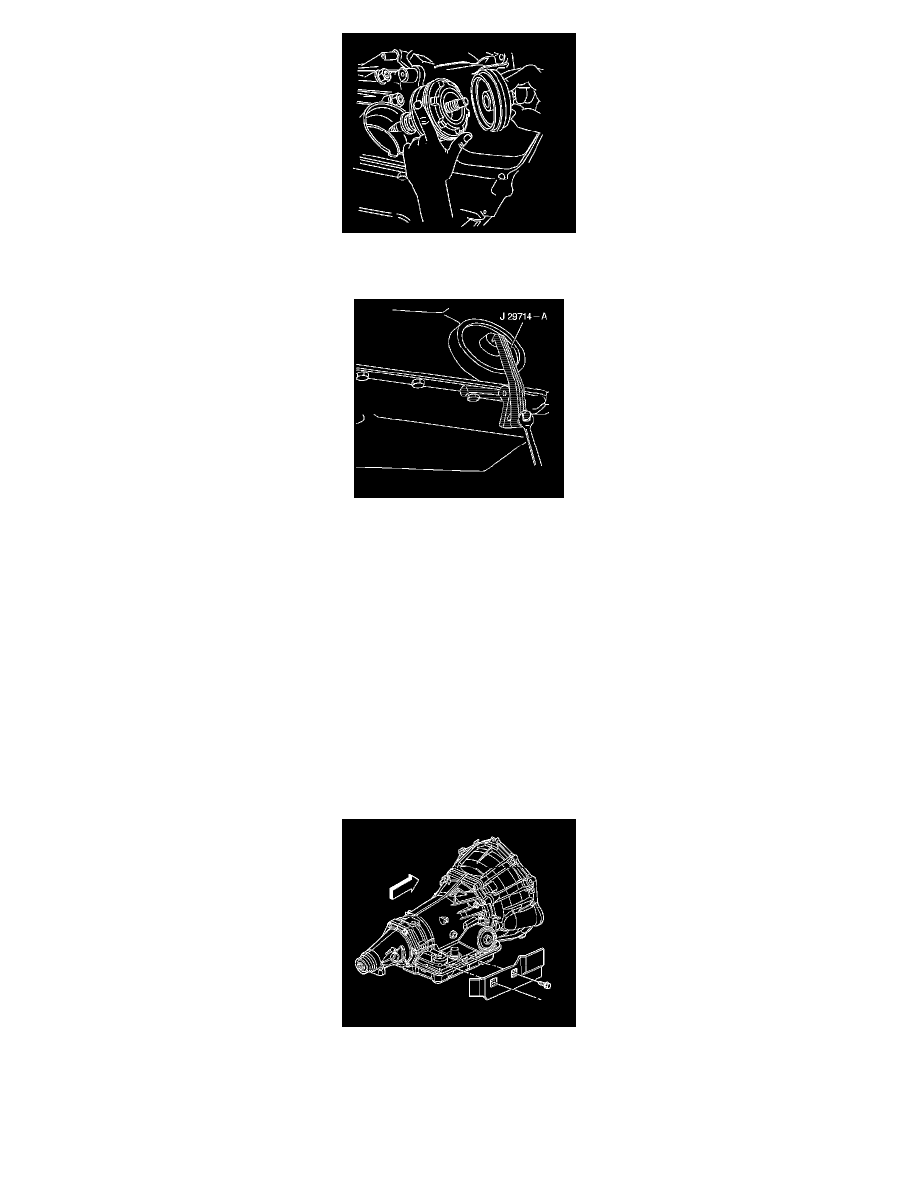
3. Install the J 29714-A .
4. Tighten the bolt on J 29714-A in order to compress the servo cover.
5. Install the servo cover ring.
6. Remove the J 29714-A .
Caution: Refer to Fastener Caution (See: Service Precautions/Vehicle Damage Warnings/Fastener Caution).
7. Install the oil pan bolt.
Tighten the bolt to 11 Nm (97 lb in).
8. Raise the transmission.
9. Install the transmission crossmember. Refer to Transmission Support Crossmember Replacement (2WD 1500/2500) (See: Body and
Frame/Frame/Cross-Member/Service and Repair)Transmission Support Crossmember Replacement (4WD 1500/2500) (See: Body and
Frame/Frame/Cross-Member/Service and Repair)Transmission Support Crossmember Replacement (2WD 2500 HD/3500) (See: Body and
Frame/Frame/Cross-Member/Service and Repair)Transmission Support Crossmember Replacement (4WD 2500 HD/3500) (See: Body and
Frame/Frame/Cross-Member/Service and Repair).
10. Remove the transmission jack.
11. Install the heat shield and bolts.
Tighten the bolts to 17 Nm (13 lb ft).
12. Install the catalytic converter pipe. Refer to Catalytic Converter Replacement (LY6 with Exhaust Flange) (See: Engine, Cooling and
Exhaust/Exhaust System/Catalytic Converter/Service and Repair)Catalytic Converter Replacement (L9H with Exhaust Flange) (See: Engine,