Silverado 1500 2WD V8-6.0L Hybrid (2009)

Caution: Refer to Fastener Caution (See: Service Precautions/Vehicle Damage Warnings/Fastener Caution) .
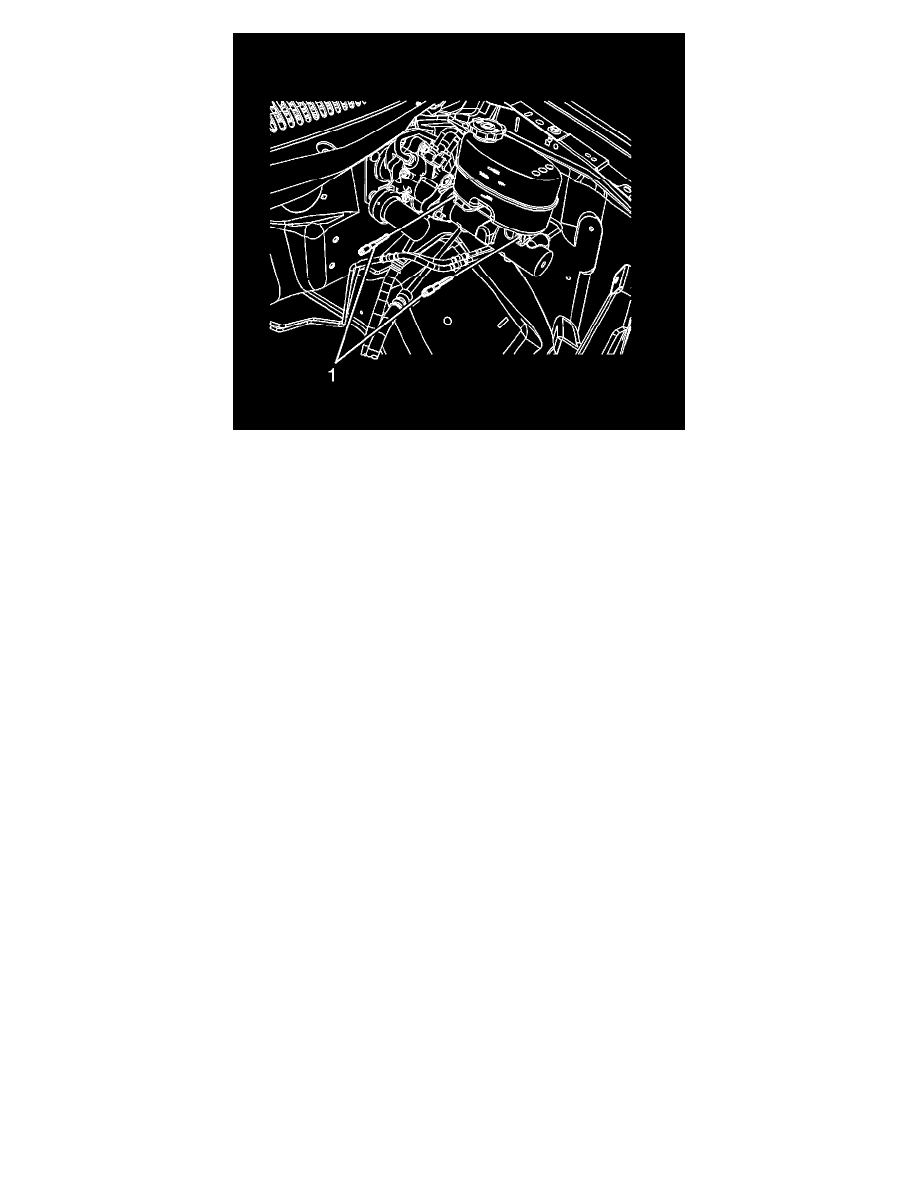
6. Install the master cylinder reservoir bolts (1) and tighten to 8 Nm (71 lb in) .
7. Connect the brake fluid level indicator switch electrical connector.
8. Fill the master cylinder reservoir. Refer to Master Cylinder Reservoir Filling (Non-Hybrid) (See: Procedures/Master Cylinder Replacement
(RHD))Master Cylinder Reservoir Filling (Two-mode Hybrid) (See: Procedures/Master Cylinder Replacement (Vacuum Boost)) .
Master Cylinder Replacement (JD9, JF3, JF7)
Master Cylinder Replacement (Two-Mode Hybrid)
Removal Procedure
Warning: Refer to Brake Fluid Irritant Warning (See: Service Precautions/Technician Safety Information/Brake Fluid Irritant Warning) .
Caution: Refer to Brake Fluid Effects on Paint and Electrical Components Caution (See: Service Precautions/Vehicle Damage Warnings) .
Note
The ignition must be in the OFF position, without pausing at ACCESSORY, and without applying the brake pedal to ensure the brake modulator and
high pressure accumulator (HPA) pressure relief occurs. This process will take approximately 1 to 3 minutes.
1. Turn the ignition to OFF, without pausing at ACCESSORY, and remove the ignition key.
Note
During the pressure relief process, the fluid level in the master cylinder reservoir will rise. Do not remove the master cylinder reservoir cap during the
pressure relief process.
2. Wait approximately 1 to 3 minutes until the brake modulator and HPA pressure relief is complete.
3. Remove the brake fluid from the brake master cylinder reservoir and discard into an approved container.
4. Disconnect the brake fluid level sensor electrical connector.
