Silverado 1500 2WD V8-6.0L Hybrid (2009)

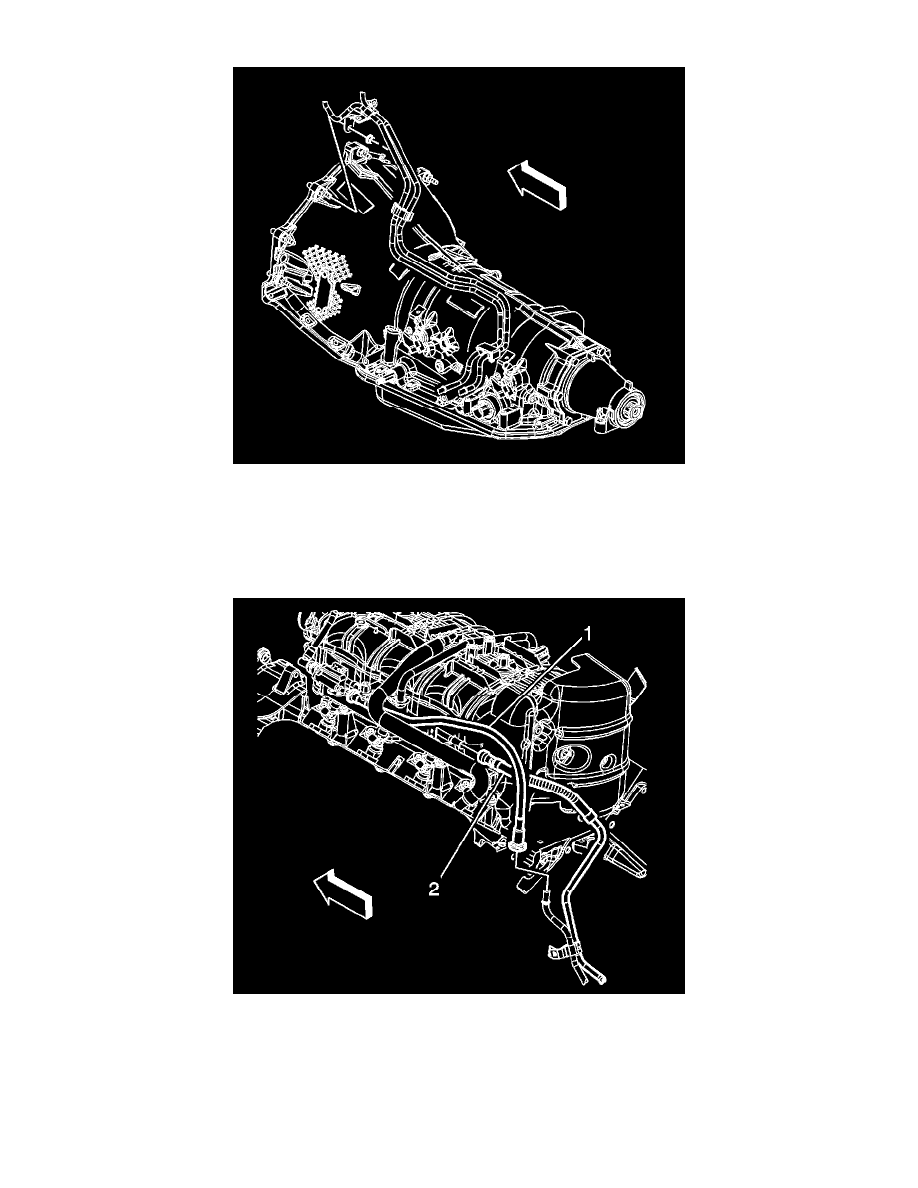
12. Install the fuel line clip to the bracket on the automatic transmission.
13. Install the fuel pipe bracket nut to the bellhousing stud.
Tighten the nut to 25 Nm (18 lb ft).
14. Position and install the front propeller shaft, if required. Refer to Front Propeller Shaft Replacement () .
15. Lower the vehicle.
16. Remove the caps from the fuel rail and EVAP line.
17. Connect the EVAP line (1) quick connect fitting to the chassis EVAP line. Refer to Plastic Collar Quick Connect Fitting Service (See: Fuel
Delivery and Air Induction/Fuel Line Coupler/Service and Repair/Plastic Collar Quick Connect Fitting Service) .
18. Connect the fuel feed line (2) quick connect fitting to the fuel rail. Refer to Metal Collar Quick Connect Fitting Service (See: Fuel Delivery and
Air Induction/Fuel Line Coupler/Service and Repair/Metal Collar Quick Connect Fitting Service) .
19. Install the fuel fill cap.
20. Connect the negative battery cable. Refer to Battery Negative Cable Disconnection and Connection (With Single Battery) (See: Starting and
Charging/Battery/Battery Cable/Service and Repair)Battery Negative Cable Disconnection and Connection (With Auxiliary Battery) (See:
