
Silverado 1500 2WD V8-6.0L VIN U (2004)
4. Remove the brake caliper bracket mounting bolts (2).
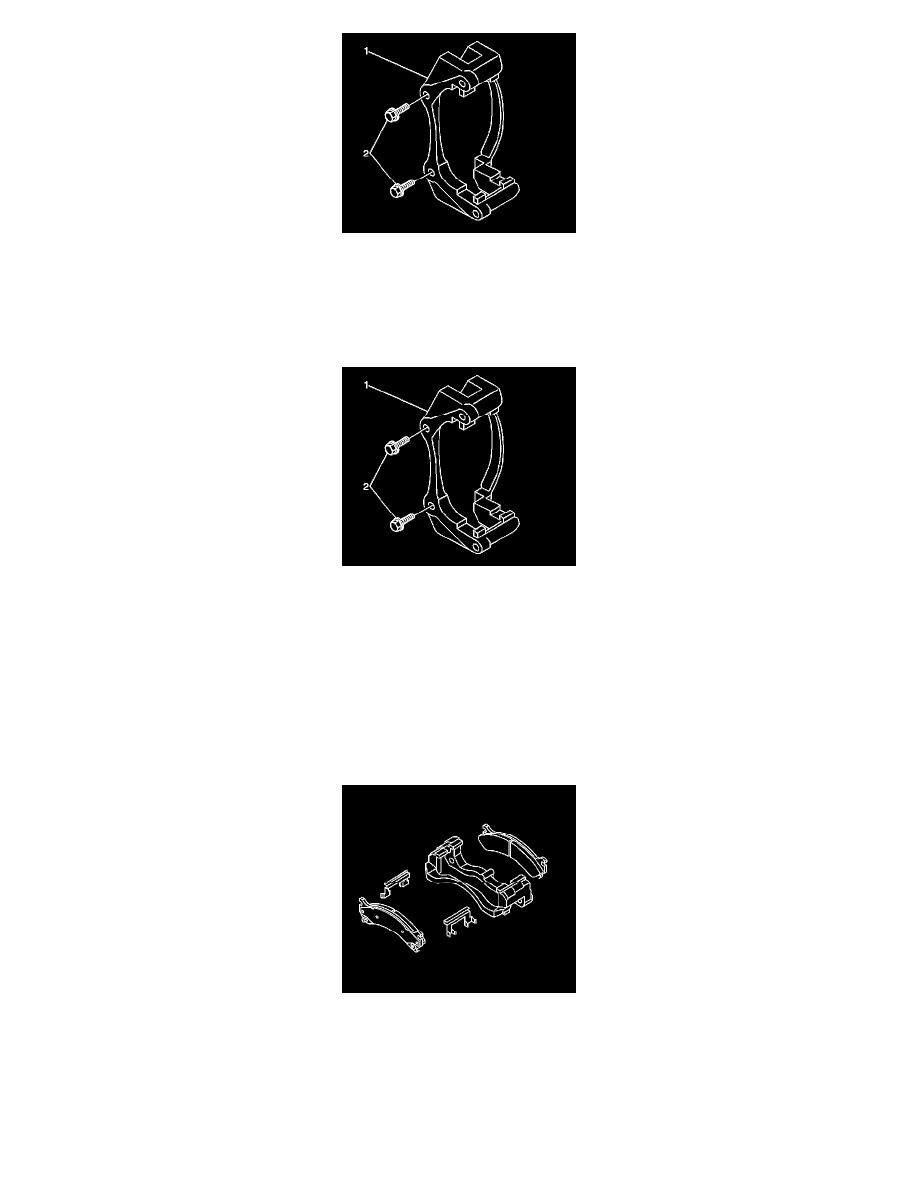
5. Remove the brake caliper bracket (1).
6. Remove any contaminants or foreign material from the inside ends of the brake caliper bracket.
7. Clean the mounting surface and threads of the brake caliper bracket.
Installation Procedure
1. Install the brake caliper bracket (1).
2. Perform the following procedure before installing the brake caliper bracket mounting bolts.
1. Remove all traces of the original adhesive patch.
2. Clean the threads of the bolt with denatured alcohol or equivalent and allow to dry.
3. Apply Threadlocker GM P/N 12345493 (Canadian P/N 10953488) to the threads of the bolt.
3. Notice:
Refer to Fastener Notice in Service Precautions.
Install the caliper bracket mounting bolts (2).
^
Tighten the brake caliper bracket mounting bolts to 175 Nm (121 ft. lbs.) (15 Series).
^
Tighten the brake caliper bracket mounting bolts to 300 Nm (221 ft. lbs.) (25 and 35 Series).
4. Install the anti-rattle clips to the brake caliper bracket.
5. Install the brake pads to the brake caliper bracket.
6. Slide the brake pads in until they contact the rotor.
7. Install the brake caliper. Refer to Brake Caliper Replacement - Front.
8. Install the tire and wheel assembly.
9. Lower the vehicle.
10. With the engine OFF, gradually apply the brake pedal to approximately 2/3 of it's travel distance.
11. Slowly release the brake pedal.