
Silverado 1500 4WD V8-5.3L VIN B HO (2006)
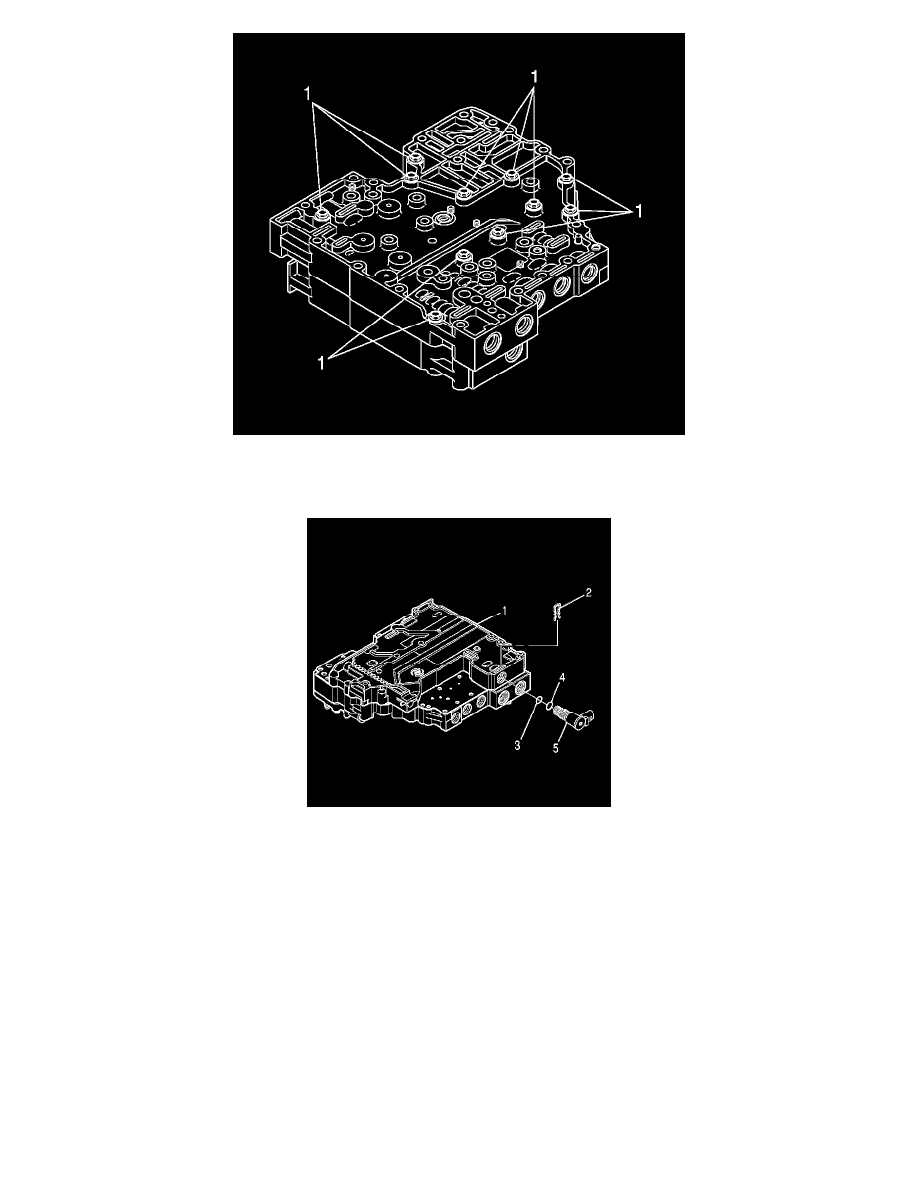
6. Position the control valve assembly on the work table so that the main valve body is facing up.
7. Install eleven bolts (1) retaining the valve bodies together.
^
Tighten the bolts to 12 Nm (108 inch lbs.).
8. Position the control valve assembly on the work table so that the shift valve body is up.
9. Install the solenoid O-ring (4) onto the SS1 (5).
Important:
^
O-ring (4) is slightly larger than O-ring (3).
^
P/N 29536833 is printed on the shift solenoid 1 (SS1) (5).
10. Install the solenoid O-ring (3) onto the SS1 (5).
11. Align the SS1 (5) so that the electrical connector points away from the nearest locating pin and is parallel to the separator plate as shown.
12. Install the solenoid retainer (2).