Silverado 1500 4WD V8-6.0L (2010)

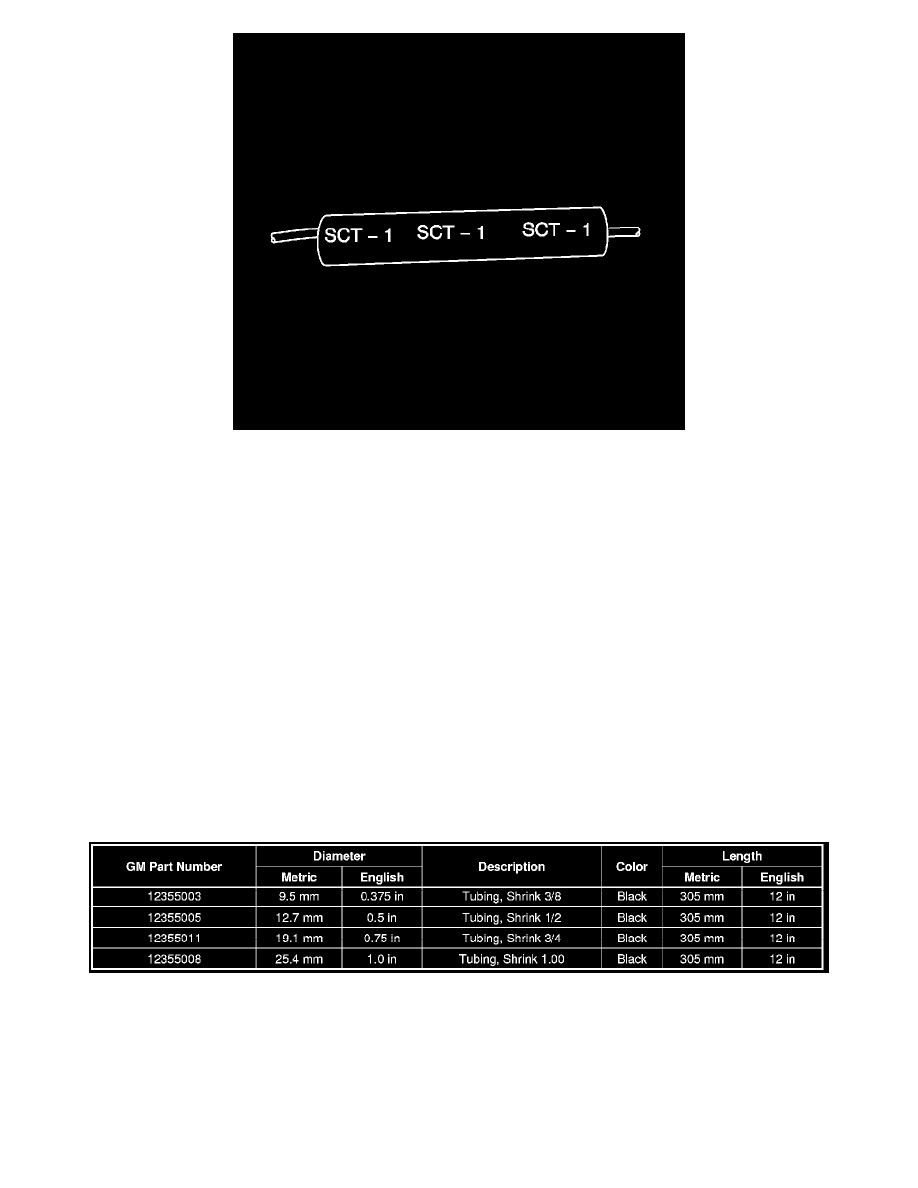
13. Center the high temperature SCT1 shrink tube over the DuraSeal splice sleeve.
14. Using the heat torch, apply heat to the high temperature heat shrink tubing.
15. Gradually move the heat from the center to the open end of the tubing:
*
The tubing will shrink completely as the heat is moved along the insulation.
*
A small amount of sealant will come out of the end of the tubing when sufficient shrinkage is achieved.
16. Replace any reflective tape and clips that may have been remove during the repair.
Repairing Damaged Wire Insulation
Repairing Damaged Wire Insulation
If the wire insulation has been chafed, or broken, enough to show the conductive portion of the wire, and the wire is not damaged, determine the length
of insulation that needs to be repaired. If the repair is less than 280 mm (11 in), cut the wire within the damaged area. Then slide the appropriate heat
shrink tubing (listed below) over the wire, and repair the wire by splicing the wires together. Refer to Splicing Copper Wire Using Splice Sleeves (See:
Testing and Inspection/Component Tests and General Diagnostics/General Electrical Diagnostic Procedures/Wiring Repairs/Splicing Copper Wire
Using Splice Sleeves). Once the wire is spliced together slide heat shrink tubing over the damaged area and apply heat to seal the repaired wire.
If the wire is damaged, or the damaged area is larger than 280 mm (11 in), then replace the damaged wire by splicing in a new section of wire. Refer to
Splicing Copper Wire Using Splice Sleeves (See: Testing and Inspection/Component Tests and General Diagnostics/General Electrical Diagnostic
Procedures/Wiring Repairs/Splicing Copper Wire Using Splice Sleeves).
