Silverado 1500 4WD V8-6.0L (2010)

Note: The crankshaft balancer is balanced as an individual component. It is not necessary to mark the balancer prior to removal.
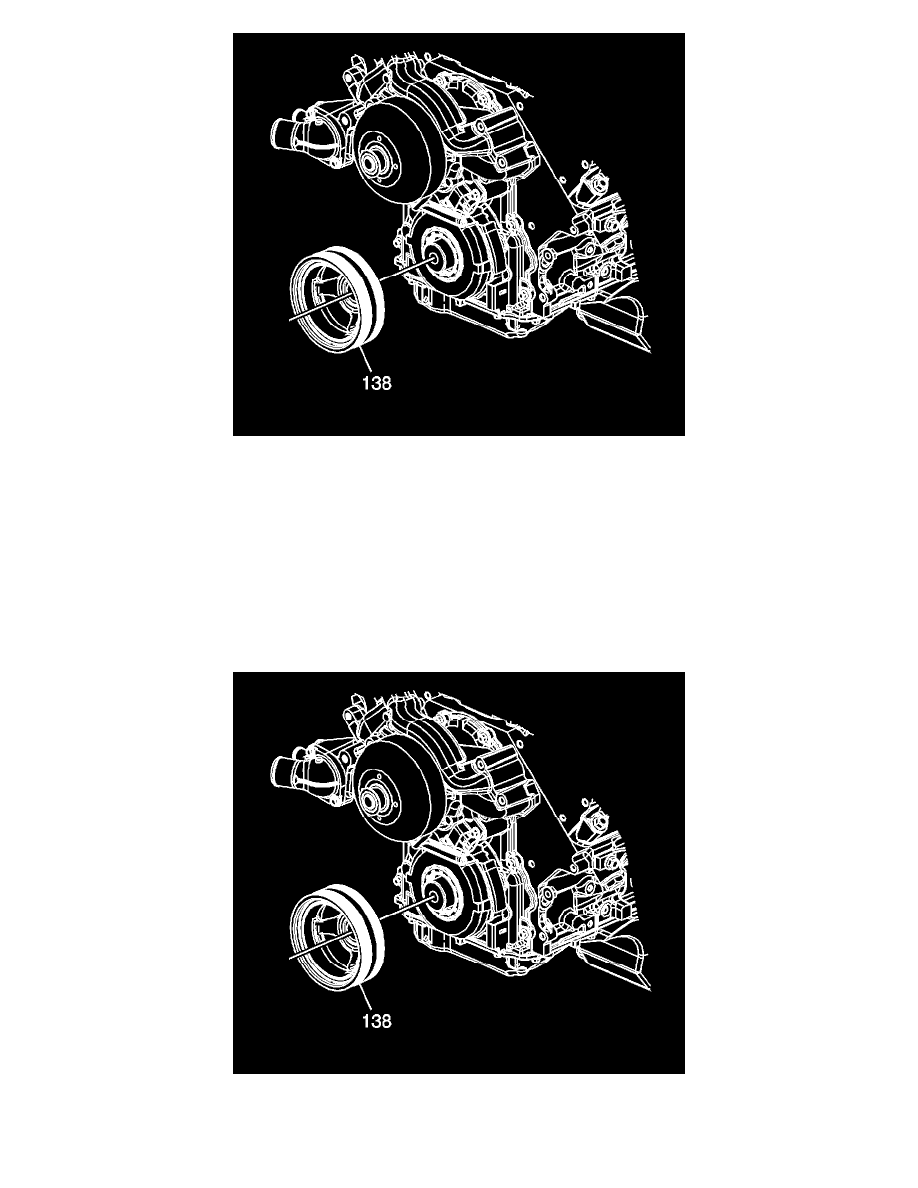
7. Use the J 41816 and the J 41816-2 to remove the crankshaft balancer (138).
8. Remove the J 41816 and the J 41816-2 from the crankshaft balancer.
Installation Procedure
Note:
*
The crankshaft balancer installation and bolt tightening involves a four stage tightening process. The first pass ensures that the balancer is installed
completely onto the crankshaft. The second, third, and fourth passes tighten the NEW bolt to the proper torque.
*
The used crankshaft balancer bolt will be used ONLY during the first pass of the balancer installation procedure. Install a NEW bolt and tighten as
described in the second, third and fourth passes of the balancer bolt tightening procedure.
Note: The balancer should be positioned onto the end of the crankshaft as straight as possible prior to tool installation.
1. Position the crankshaft balancer (138) onto the end of the crankshaft.
