
Silverado 1500 4WD V8-6.0L (2010)
6. Install the lower ball joint nut.
*
For those vehicles with the captured washer, tighten the nut to 125 Nm (92 lb ft).
*
For those vehicles without the captured washer, tighten the nut to 50 Nm plus 130 degrees (37 lb ft).
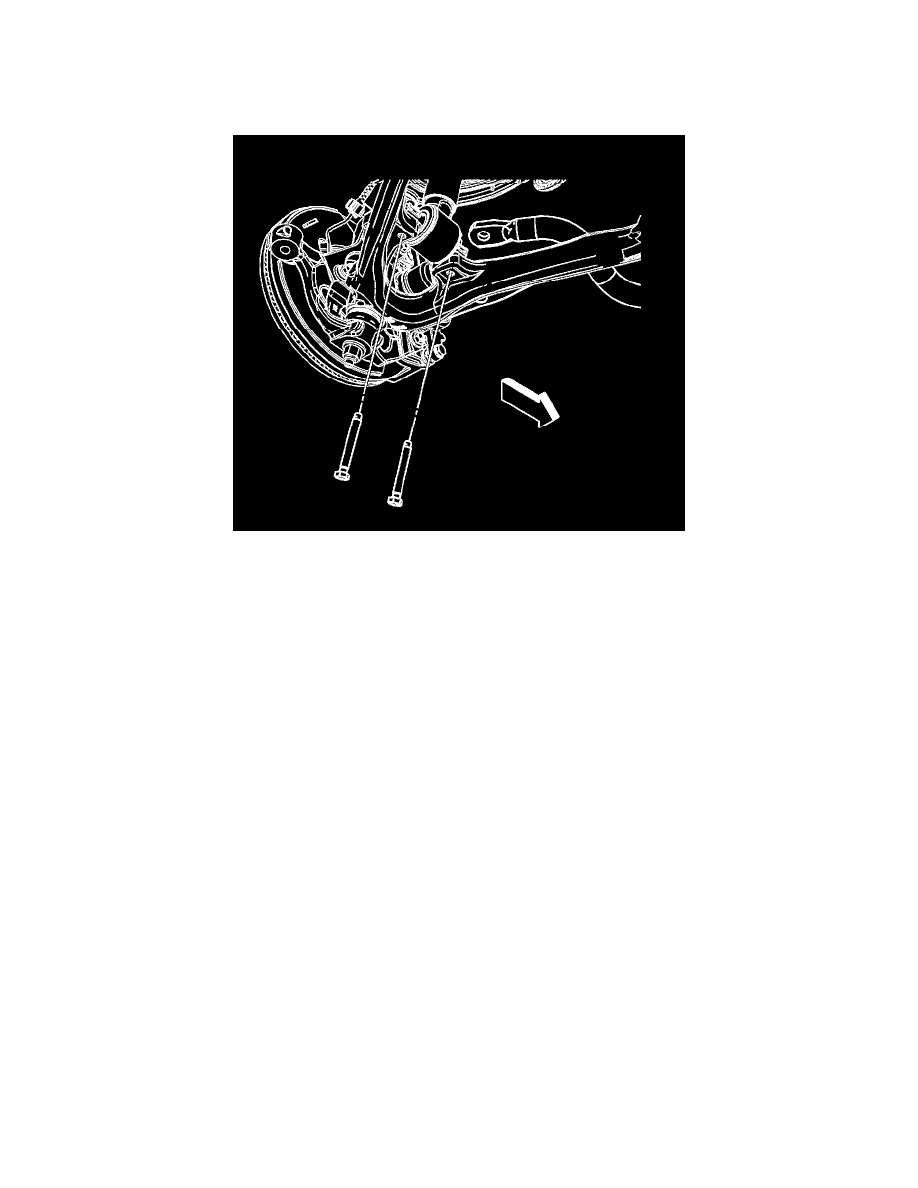
7. Install the lower shock absorber module mount bolts and tighten to 50 Nm (37 lb ft).
8. Remove the support for the steering knuckle and upper control arm.
9. Install the wheel drive shaft, if equipped. Refer to Wheel Drive Shaft Replacement (2500) (See: Transmission and Drivetrain/Drive Axles,
Bearings and Joints/Axle Shaft Assembly/Service and Repair)Wheel Drive Shaft Replacement (1500) (See: Transmission and Drivetrain/Drive
Axles, Bearings and Joints/Axle Shaft Assembly/Service and Repair).
10. Install the stabilizer shaft link to the lower control arm. Refer to Stabilizer Shaft Link Replacement (2500, 3500) (See: Stabilizer Bar/Stabilizer
Link/Service and Repair)Stabilizer Shaft Link Replacement (1500) (See: Stabilizer Bar/Stabilizer Link/Service and Repair).
11. Install the tire and wheel. Refer to Tire and Wheel Removal and Installation (See: Wheels and Tires/Service and Repair).
12. Remove the support and lower the vehicle.
13. Align the front end. Refer to Wheel Alignment Measurement (See: Alignment/Service and Repair/Wheel Alignment Measurement).