
Silverado 1500 4WD V8-6.0L (2010)
2. Apply the proper sealant to the splines of the pinion yoke. Refer to Adhesives, Fluids, Lubricants, and Sealers (See: Fluid -
Differential/Specifications/Fluid Type Specifications).
3. Align the reference marks and install the pinion yoke.
Caution: Refer to Pinion Flange/Yoke Installation Caution (See: Service Precautions/Vehicle Damage Warnings/Pinion Flange/Yoke
Installation Caution).
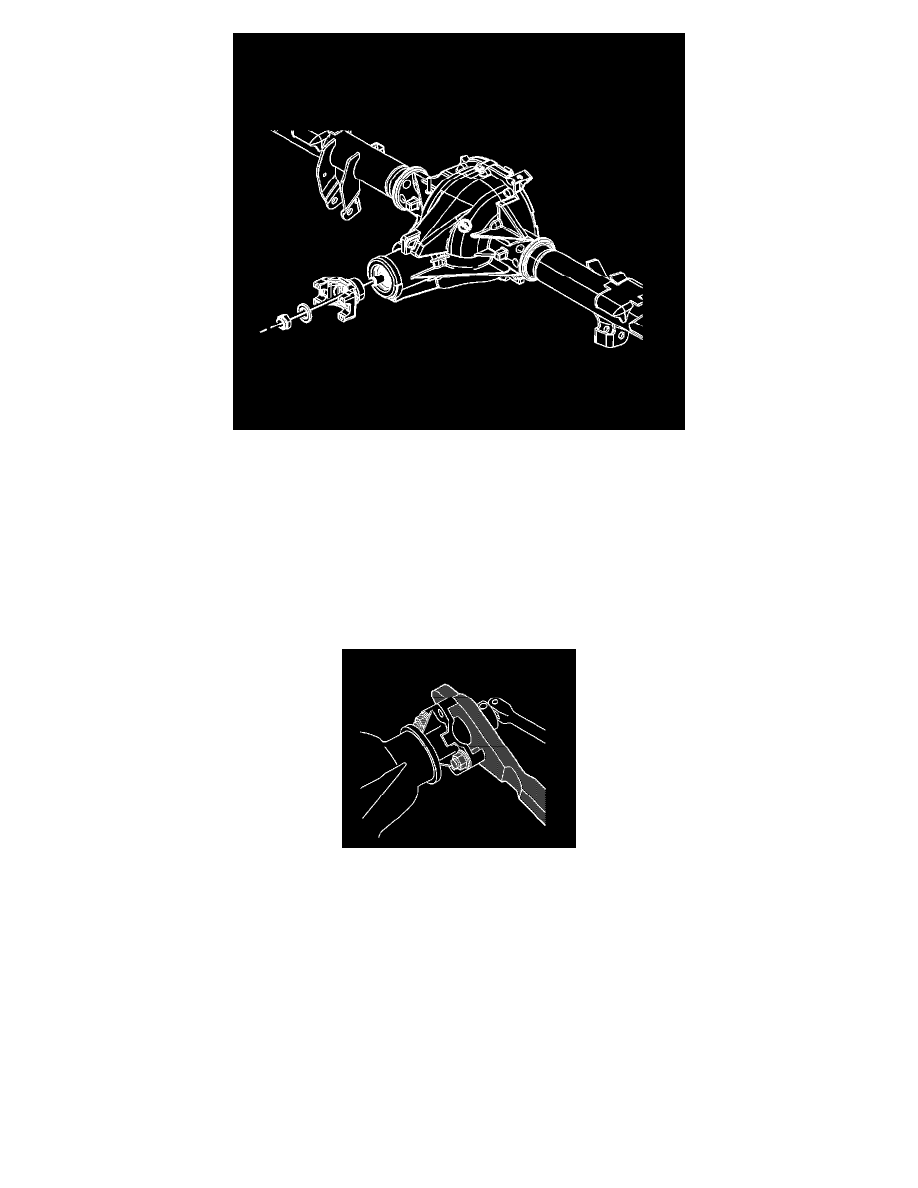
Note: Tap the pinion yoke until a few threads show through the pinion yoke.
4. Using a soft faced hammer, seat the pinion yoke onto the pinion shaft.
5. Install the washer and a NEW pinion nut.
Note:
*
If the rotating torque is exceeded, the pinion will have to be removed and a new collapsible spacer installed.
*
For the 11.5 inch axle, use J-34826 socket.
6. Holding the J 8614-01 - holder or the J-34826 socket, tighten the pinion nut until the pinion end play is just taken up.
7. Rotate the pinion while tightening the nut to seat the bearings.