
Silverado 1500 4WD V8-6.0L Hybrid (2009)
Note
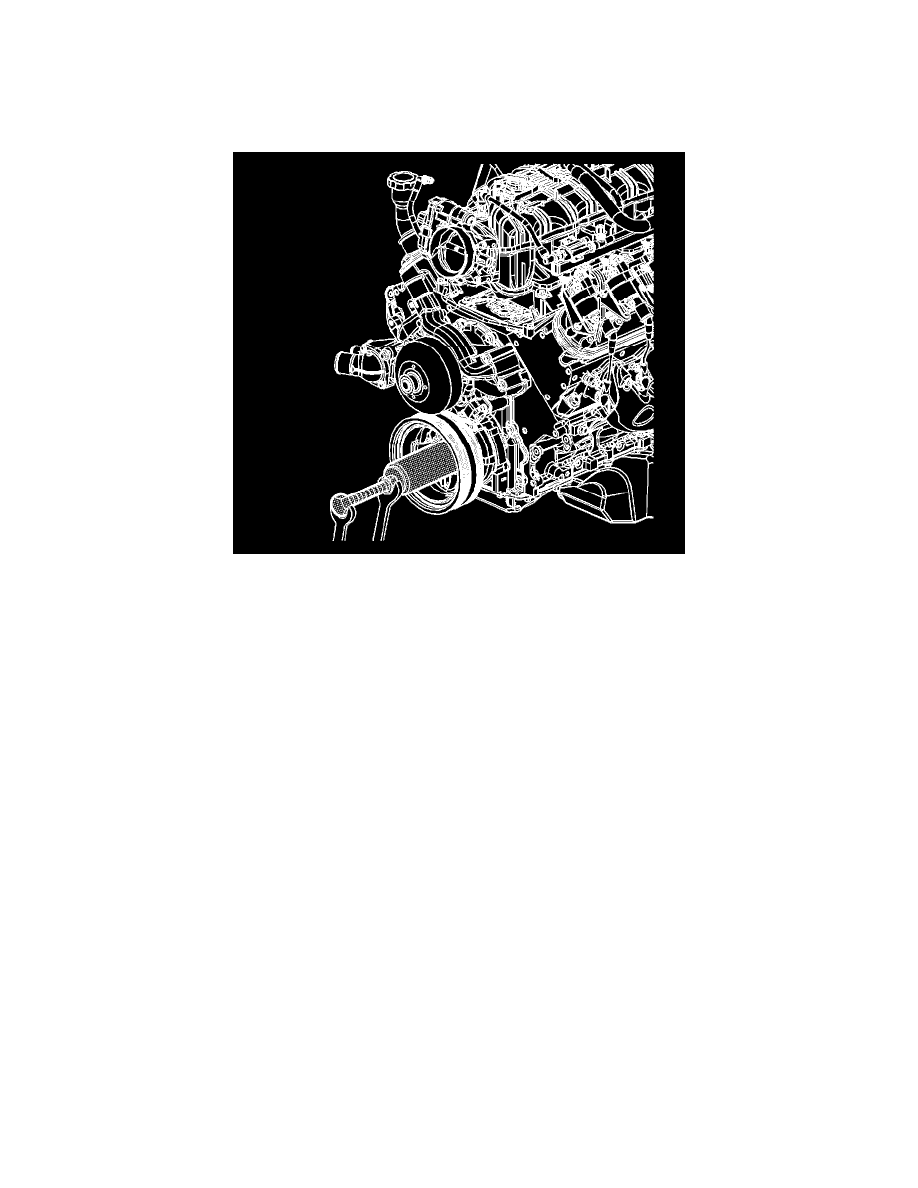
The balancer should be positioned onto the end of the crankshaft as straight as possible prior to tool installation.
1. Position the crankshaft balancer (138) onto the end of the crankshaft.
2. Install the J 41665 and the threaded rod from the J 41478 to crankshaft balancer and install the balancer.
1. Assemble the threaded rod, nut, washer and installer. Insert the smaller end of the installer into the front of the balancer.
2. Use a wrench and hold the hex end of the threaded rod.
3. Use a second wrench and rotate the installation tool nut clockwise until the balancer is started onto the crankshaft.
4. Remove the tool and reverse the installation tool.
Position the larger end of the installer against the front of the balancer.
5. Use a wrench and hold the hex end of the threaded rod.
6. Use a second wrench and rotate the installation tool nut clockwise until the balancer is installed onto the crankshaft.
7. Remove the J 41665 and the threaded rod.