
Silverado 2500 4WD V8-6.6L DSL Turbo (2010)
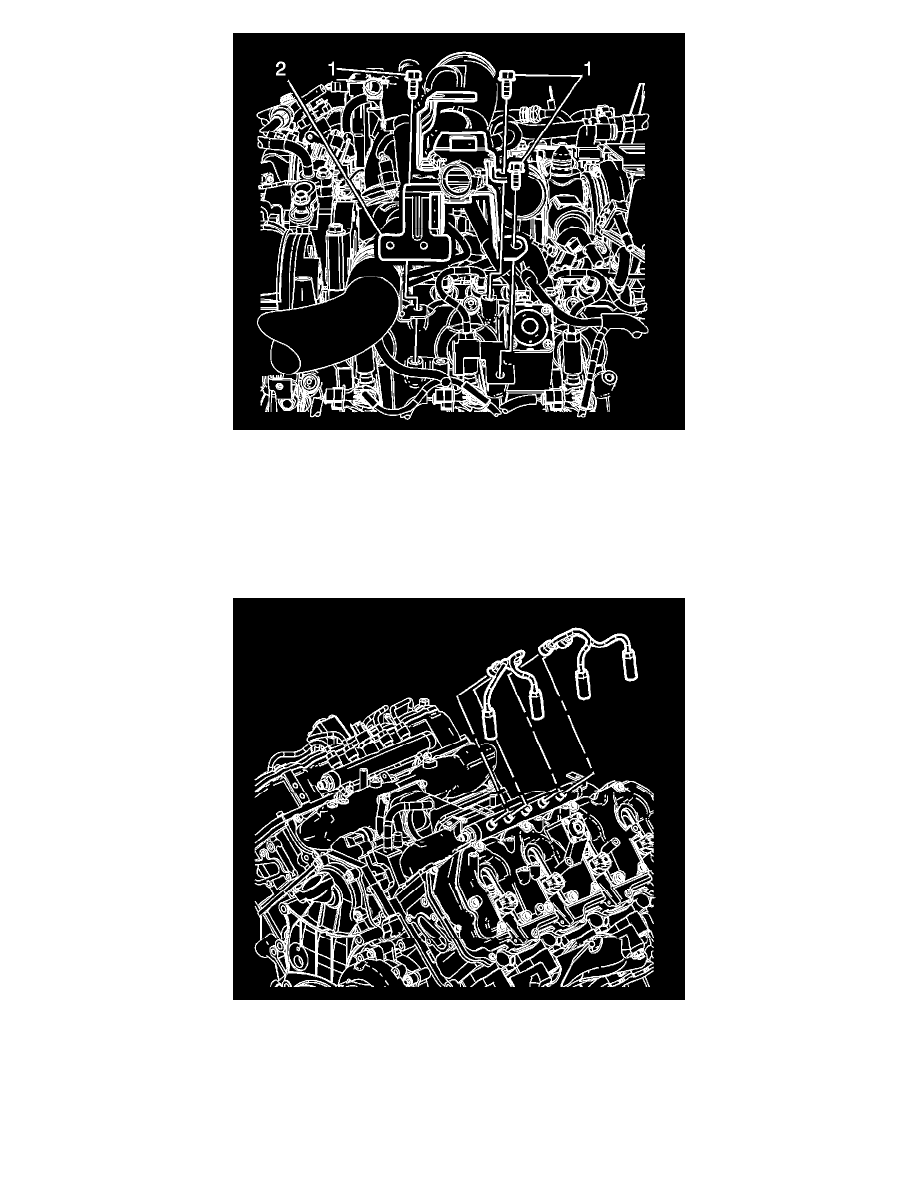
17. Remove the main electrical connector harness bracket bolts (1).
18. Remove the main electrical connector harness bracket (2).
19. Remove the water outlet tube. Refer to Water Outlet Tube Replacement (LU3) (See: Cooling System/Coolant Outlet/Service and Repair)Water
Outlet Tube Replacement (LMM) (See: Cooling System/Coolant Outlet/Service and Repair).
20. Remove the auxiliary generator, if equipped. Refer to Auxiliary Generator Replacement (6.6L) (See: Starting and Charging/Charging
System/Alternator/Service and Repair/Auxiliary Generator Replacement (6.6L)).
21. Remove the positive crankcase ventilation (PCV) hose/pipe. Refer to Positive Crankcase Ventilation Hose/Pipe/Tube Replacement (See:
Powertrain Management/Emission Control Systems/Positive Crankcase Ventilation/PCV Valve Hose/Service and Repair).
22. Prior to removing the fuel injector pipes, use compressed air to blow any debris from between the injector line and fittings. Wipe the fittings clean
of debris.
23. Spray lithium grease between the fuel injector line and fittings to assist in containing any debris during removal. Refer to Adhesives, Fluids,
Lubricants, and Sealers (See: Specifications/Adhesives, Fluids, Lubricants, and Sealers) for the correct part number.
Caution: DO NOT use compressed air to clean debris from the fuel injector inlet after the fuel line is removed. Using compressed air can allow
debris to enter the fuel injector inlet and damage the fuel injector.