
Silverado 2500 4WD V8-6.6L DSL Turbo (2010)
Engine Mount: Service and Repair
Engine Mount Replacement - Right Side
Engine Mount Replacement - Right Side
Removal Procedure
1. Remove the starter motor. Refer to Starter Replacement (V8) (See: Starting and Charging/Starting System/Starter Motor/Service and Repair
)Starter Replacement (V6) (See: Starting and Charging/Starting System/Starter Motor/Service and Repair)Starter Replacement (6.6L) (See:
Starting and Charging/Starting System/Starter Motor/Service and Repair).
2. If RWD vehicle, raise the vehicle to a height to work through the front wheelhouse opening. Refer to Lifting and Jacking the Vehicle (See:
Maintenance/Vehicle Lifting/Service and Repair).
3. If 4-wheel drive (4WD) vehicle, raise the vehicle in order to remove the front tires and wheels and support with jackstands.
4. Remove the right front tire and wheel, if necessary. Refer to Tire and Wheel Removal and Installation (See: Maintenance/Wheels and
Tires/Service and Repair).
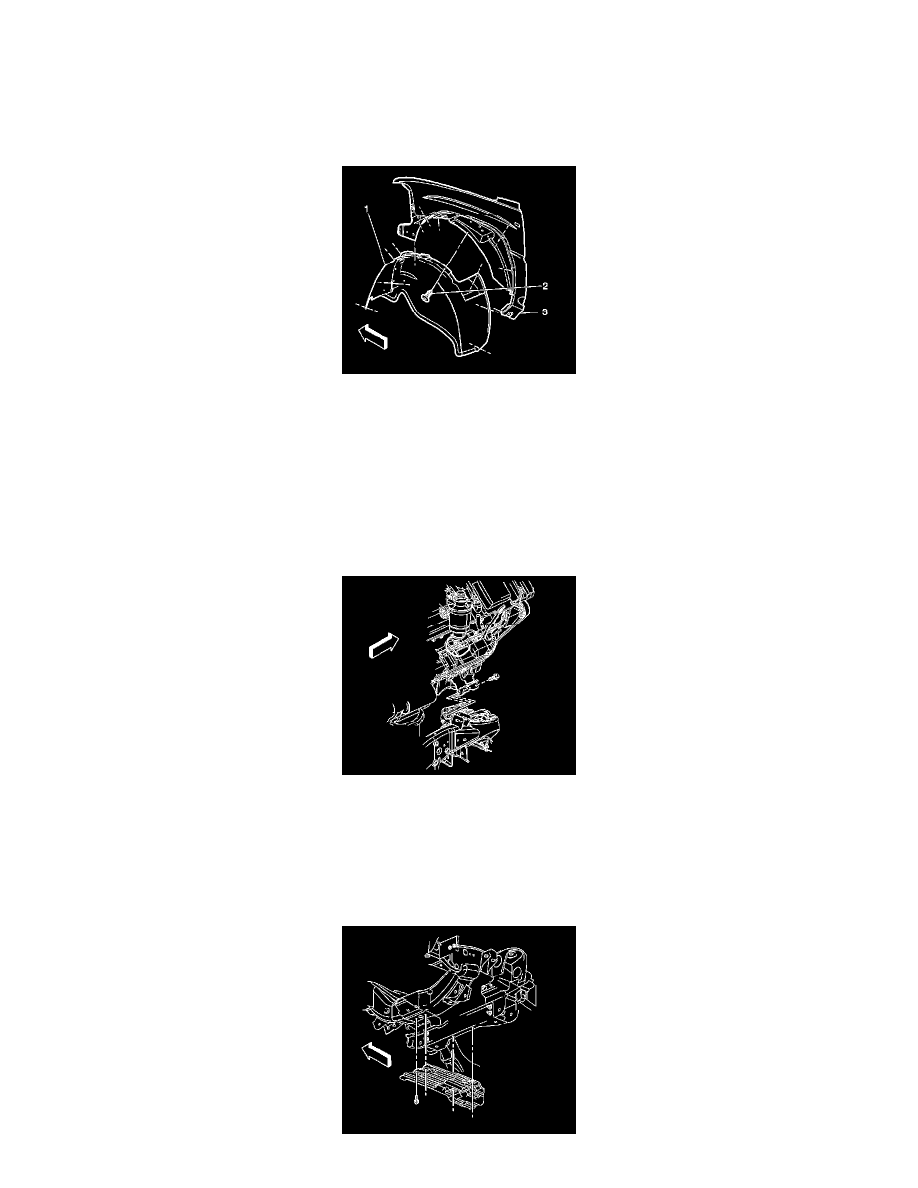
5. Remove the pushpins holding the right front fender wheelhouse inner panel (1).
6. Remove the wheelhouse inner panel.
Caution: Broken engine mountings can cause misalignment of certain drive-train components. Misalignment of drive-train components causes
eventual destruction of the drive-train components.
If one engine mount breaks, the rest of the engine mounts will have increased stress put on them. This could cause the rest of the engine mounts to
break.
7. Working through the wheelhouse opening remove the 3 bolts retaining the engine mount to the engine mount frame bracket.