
Silverado 2500 4WD V8-6.6L DSL Turbo (2010)
Timing Cover: Service and Repair
Engine Front Cover Replacement
Special Tools
J 37228 Seal Cutter
Removal Procedure
1. Disconnect the negative battery cable. Refer to Battery Negative Cable Disconnection and Connection (Single Battery) (See: Starting and
Charging/Battery/Battery Cable/Negative/Service and Repair)Battery Negative Cable Disconnection and Connection (Dual Batteries) (See:
Starting and Charging/Battery/Battery Cable/Negative/Service and Repair)Battery Negative Cable Disconnection and Connection (Auxiliary
Battery) (See: Starting and Charging/Battery/Battery Cable/Negative/Service and Repair).
2. Remove the water pump. Refer to Water Pump Replacement (LU3) (See: Water Pump/Service and Repair)Water Pump Replacement (LMM) (
See: Water Pump/Service and Repair)Water Pump Replacement (V8) (See: Water Pump/Service and Repair).
3. Remove the crankshaft front oil seal. Refer to Crankshaft Front Oil Seal Replacement (See: Seals and Gaskets/Front Crankshaft Seal/Service and
Repair).
4. Remove the right wheelhouse panel. Refer to Front Wheelhouse Liner Replacement - Right Side (Chevrolet) (See: Body and Frame/Fender/Front
Fender/Front Fender Liner/Service and Repair/Front Wheelhouse Liner Replacement - Right Side)Front Wheelhouse Liner Replacement - Right
Side (GMC) (See: Body and Frame/Fender/Front Fender/Front Fender Liner/Service and Repair/Front Wheelhouse Liner Replacement - Right
Side).
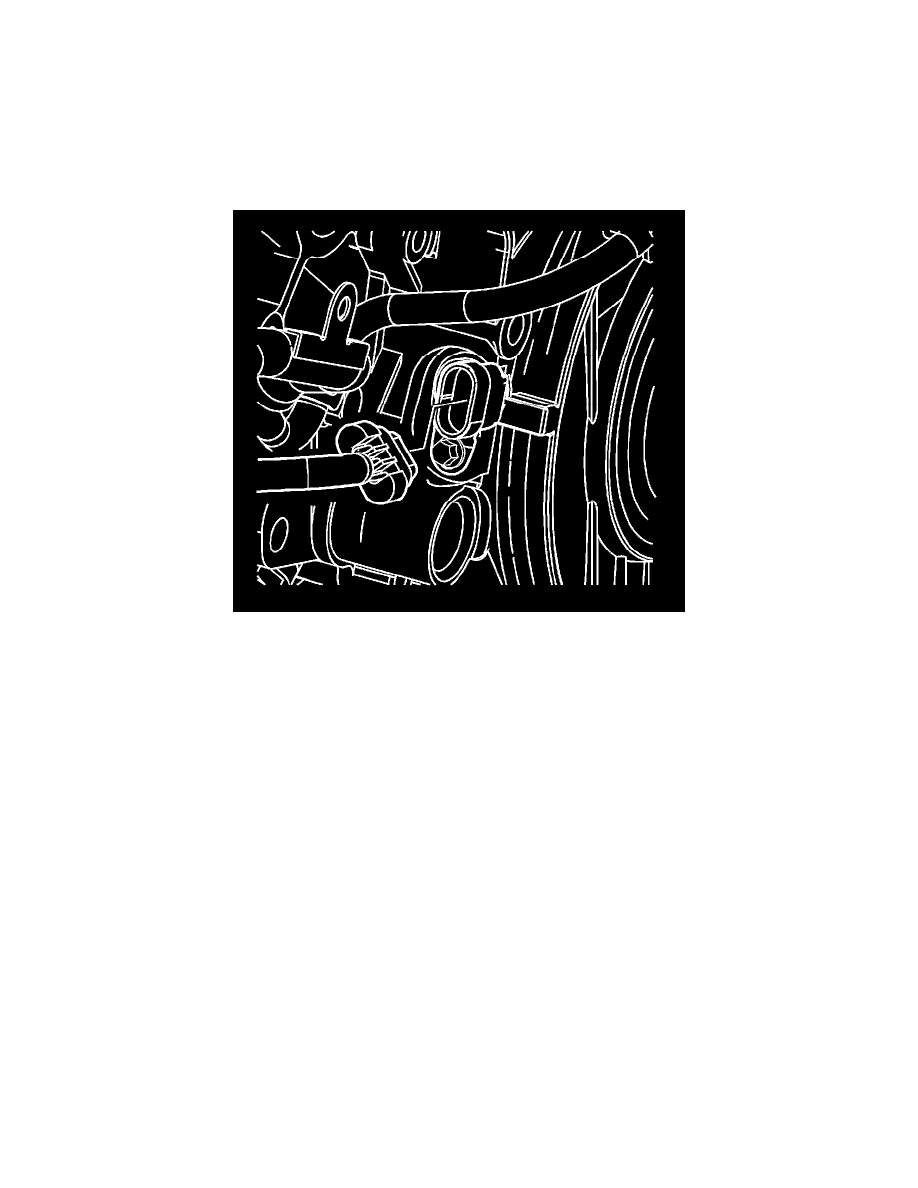
5. Disconnect the crankshaft position (CKP) sensor electrical connector.