
Silverado 2500 4WD V8-6.6L DSL Turbo (2010)
Fuel Gauge Sender: Service and Repair
Fuel Sender Assembly Replacement
Special Tools
J 45722 Fuel Sender Lock Ring Wrench
Removal Procedure
1. Remove the fuel tank. Refer to Fuel Tank Replacement (Pickup) (See: Powertrain Management/Fuel Delivery and Air Induction/Fuel
Tank/Service and Repair/Removal and Replacement)Fuel Tank Replacement (Cab/Chassis - Front) (See: Powertrain Management/Fuel Delivery
and Air Induction/Fuel Tank/Service and Repair/Removal and Replacement)Fuel Tank Replacement (Cab/Chassis - Rear) (See: Powertrain
Management/Fuel Delivery and Air Induction/Fuel Tank/Service and Repair/Removal and Replacement).
2. Disconnect the fuel lines from the sending unit. Refer to Metal Collar Quick Connect Fitting Service (See: Powertrain Management/Fuel Delivery
and Air Induction/Fuel Line Coupler/Service and Repair/Metal Collar Quick Connect Fitting Service) or Plastic Collar Quick Connect Fitting
Service (See: Powertrain Management/Fuel Delivery and Air Induction/Fuel Line Coupler/Service and Repair/Plastic Collar Quick Connect
Fitting Service).
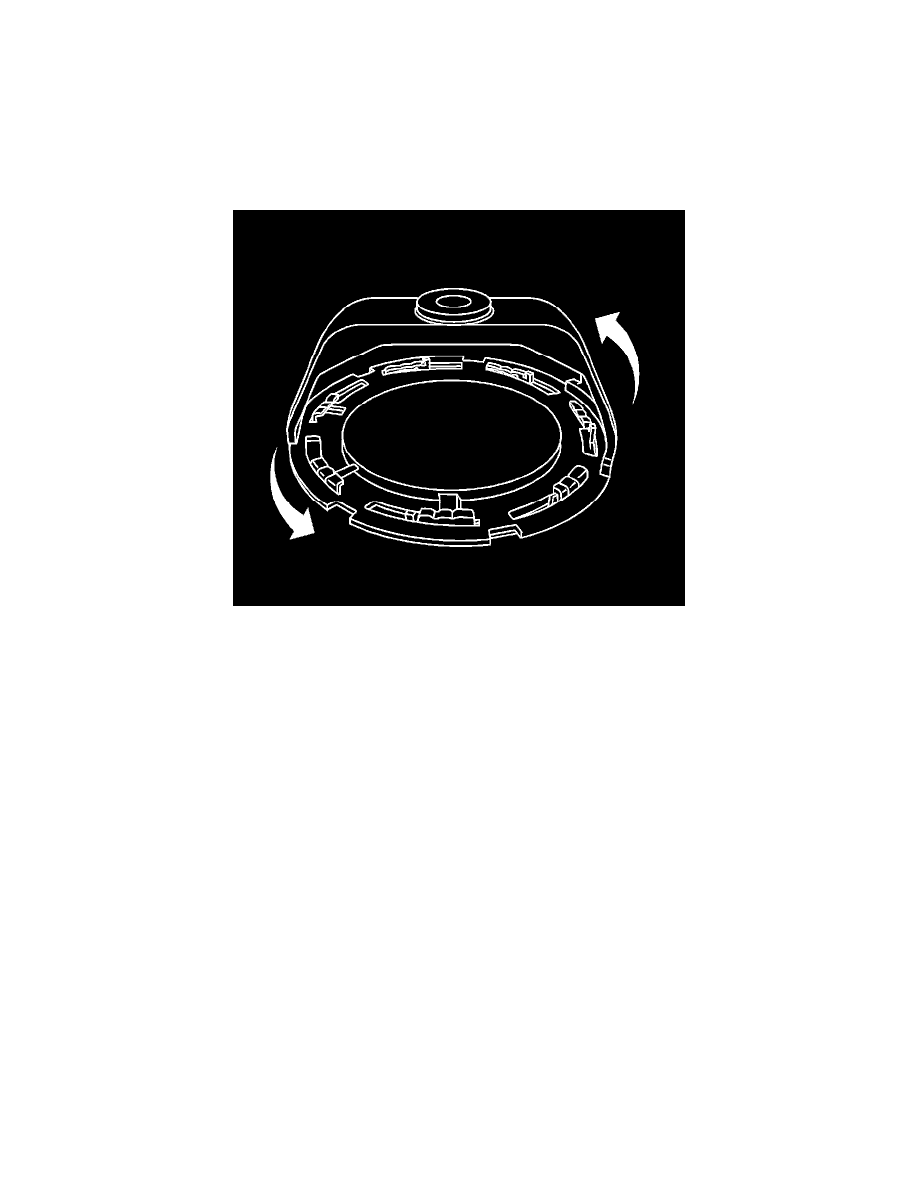
Caution: Avoid damaging the lock ring. Use only J-45722 to prevent damage to the lock ring.
Caution: Do Not handle the fuel sender assembly by the fuel pipes. The amount of leverage generated by handling the fuel pipes could damage
the joints.
Note: Do NOT use impact tools. Significant force will be required to release the lock ring. The use of a hammer and screwdriver is not
recommended. Secure the fuel tank in order to prevent fuel tank rotation.
3. Use the J 45722 and a long breaker-bar in order to unlock the fuel sender lock ring.