
Silverado 2500 4WD V8-6.6L DSL Turbo (2010)
have anti-seize compound applied before the reinstallation.
Caution: Refer to Component Fastener Tightening Caution (See: Service Precautions/Vehicle Damage Warnings/Component Fastener
Tightening Caution).
1. If reinstalling the old sensor, coat the threads with anti-seize compound GM P/N 12377953, or equivalent.
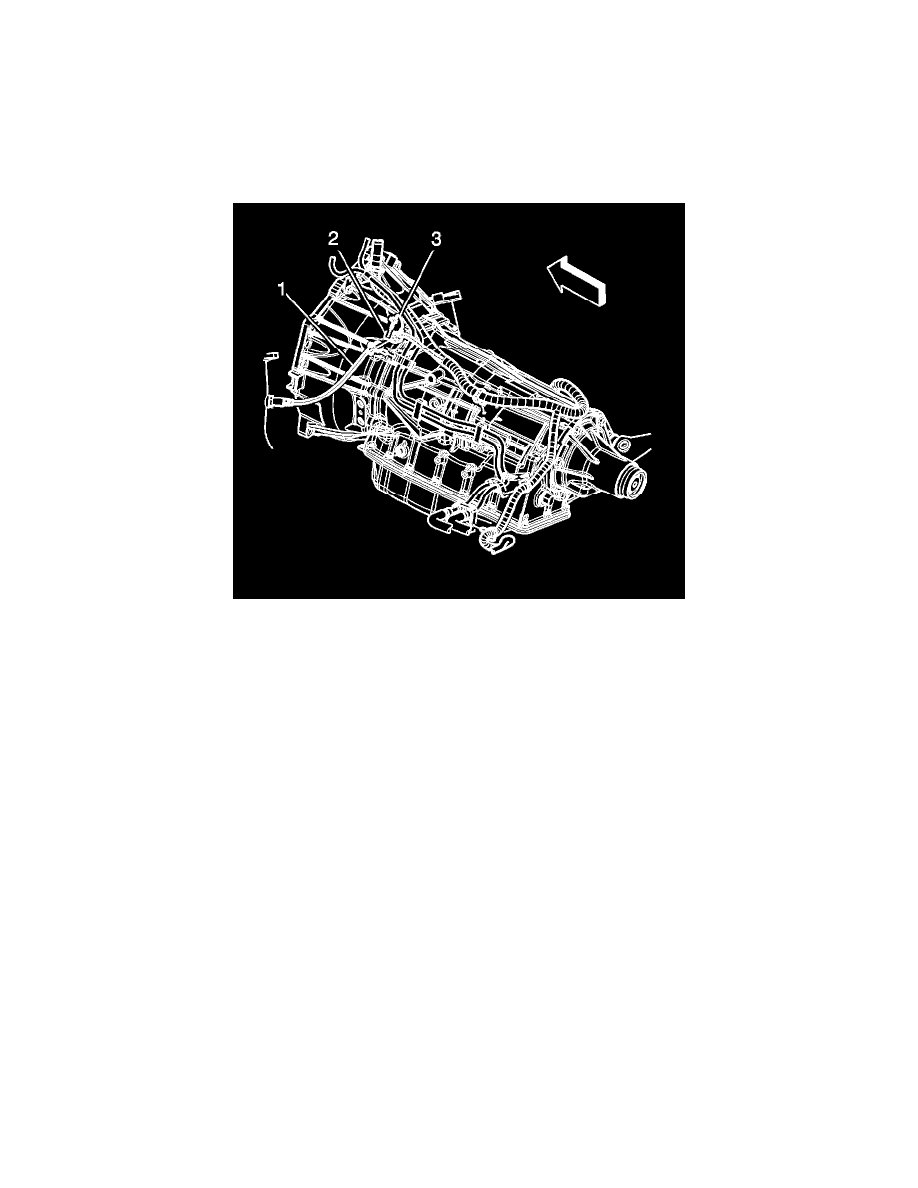
2. Install the HO2S (1).
Tighten the sensor to 42 Nm (31 lb ft).
3. Connect the HO2S (1) electrical connector to the engine wiring harness electrical connector (2).
4. Install the CPA retainer (3).
5. Install the front propeller shaft to the front differential, if equipped with 4WD. Refer to Front Propeller Shaft Replacement (See: Transmission
and Drivetrain/Drive/Propeller Shafts, Bearings and Joints/Drive/Propeller Shaft/Service and Repair/Front Propeller Shaft Replacement).
6. Lower the vehicle.
Heated Oxygen Sensor - Bank 1 Sensor 2
Heated Oxygen Sensor Replacement - Bank 1 Sensor 2 (2500 Series)
Removal Procedure