
Silverado 2500 4WD V8-6.6L DSL Turbo (2010)
Fuel Cooler: Service and Repair
Fuel Cooler Replacement (Cab/Chassis)
Fuel Cooler Replacement (Cab/Chassis)
Removal Procedure
1. Raise and suitably support the vehicle. Refer to Lifting and Jacking the Vehicle (See: Maintenance/Vehicle Lifting/Service and Repair).
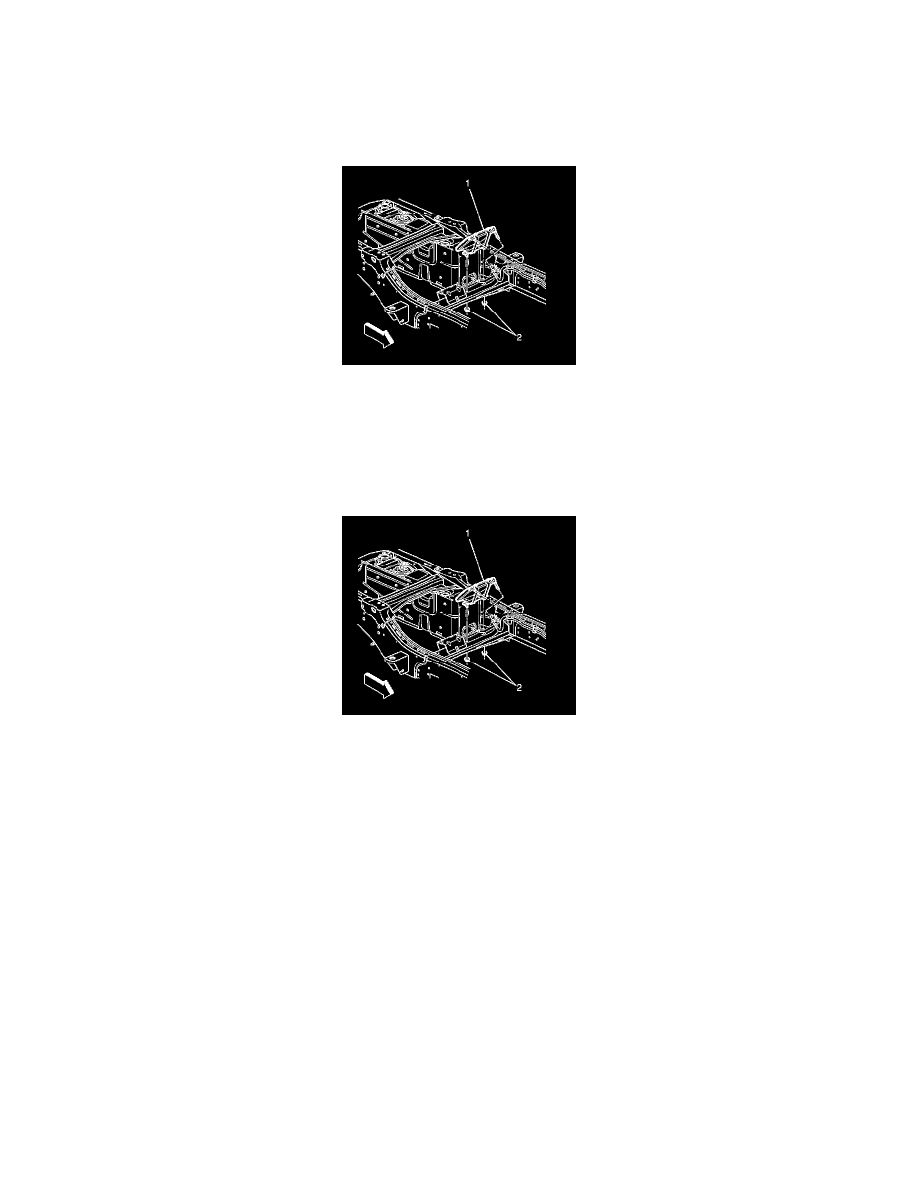
2. Disconnect the fuel lines at the fuel cooler (1). Refer to Metal Collar Quick Connect Fitting Service (See: Fuel Line Coupler/Service and
Repair/Metal Collar Quick Connect Fitting Service).
3. Remove the fuel cooler nuts (2).
4. Remove the fuel cooler (1).
Installation Procedure
1. Install the fuel cooler (1).
Caution: Refer to Fastener Caution (See: Service Precautions/Vehicle Damage Warnings/Fastener Caution).
2. Install the fuel cooler nuts (2).
Tighten the nuts to 40 Nm (30 lb ft).
3. Connect the fuel lines at the fuel cooler (1). Refer to Metal Collar Quick Connect Fitting Service (See: Fuel Line Coupler/Service and
Repair/Metal Collar Quick Connect Fitting Service).
4. Lower the vehicle.
5. Prime the fuel system. Refer to Fuel System Priming (See: Service and Repair/Fuel System Priming).
6. Start the engine. If the engine stalls, repeat the above step.
7. Once the engine starts, inspect for fuel leaks.