
Silverado 2500 4WD V8-6.6L DSL Turbo (2010)
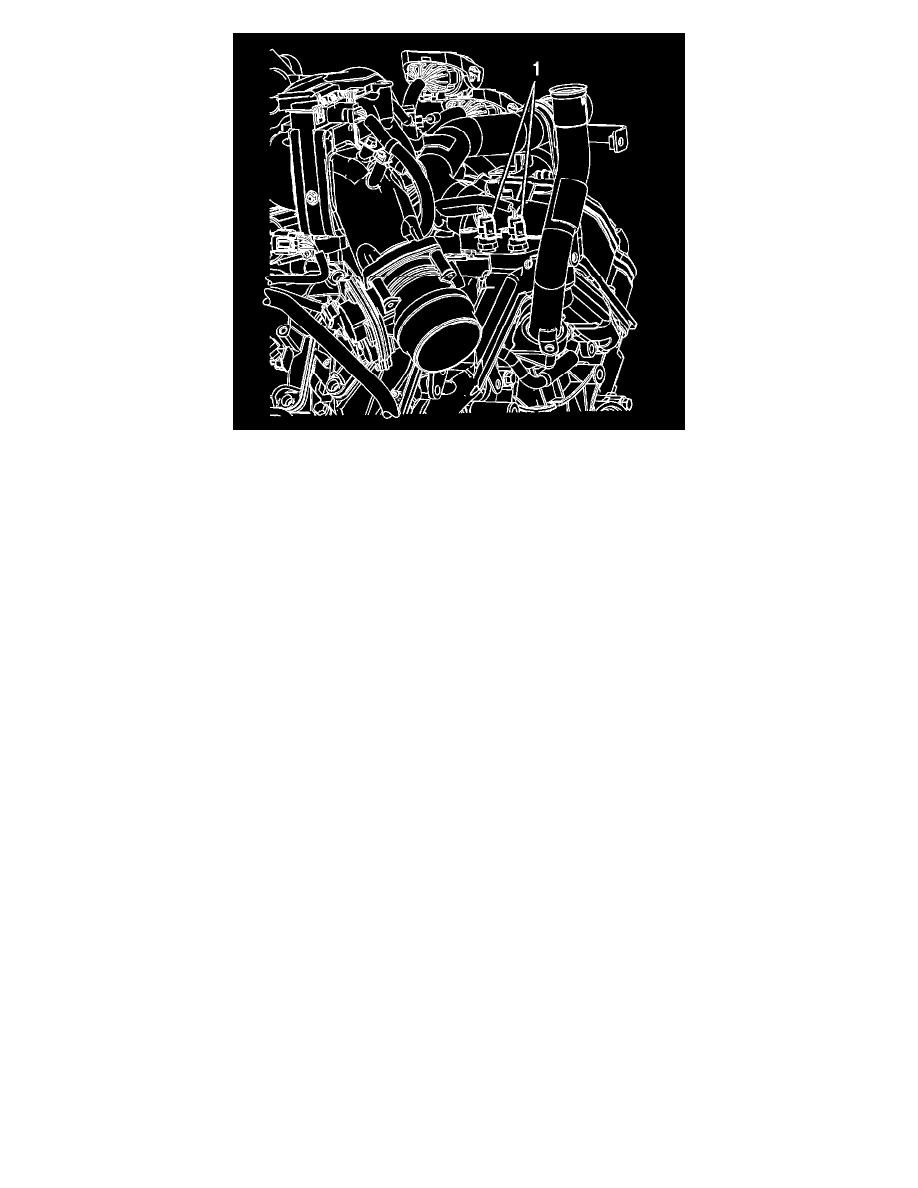
8. Position the engine wiring harness and connect the engine wiring harness electrical connectors (1) to the ECT sensors.
9. Connect the chassis fuel feed pipe quick connect fitting to the fuel feed pipe. Refer to Metal Collar Quick Connect Fitting Service (See: Fuel Line
Coupler/Service and Repair/Metal Collar Quick Connect Fitting Service).
10. Install the generator. Refer to Generator Replacement (V6) (See: Starting and Charging/Charging System/Alternator/Service and Repair
)Generator Replacement (V8) (See: Starting and Charging/Charging System/Alternator/Service and Repair)Generator Replacement (6.6L) (See:
Starting and Charging/Charging System/Alternator/Service and Repair).
11. Install the intake manifold tube. Refer to Intake Manifold Tube Replacement (See: Engine, Cooling and Exhaust/Engine/Intake Manifold/Service
and Repair/Intake Manifold Tube Replacement).
12. Install the water outlet tube. Refer to Water Outlet Tube Replacement (LU3) (See: Engine, Cooling and Exhaust/Cooling System/Coolant
Outlet/Service and Repair)Water Outlet Tube Replacement (LMM) (See: Engine, Cooling and Exhaust/Cooling System/Coolant Outlet/Service
and Repair).
13. Prime the fuel system. Refer to Fuel System Priming (See: Service and Repair/Fuel System Priming).
14. Start the engine. If the engine stalls, repeat the above step.
15. Once the engine starts, inspect for fuel leaks.
Fuel Injection Fuel Feed Front Pipe Replacement - Left Side
Fuel Injection Fuel Feed Front Pipe Replacement - Left Side
Removal Procedure