
Silverado 2500 4WD V8-6.6L DSL Turbo (2010)
Caution: Refer to Fastener Caution (See: Service Precautions/Vehicle Damage Warnings/Fastener Caution).
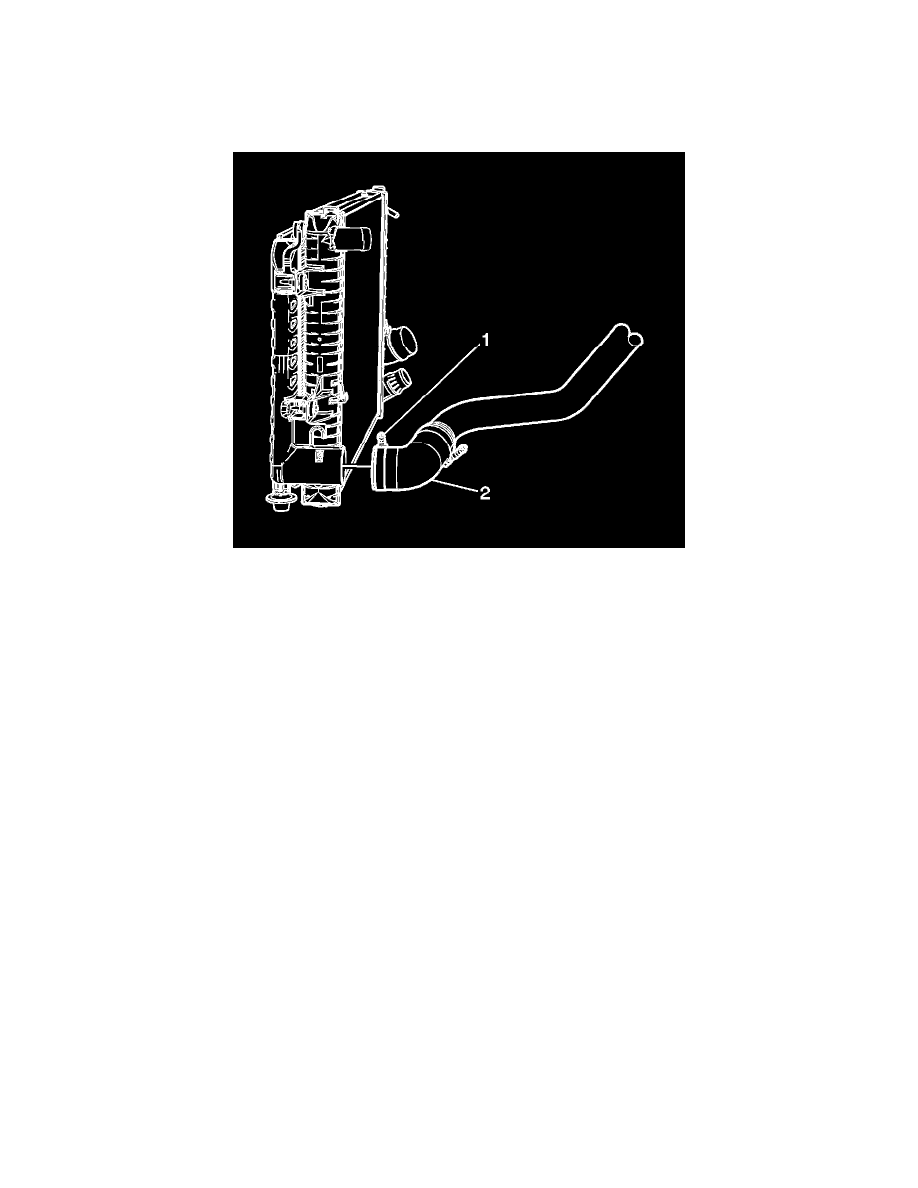
4. Tighten the charge air cooler inlet pipe to turbocharger connector clamp (1).
Tighten the clamp to 8 Nm (70 lb in).
5. Raise and support the vehicle half way. Refer to Lifting and Jacking the Vehicle (See: Maintenance/Vehicle Lifting/Service and Repair).
Note: Do not over tighten the charged air cooler pipe connector clamp. If the clamp is overtightened, the connector may become distorted
allowing separation of the connector from the pipe. Make sure the charge air cooler pipe is properly orientated.
6. Working through the wheelhouse, install the charge air cooler inlet pipe connector onto the charge air cooler.
7. Tighten the charge air cooler inlet pipe to charge air cooler connector clamp (1).
Tighten the clamp to 8 Nm (70 lb in).
8. Install the wheelhouse panel. Refer to Front Wheelhouse Liner Replacement - Left Side (Chevrolet) (See: Body and Frame/Fender/Front
Fender/Front Fender Liner/Service and Repair/Front Wheelhouse Liner Replacement - Left Side)Front Wheelhouse Liner Replacement - Left Side
(GMC) (See: Body and Frame/Fender/Front Fender/Front Fender Liner/Service and Repair/Front Wheelhouse Liner Replacement - Left Side).
9. Install the intake manifold cover. Refer to Intake Manifold Cover Replacement (See: Engine, Cooling and Exhaust/Engine/Intake
Manifold/Service and Repair/Intake Manifold Cover Replacement).