
Silverado 2500 4WD V8-6.6L DSL Turbo (2010)
Glow Plug: Service and Repair
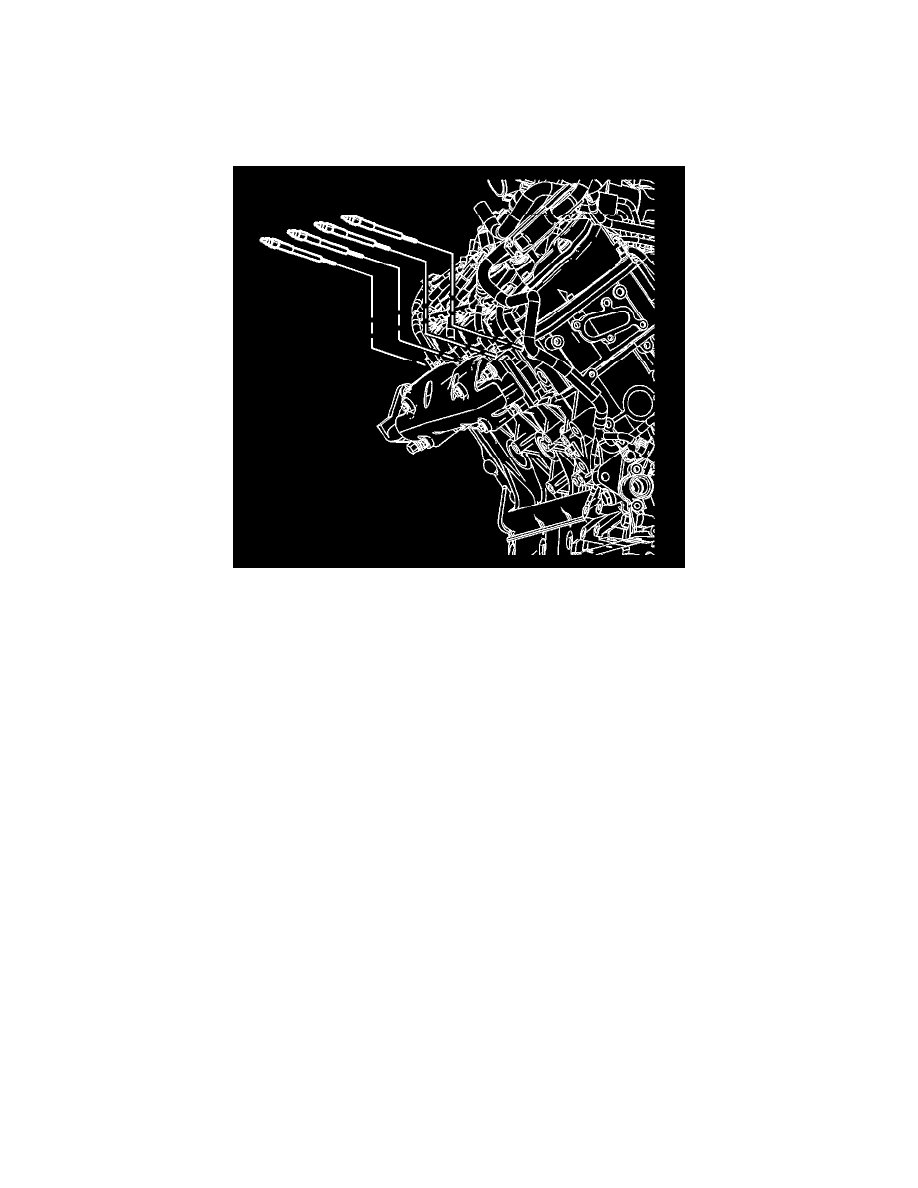
Glow Plug Replacement - Bank 1
Glow Plug Replacement - Bank 1
Removal Procedure
1. Disconnect the negative battery cable. Refer to Battery Negative Cable Disconnection and Connection (Single Battery) (See: Starting and
Charging/Battery/Battery Cable/Negative/Service and Repair)Battery Negative Cable Disconnection and Connection (Dual Batteries) (See:
Starting and Charging/Battery/Battery Cable/Negative/Service and Repair)Battery Negative Cable Disconnection and Connection (Auxiliary
Battery) (See: Starting and Charging/Battery/Battery Cable/Negative/Service and Repair).
2. Remove the right wheelhouse panel. Refer to Front Wheelhouse Liner Replacement - Right Side (Chevrolet) (See: Body and Frame/Fender/Front
Fender/Front Fender Liner/Service and Repair/Front Wheelhouse Liner Replacement - Right Side)Front Wheelhouse Liner Replacement - Right
Side (GMC) (See: Body and Frame/Fender/Front Fender/Front Fender Liner/Service and Repair/Front Wheelhouse Liner Replacement - Right
Side).
3. Remove the engine wiring harness nut(s) from the glow plug(s).
4. Remove the engine wiring harness lead(s) from the glow plug(s).
Note: If a glow plug is replaced and the tip is missing or burned off, the cylinder head must be removed and all debris must be cleaned out of the
cylinder.
5. Remove the glow plug(s) from the cylinder head.
Installation Procedure