
Silverado 2500 4WD V8-6.6L DSL Turbo (2010)
Tighten the nut to 3.4 Nm (30 lb in).
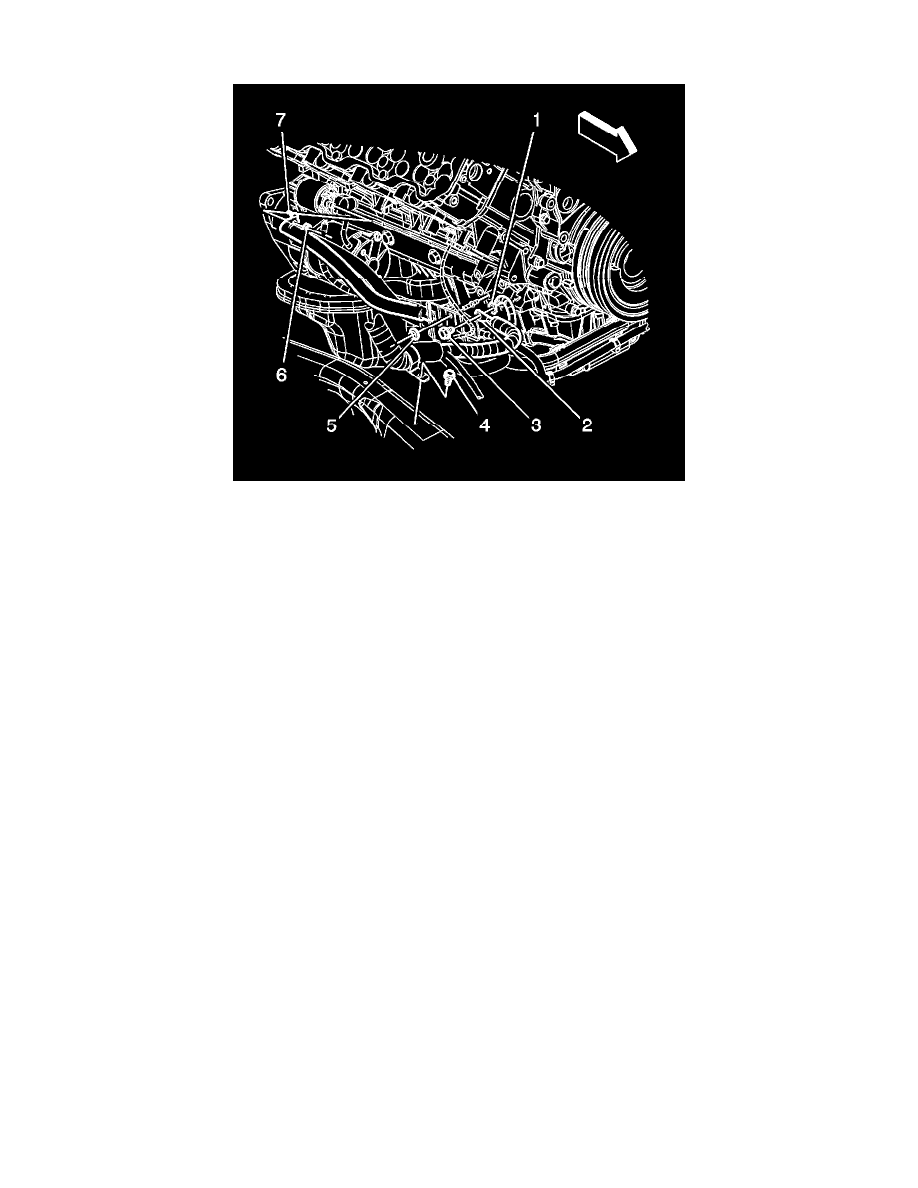
6. Install the starter solenoid cable (7) to the starter.
7. Install the starter solenoid cable nut (6) to the starter.
Tighten the nut to 9 Nm (80 lb in).
8. Install the wheelhouse liner. Refer to Front Wheelhouse Liner Replacement - Right Side (Chevrolet) (See: Body and Frame/Fender/Front
Fender/Front Fender Liner/Service and Repair/Front Wheelhouse Liner Replacement - Right Side)Front Wheelhouse Liner Replacement - Right
Side (GMC) (See: Body and Frame/Fender/Front Fender/Front Fender Liner/Service and Repair/Front Wheelhouse Liner Replacement - Right
Side).
9. Connect the negative battery cable. Refer to Battery Negative Cable Disconnection and Connection (Single Battery) (See: Battery/Battery
Cable/Negative/Service and Repair)Battery Negative Cable Disconnection and Connection (Dual Batteries) (See: Battery/Battery
Cable/Negative/Service and Repair)Battery Negative Cable Disconnection and Connection (Auxiliary Battery) (See: Battery/Battery
Cable/Negative/Service and Repair).