
Silverado 2500 4WD V8-6.6L DSL Turbo (2010)
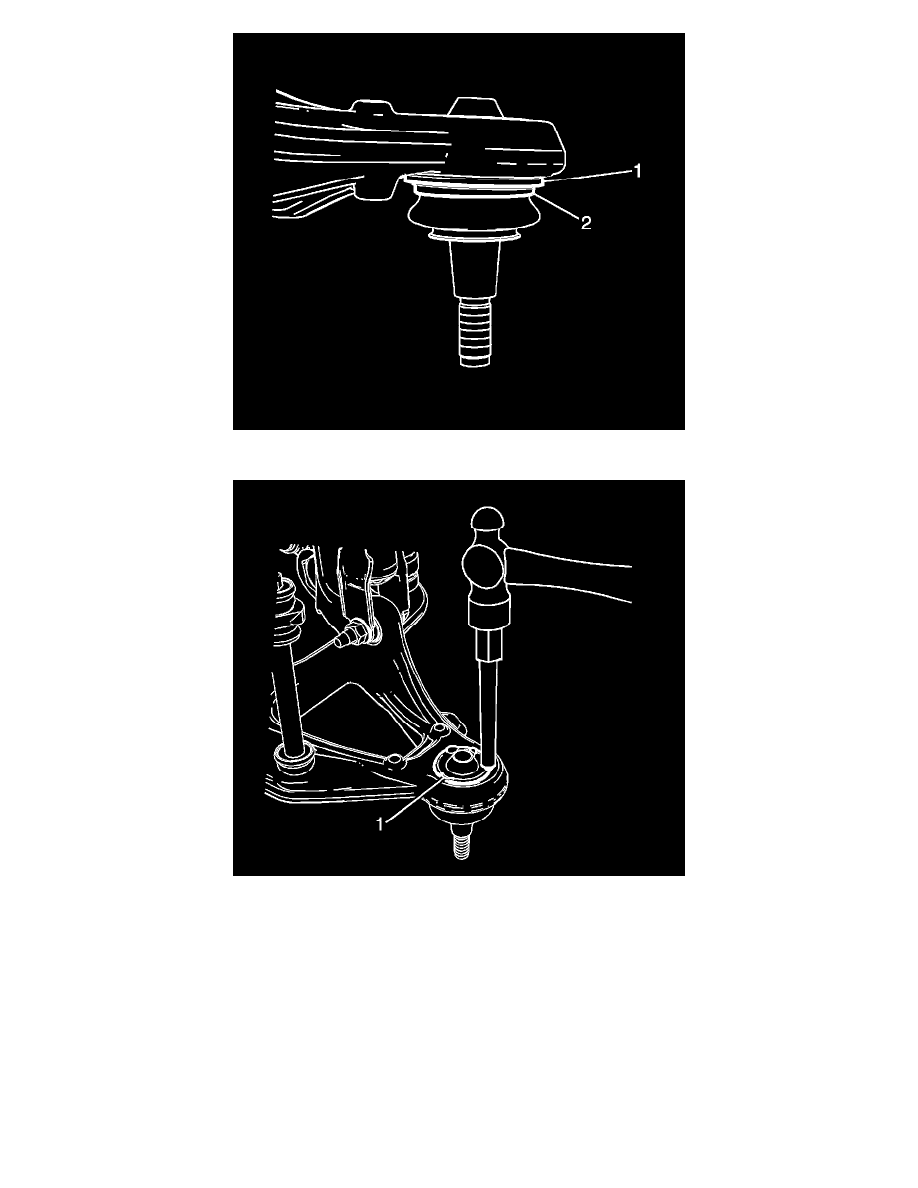
4. Ensure that the ball joint (2) is fully seated against the lower control arm (1).
5. Using a hammer and a punch, created the lock tabs (1) for the lower ball joint.
6. Install the knuckle. Refer to Steering Knuckle Replacement (See: Rear Knuckle/Service and Repair).
7. Install the lower ball joint stud nut and tighten to:
*
First Pass 50 Nm (37 lb ft)
*
Final Pass additional 95 degrees
8. Remove the support and lower the vehicle.