
Silverado 2500 4WD V8-6.6L DSL Turbo (2010)
17. Install the rear axle shaft. Refer to Rear Axle Shaft and/or Gasket Replacement (See: Drive Axles, Bearings and Joints/Seals and Gaskets/Service
and Repair/Rear Axle Shaft and/or Gasket Replacement) Rear Axle Shaft and/or Gasket Replacement.
18. Install the brake caliper bracket. Refer to Rear Brake Caliper Bracket Replacement (JD9) (See: Brakes and Traction Control/Disc Brake
System/Brake Caliper/Service and Repair/Removal and Replacement/Rear Brake Caliper Bracket Replacement (JD9))Rear Brake Caliper Bracket
Replacement (JH6, JH7) (See: Brakes and Traction Control/Disc Brake System/Brake Caliper/Service and Repair/Removal and
Replacement/Rear Brake Caliper Bracket Replacement (JH6, JH7)) Rear Brake Caliper Bracket Replacement.
19. Install the tire and wheel assembly. Refer to Tire and Wheel Removal and Installation (See: Maintenance/Wheels and Tires/Service and Repair)
Tire and Wheel Removal and Installation.
20. Inspect and add axle lubricant to the axle housing, if necessary. Refer to Rear Axle Lubricant Level Inspection (8.6, 9.5 LD Axle) (See: Fluid -
Differential/Service and Repair/Procedures/Rear Drive Axle/Rear Axle Lubricant Level Inspection (8.6, 9.5 LD Axle))Rear Axle Lubricant Level
Inspection (10.5 Inch Axle) (See: Fluid - Differential/Service and Repair/Procedures/Rear Drive Axle/Rear Axle Lubricant Level Inspection
(10.5 Inch Axle))Rear Axle Lubricant Level Inspection (11.5 Inch Axle) (See: Fluid - Differential/Service and Repair/Procedures/Rear Drive
Axle/Rear Axle Lubricant Level Inspection (11.5 Inch Axle)) Rear Axle Lubricant Level Inspection.
21. Remove the supports and lower the vehicle.
Drive Pinion Housing and/or Seal Replacement
Drive Pinion Housing and/or Seal Replacement
Special Tools
*
J 8092 - Universal Driver Handle 3/4 x 10 inch
*
J 8608 - Pinion bearing Cup Installer
*
J 24433 - Pinion Bearing Installer
*
J 37624 - Pinion Bearing Installer
*
J 44414 - Pinion Oil Seal Installer
Removal Procedure
Note: Observe and mark the positions of all the driveline components, relative to the propeller shaft and the axles, prior to disassembly. These
components include the propeller shafts, drive axles, pinion flanges, output shafts, etc. Reassemble all the components in the exact places in which
you removed the parts. Follow any specifications, torque values, and any measurements made prior to disassembly.
1. Raise and support the vehicle. Refer to Lifting and Jacking the Vehicle (See: Maintenance/Vehicle Lifting/Service and Repair).
2. Drain the axle lubricant. Refer to Differential Oil Replacement (10.5 Inch Axle) (See: Fluid - Differential/Service and Repair/Removal and
Replacement)Differential Oil Replacement (11.5 Inch Axle) (See: Fluid - Differential/Service and Repair/Removal and Replacement)Differential
Oil Replacement (8.6 Inch Axle) (See: Fluid - Differential/Service and Repair/Removal and Replacement)Differential Oil Replacement (9.5LD
Inch Axle) (See: Fluid - Differential/Service and Repair/Removal and Replacement).
3. Remove the rear axle shafts. Refer to Rear Axle Shaft and/or Gasket Replacement (See: Drive Axles, Bearings and Joints/Seals and
Gaskets/Service and Repair/Rear Axle Shaft and/or Gasket Replacement).
4. Remove the rear propeller shaft.
*
For vehicles equipped with the one piece propeller shaft, refer to One-Piece Propeller Shaft Replacement (See: Drive/Propeller Shafts,
Bearings and Joints/Drive/Propeller Shaft/Service and Repair/One-Piece Propeller Shaft Replacement).
*
For vehicles equipped with the two piece propeller shaft, refer to Two-Piece Propeller Shaft Replacement (See: Drive/Propeller Shafts,
Bearings and Joints/Drive/Propeller Shaft/Service and Repair/Two-Piece Propeller Shaft Replacement).
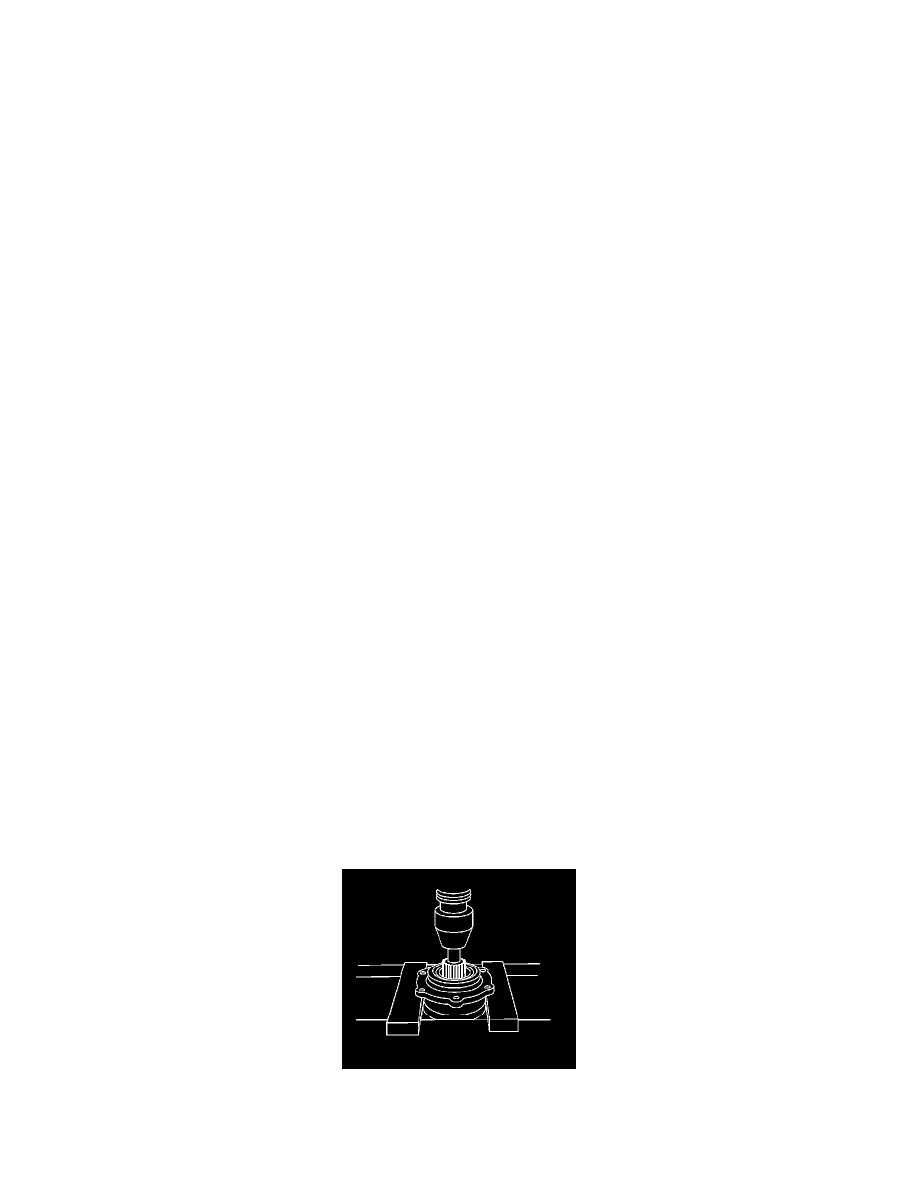
5. Remove the drive pinion flange/yoke and/or oil seal. Refer to Drive Pinion Flange/Yoke and/or Oil Seal Replacement (See: Pinion
Flange/Service and Repair/Rear Drive Axle).
6. Using a hydraulic press and an appropriate tool, remove the pinion.