
Silverado 2500 4WD V8-8.1L VIN G (2006)
5. Install the washer.
6. Install the new pinion nut
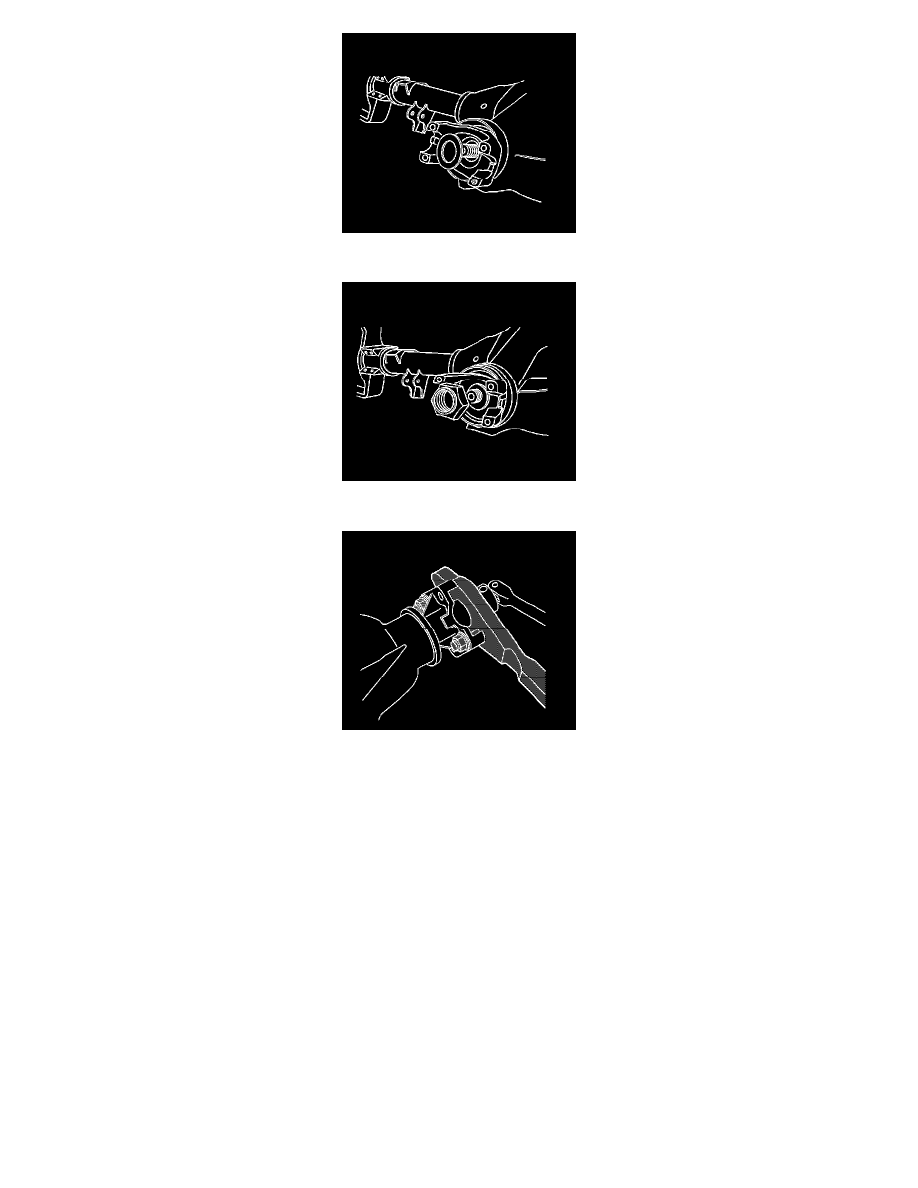
7. Install the J 8614-01 onto the pinion yoke as shown.
8. Tighten the pinion nut while holding the J 8614-01.
^
Tighten the pinion nut to 370 Nm (273 ft. lbs.).
Notice: Refer to Fastener Notice in Service Precautions.
9. Install the propeller shaft to the rear axle pinion yoke.
10. Inspect and add axle lubricant to the axle housing, if necessary.
11. Lower the vehicle.
Drive Pinion Flange/Yoke and/or Oil Seal Replacement (8.6 Inch Axle W/Drum Brakes)
Drive Pinion Flange/Yoke and/or Oil Seal Replacement (8.6 Inch Axle w/Drum Brakes)
^
Tools Required
-
J 8614-01 Flange/Pulley Holding Tool
-
J 22388 Rear Axle Pinion Oil Seal Installer - Rear
Removal Procedure
Important: Observe and mark the positions of all the driveline components, relative to the propeller shaft and the axles, prior to disassembly. These
components include the propeller shafts, drive axles, pinion flanges, output shafts, etc. Reassemble all the components in the exact places in which you
removed the parts. Follow any specifications, torque values, and any measurements made prior to disassembly.