
Silverado 3500 2WD V8-6.6L DSL Turbo (2006)
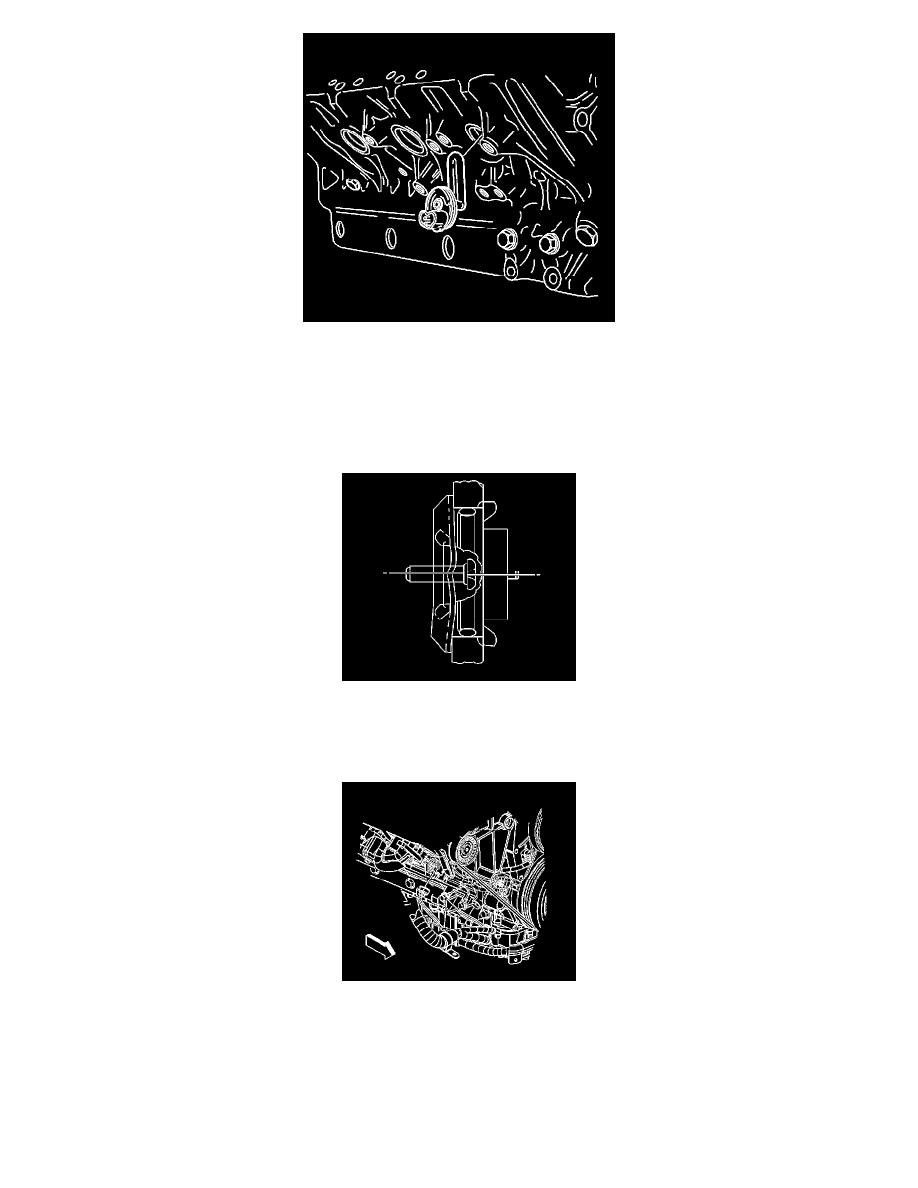
1. Coat the O-ring seal and the cleaned surface of the plug opening with water resistant high-temperature grease lubricant GM P/N 1052196
(Canadian P/N 5264008), or the equivalent.
2. Important: Avoid element contact with the inside walls of the engine block.
Align the coolant heater element to point towards the top of the engine.
3. Tightly push the coolant heater into the engine block.
4. Notice: Refer to Fastener Notice in Service Precautions.
Tighten the bolt on the engine coolant heater until both of the locking wings draw tightly against the inner wall of the engine block.
^
Tighten the bolt to 2 Nm (18 inch lbs.).
5. Notice: The heater cord must not touch the engine, hot pipes, manifold, or any moving parts. Route the cord to the left front of the engine
compartment securing with tie straps as necessary to prevent damage.
Connect the heater cord to the coolant heater.
6. Remove the right engine mount.
7. Install the right front tire and wheel.
8. Fill the cooling system.
9. Inspect for coolant leaks.