Silverado 3500 2WD V8-6.6L DSL Turbo VIN 2 (2004)

10.
Disconnect and remove the OnStar(R) jumper harness.
Note:
You will need to remove the short GPS cable from this jumper harness.
11.
Untape the cell antenna coax from the body harness in the trunk. This will be necessary to provide adequate length to connect to the new
VCIM.
12.
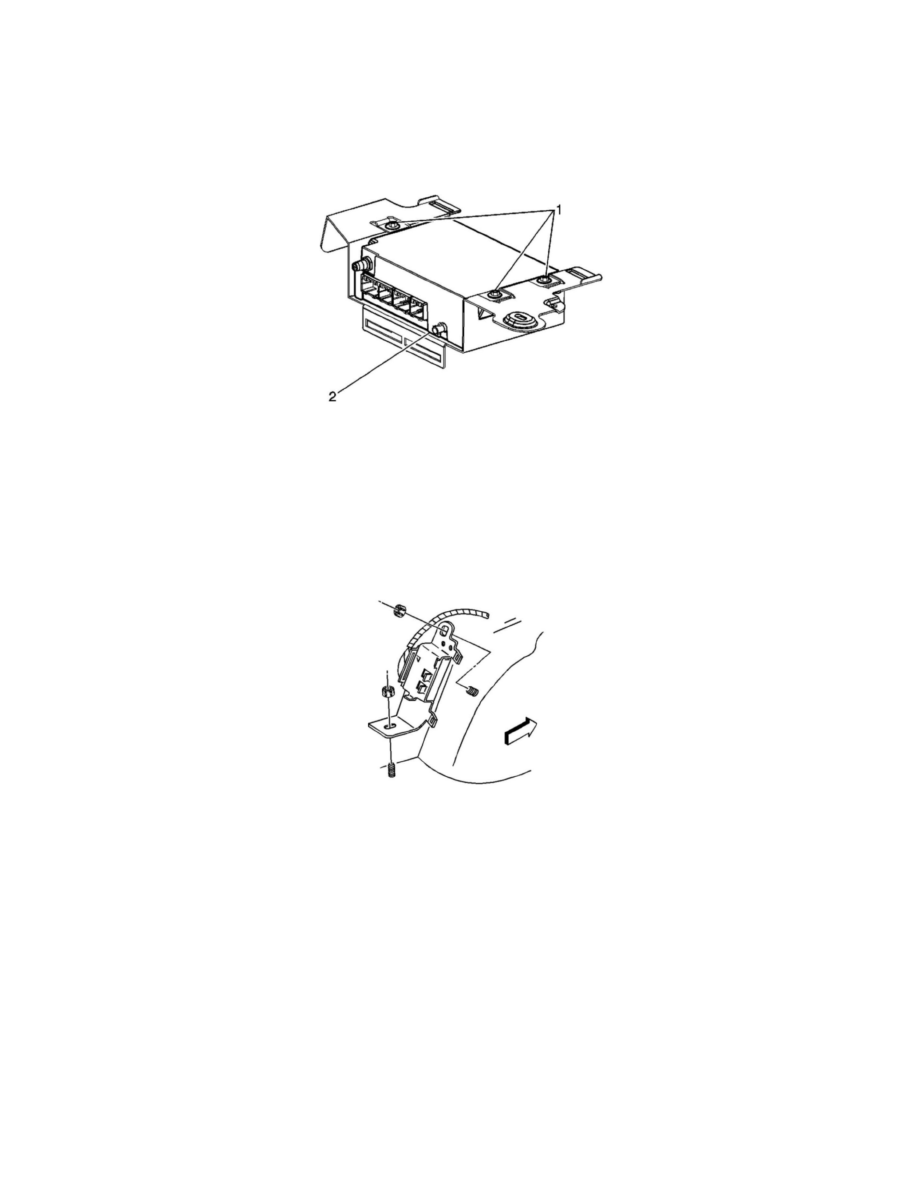
Fasten three retainer clips (1) from the kit to the new bracket that is included in the kit, and position the VCIM to the bracket (2).
13.
Install the three bolts from the kit. Tighten the bolts to 10 Nm (89 lb in).
14.
Connect the new OnStar(R) jumper harness supplied in the kit to the VCIM (two white connectors on module).
15.
Connect small GPS coax cable jumper harness supplied in the kit (end with blue plastic housing) to VCIM GPS connector.
16.
Position the VCIM / bracket assembly to the studs.
17.
Install the bracket nuts saved from the Removal Procedure above to the VCIM / bracket assembly mounting studs. Tighten the nuts to 4 Nm
(35 lb in).
18.
Connect the new OnStar(R) jumper harness to the body wiring harness (C410 connector).
19.
Connect small coax cable jumper from VCIM to the OnStar(R) Global Positioning Satellite (GPS) antenna coaxial cable at the connector
previously left in the vehicle (short jumper removed from old harness in step 5.10).
20.
Connect the cellular coaxial cable previously left in vehicle to the OnStar(R) VCIM.
21.
Verify that all harnesses are properly secured in vehicle.
6.
After replacing the VCIM, it is essential to configure the new OnStar(R) system. Failure to configure the system will result in an additional
customer visit for repair. DO NOT press and hold the white dot or phone button on the keypad as it will not reset this version of the OnStar(R)
system and may result in a DTC being set. Use of the TIS2WEB and SPS applications, along with the Tech2(R), are required in order to perform
the VCIM configuration and setup procedure for this vehicle. The configuration and set-up procedure is now a two-step process which enables an
automated activation by the OnStar(R) Center, without a button press by the technician to the OnStar(R) Call Center.
1.
Connect the Tech2(R) to the vehicle.
